4th Of July
Throughout history, no matter what the 4th of July means or doesn’t mean to us Americans individually, in modern times we have created joyous ways of celebrating on this day. Whether it’s BBQ’s with family or having lazy days on the beach with friends, we have created traditions that bring this day to life, filling it with good energy.
4th of July Weekend
For me, activities on the 4th of July are never consistent. Some years the only thing I plan to do is watch some fireworks, and other years I might be invited to a backyard boogie. But regardless of anything that happens around that time of the year, most importantly it means that I’ll be making my infamous 4th of July cake recipe.
 Also known as “flag cake” from when I used to decorate the top of the cake as the U.S. flag, over the years this 4th of July cake recipe has become something people closest to me look forward to. It’s to the point that sometimes I make it for birthdays or just because.
 Red White and Blue Cake
 Red White and Blue Cake
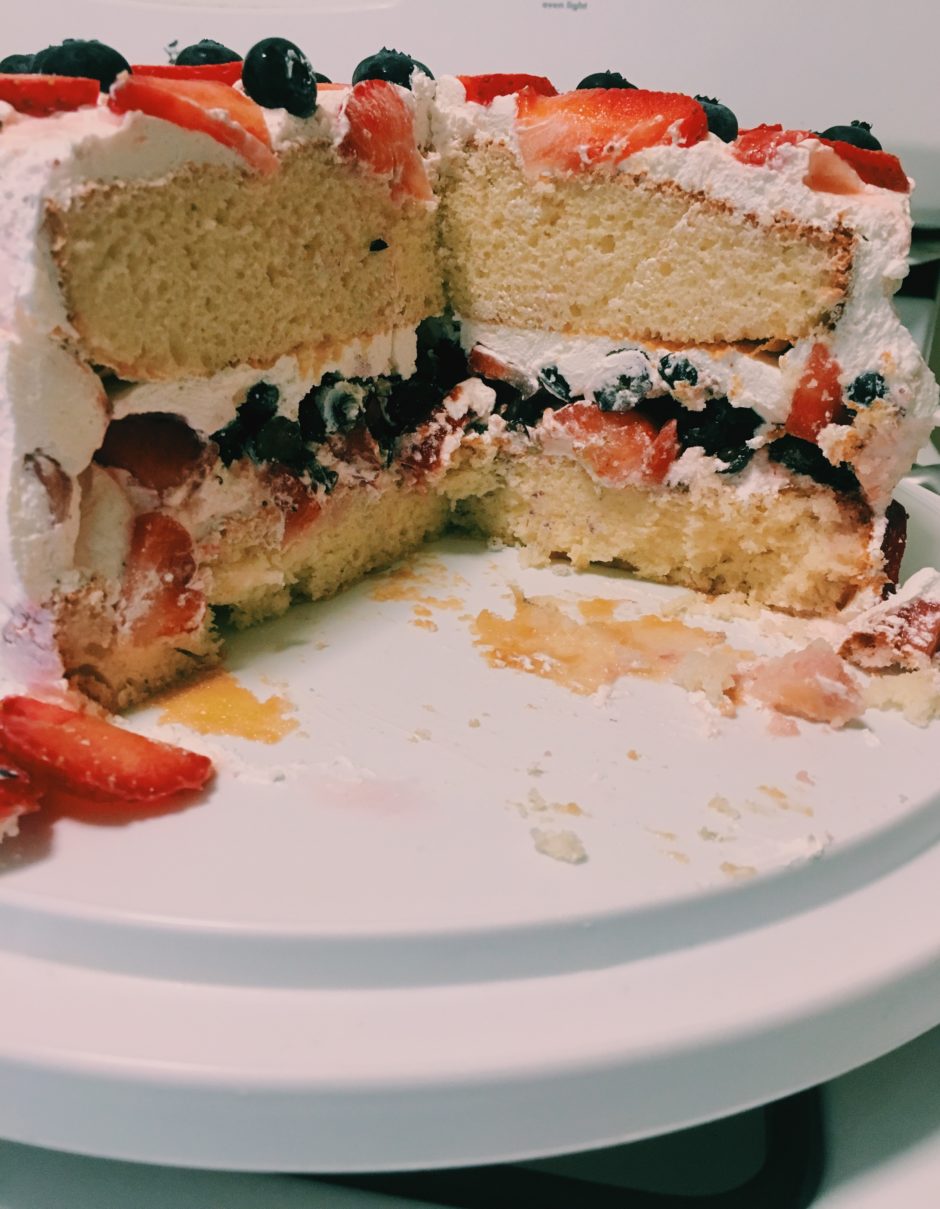
Since I was about 12 years old, every year I have been making (and perfecting) this extremely easy and beyond delicious 4th of July cake recipe. And yes, it includes a box cake which might be considered cheating in the baking world, but who doesn’t love a good box cake? I mean come on, does anybody remember Sandra Lee from Semi Homemade?? However, with that being said, there are a few key tips and tricks that I have discovered along the way that take this simple cake from good to great.
 In the instructions below, I’ve highlighted the key tips and tricks in bold, so that you won’t miss those important steps! If you’re interested in making this cake yourself, I recommend reading through the instructions beforehand, and referring to the photos to help clarify.
 Party Flyer
 Party Flyer
Lastly, if you are planning on throwing a party for the 4th, and serving some of your homemade red, white and blue cake, Paperless Post has some of the cutest digital party flyers that you can easily text to your guests. They even have flyer GIF’s to make it more fun and animated. Click here to see all the options. And click here to see the last time I used Paperless Post for the holidays.
 Anyway party people, please let me know if you give this recipe a try! Happy 4th. Enjoy the day in whatever way suits you best.
-KayGood
4th of July Cake Recipe
Ingredients:
Cake
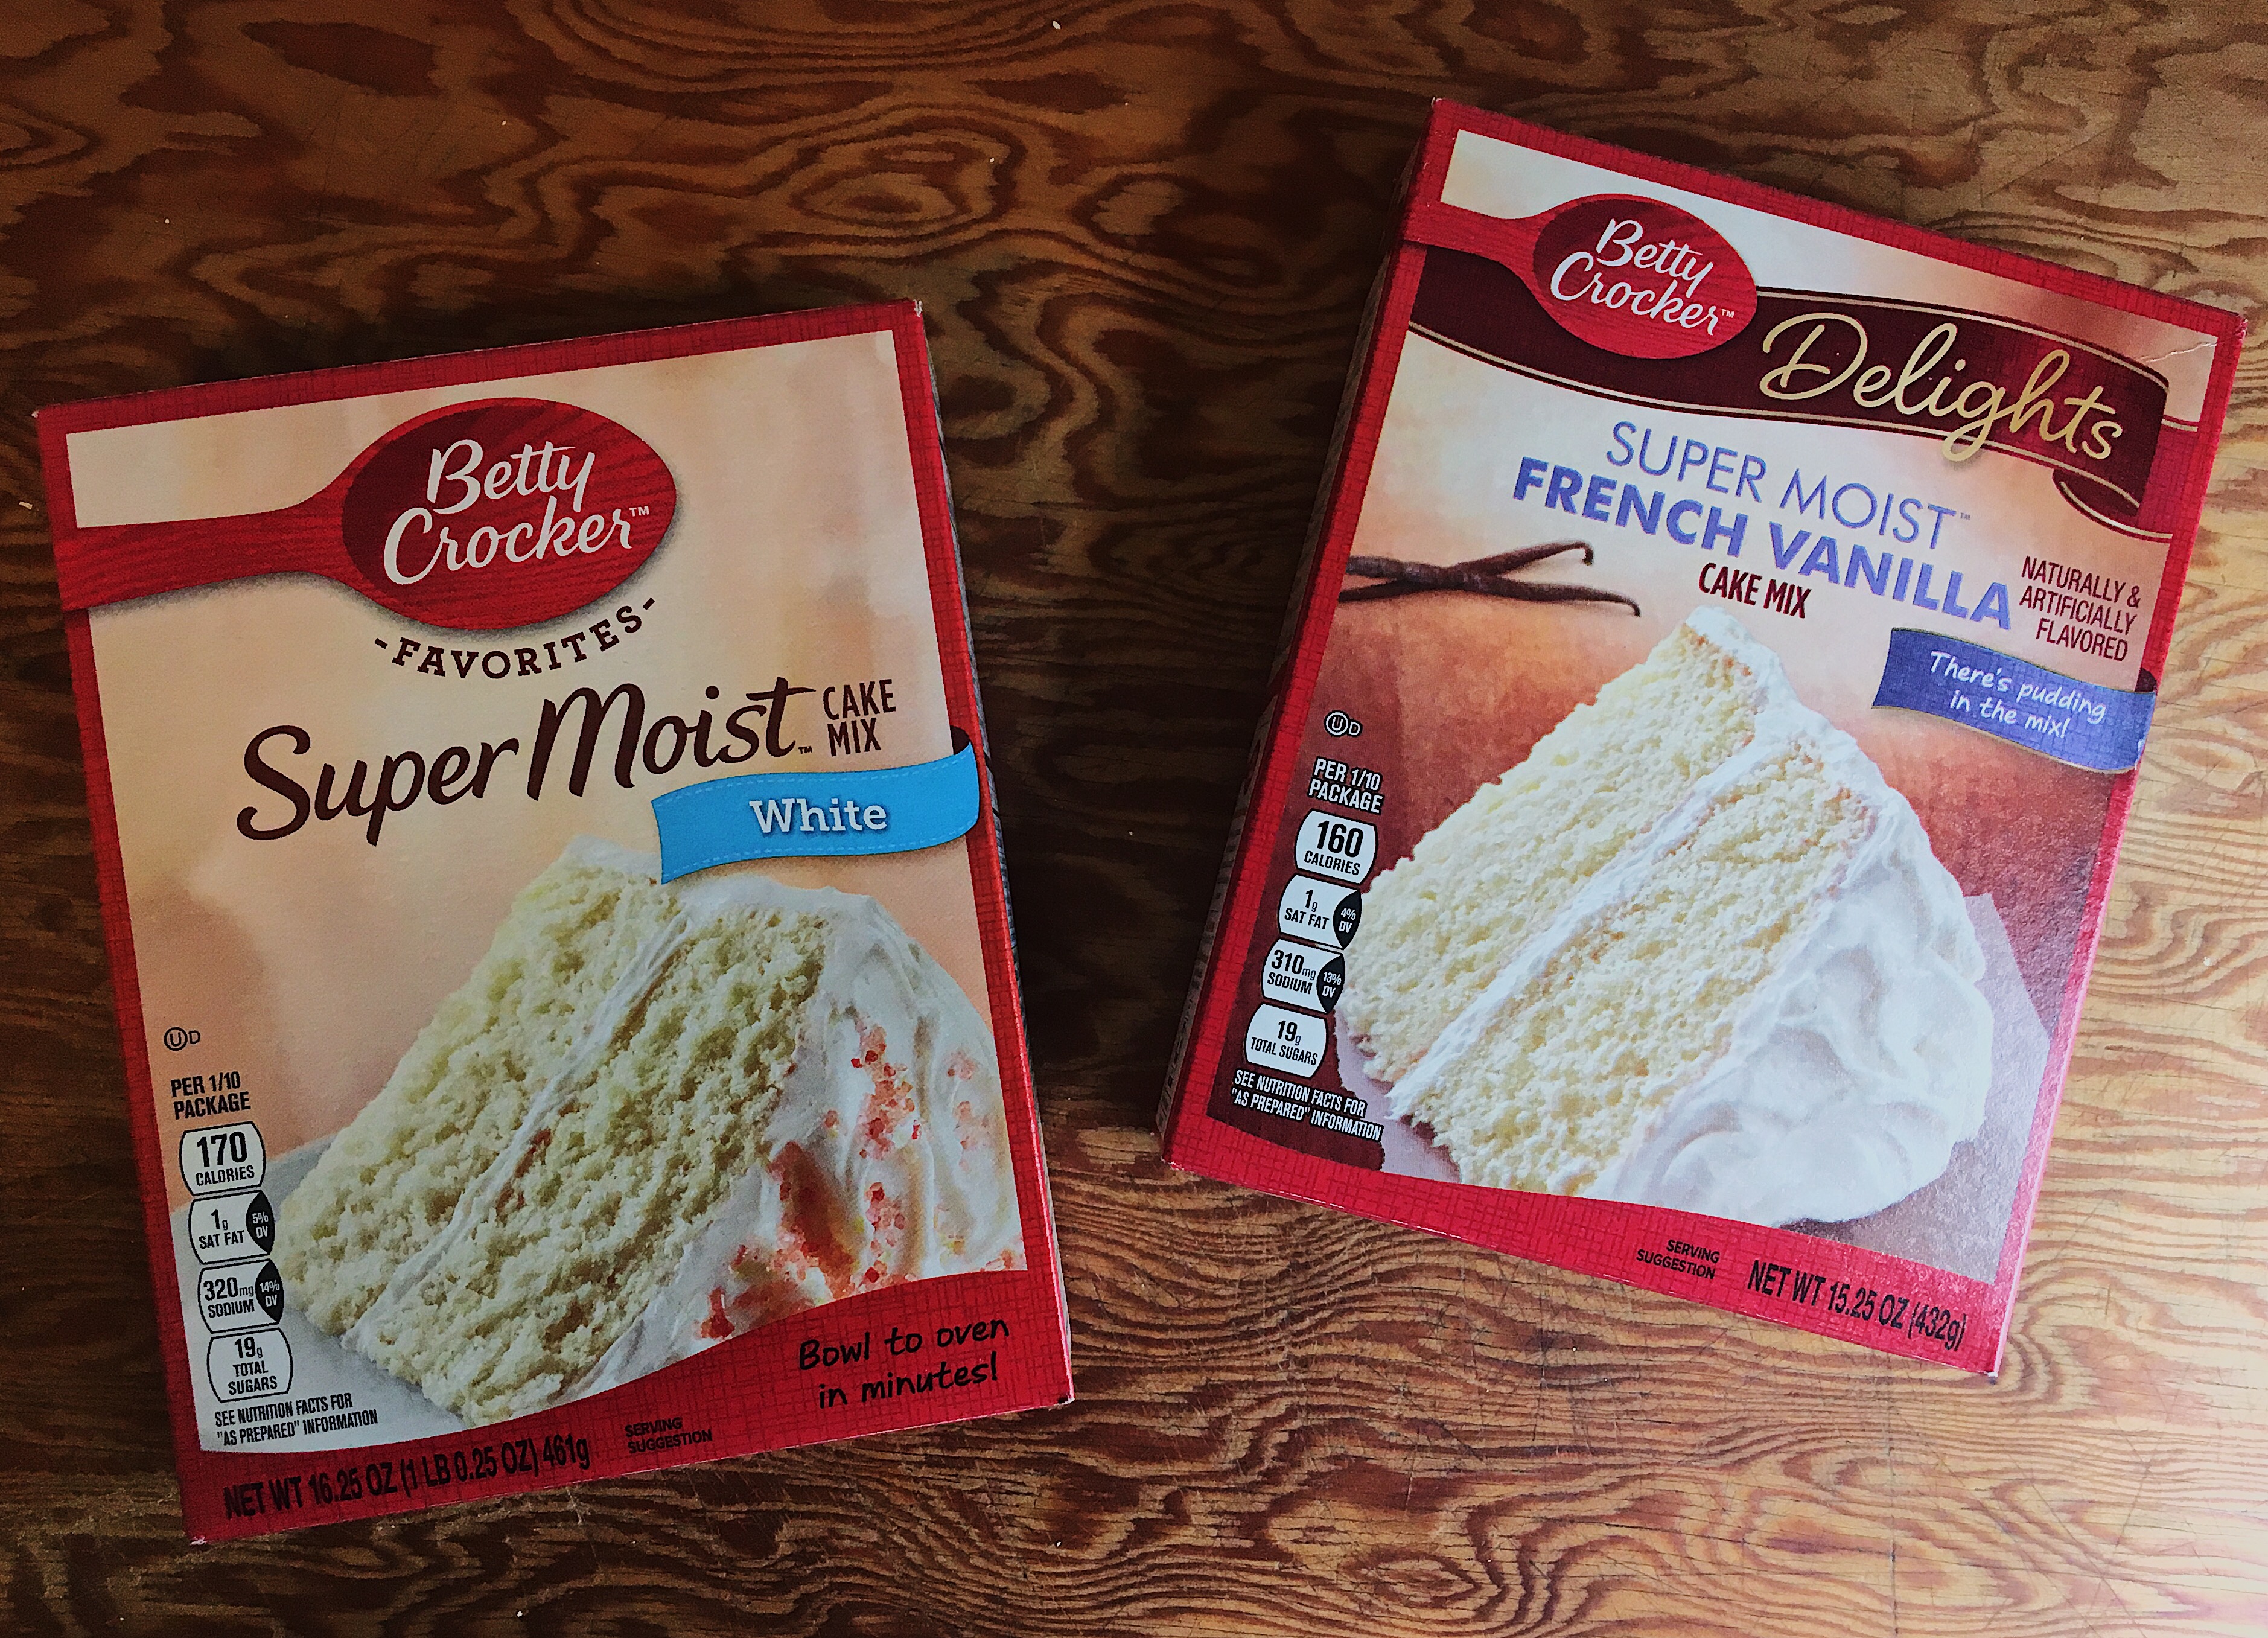
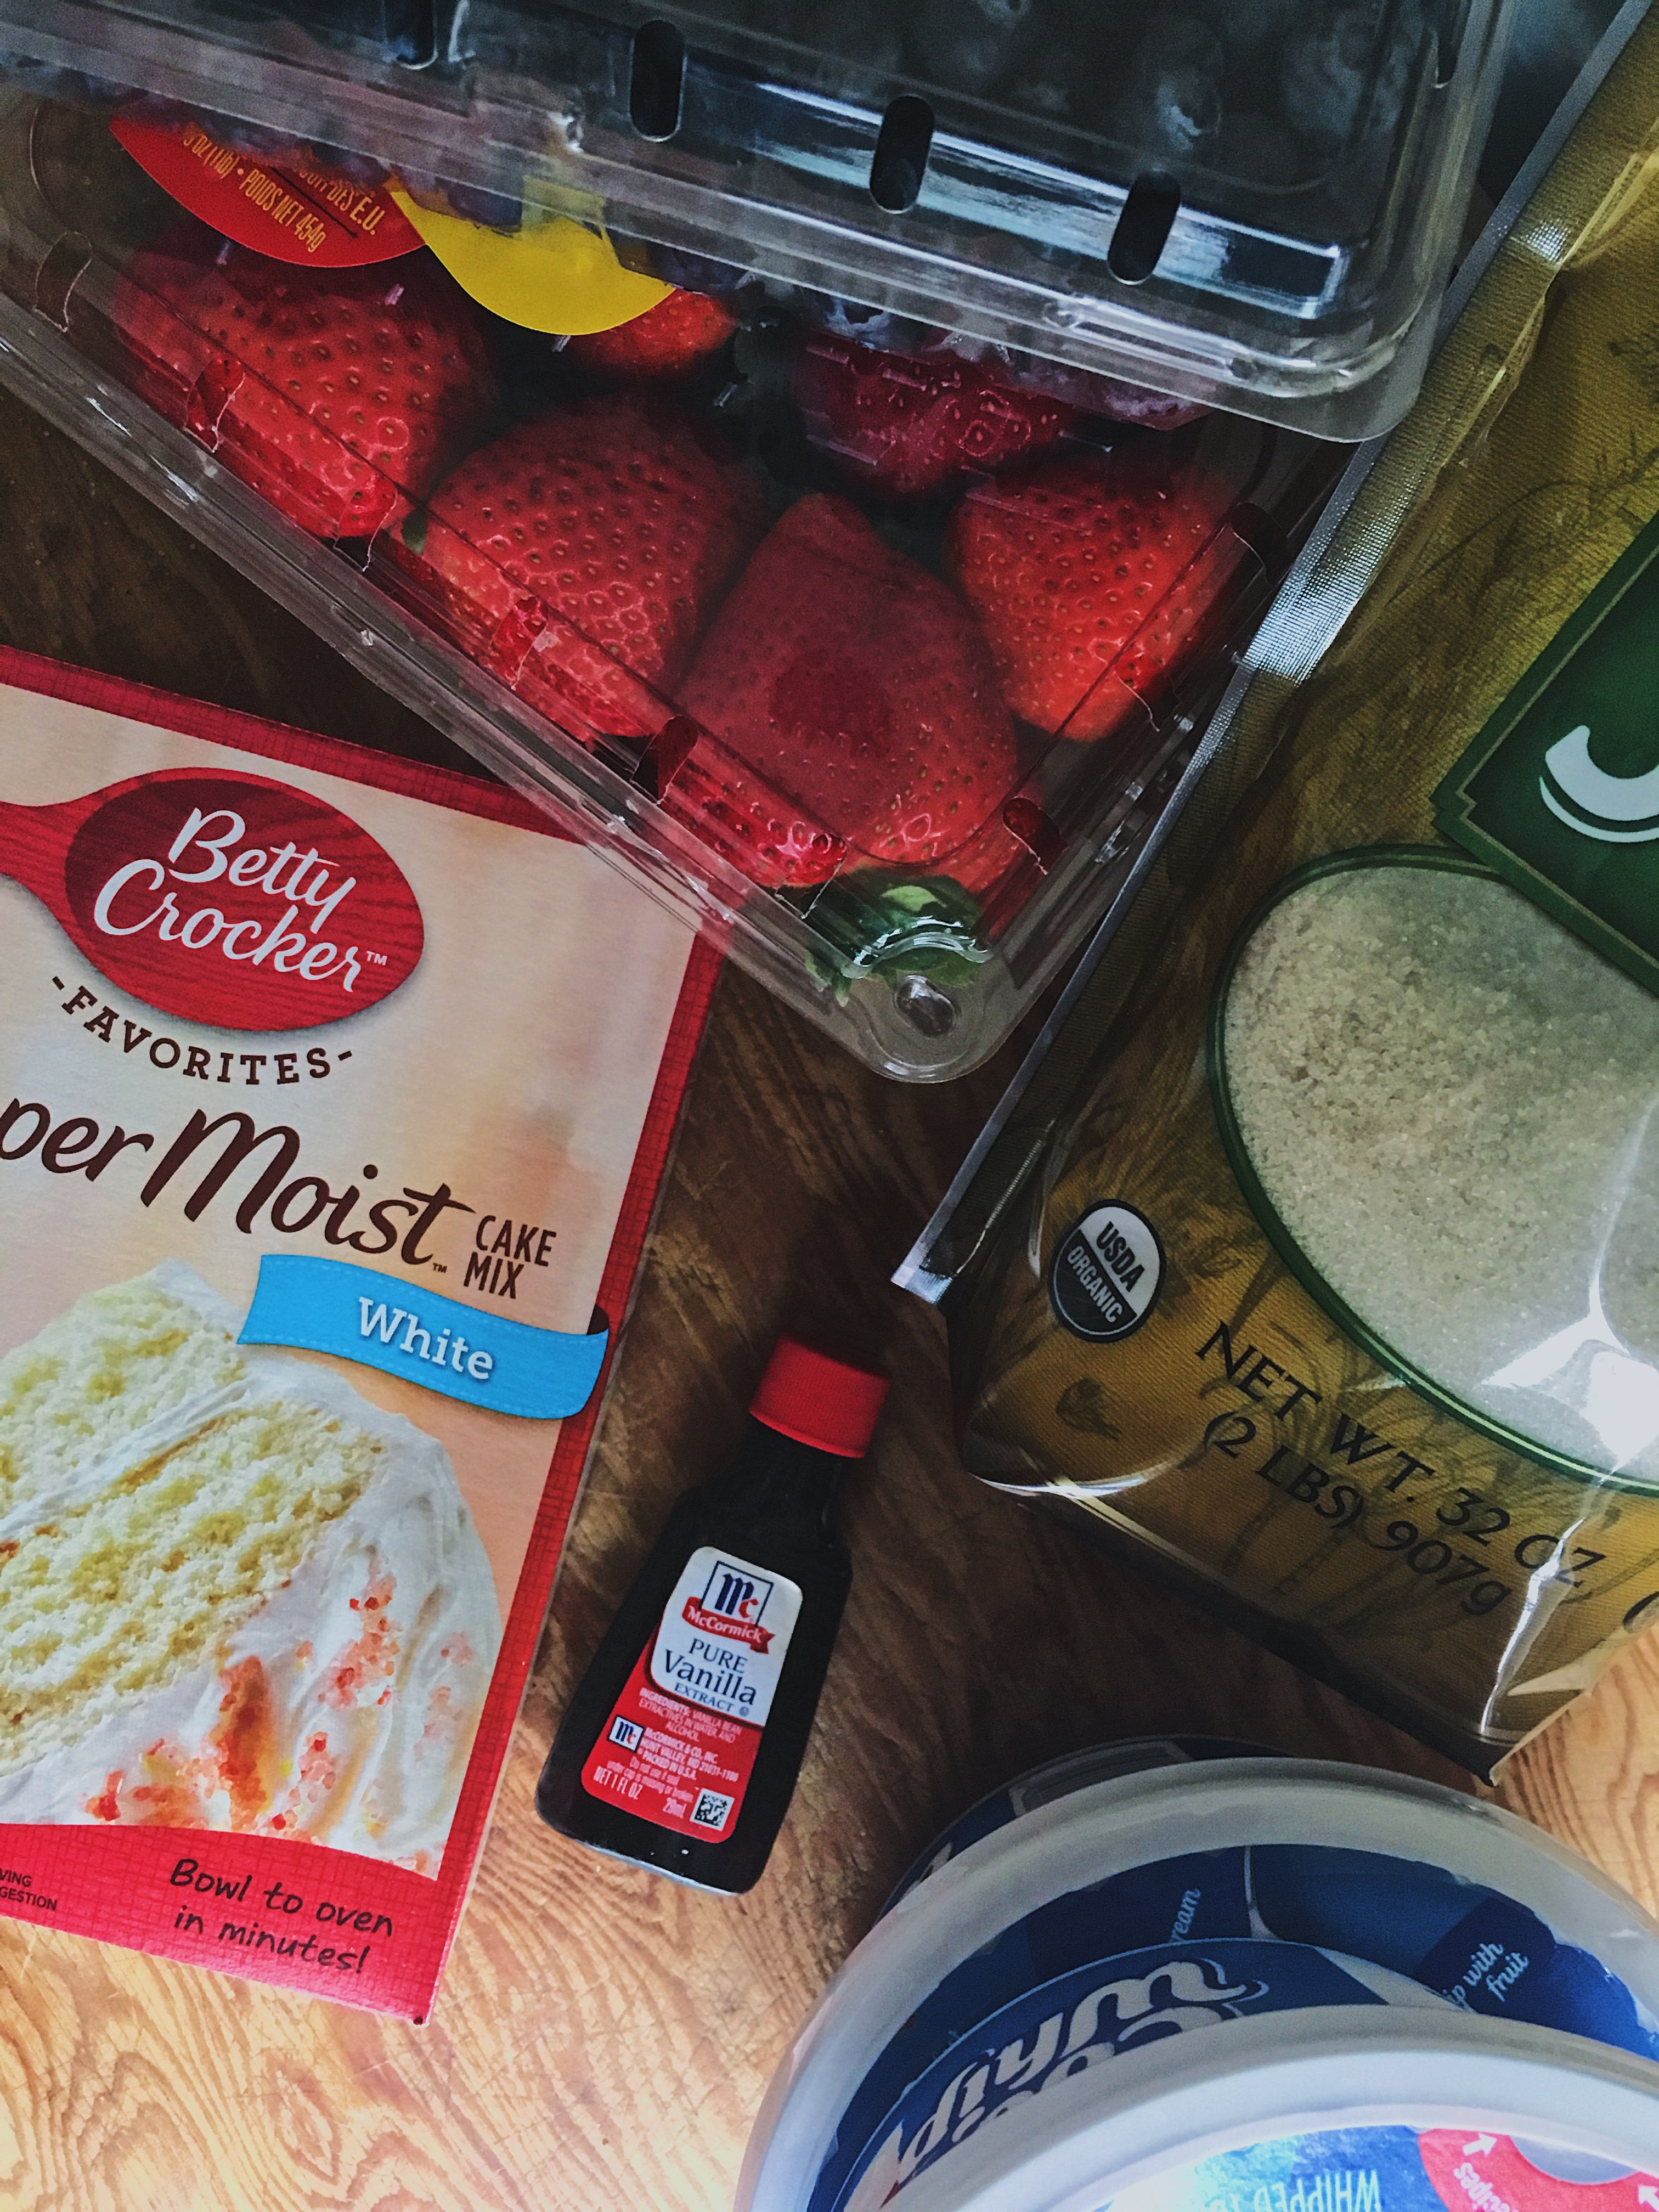
(1) Box cake mix (Choose your favorite brand of Vanilla or White cake)
(3) Eggs
(1/2 cup) Vegetable Oil
(1) Teaspoon of vanilla extract
Filling & Toppings
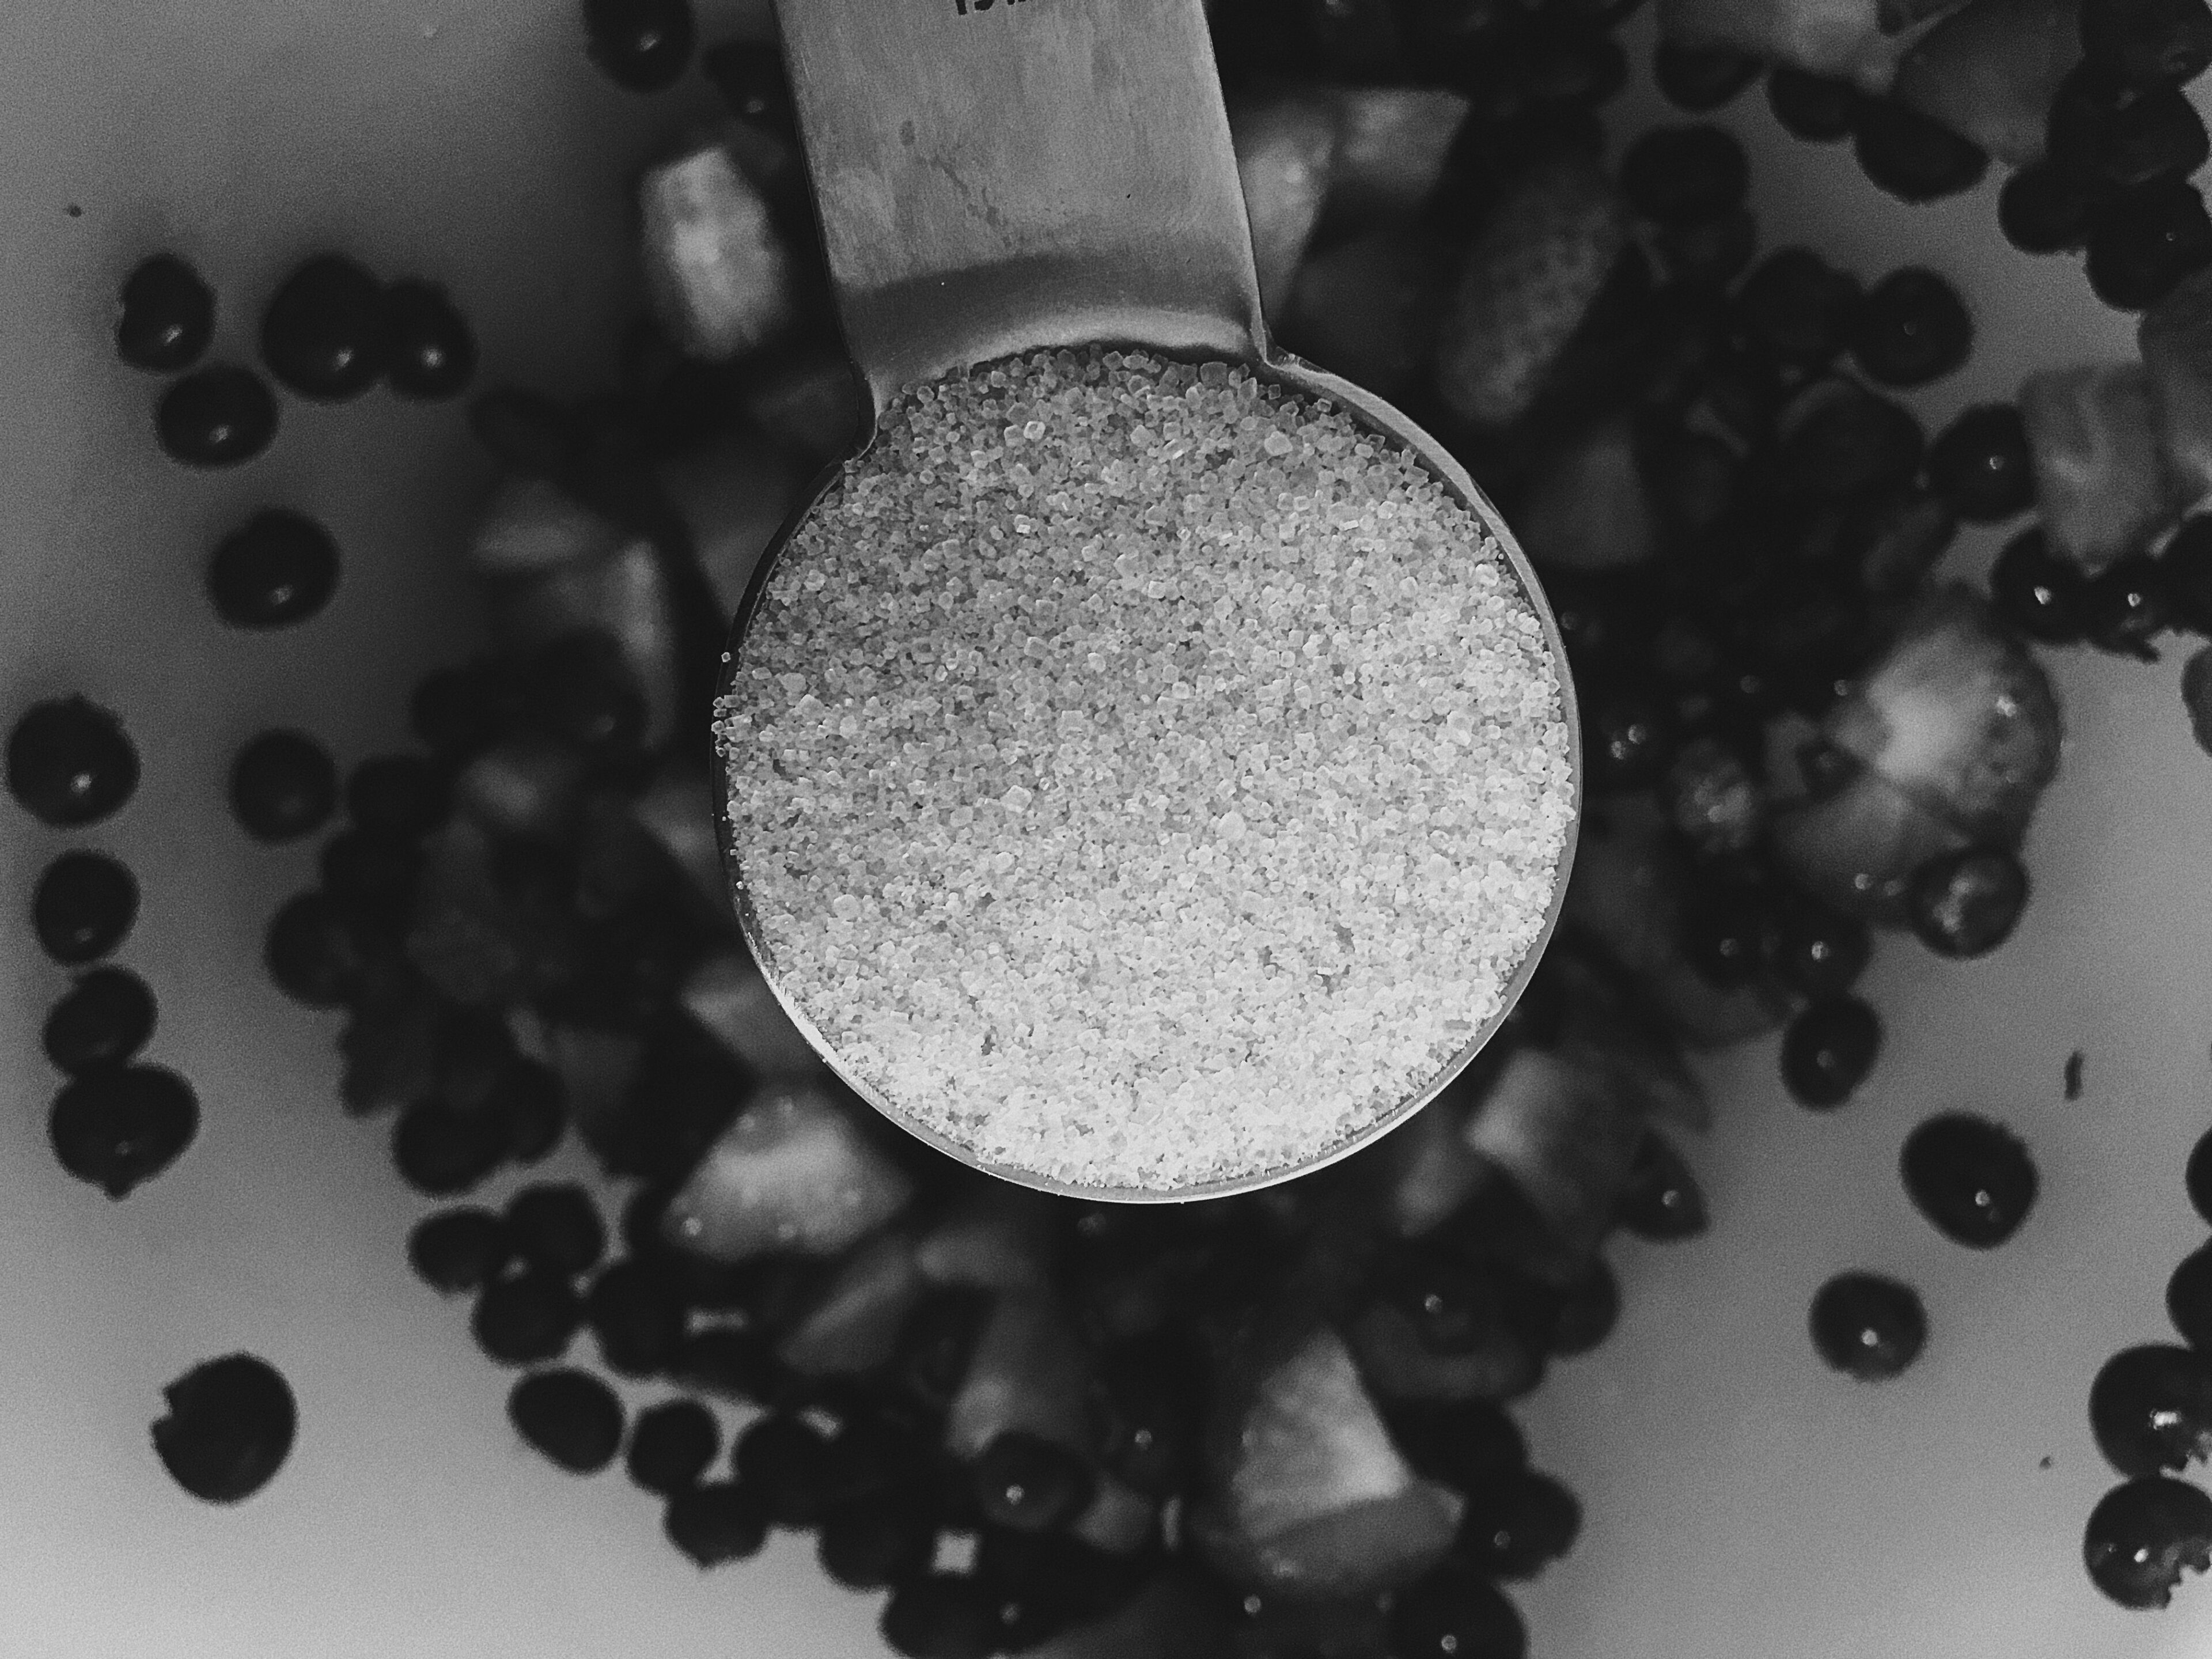
(1) Tablespoon of cane sugar (Any white granulated sugar will do)
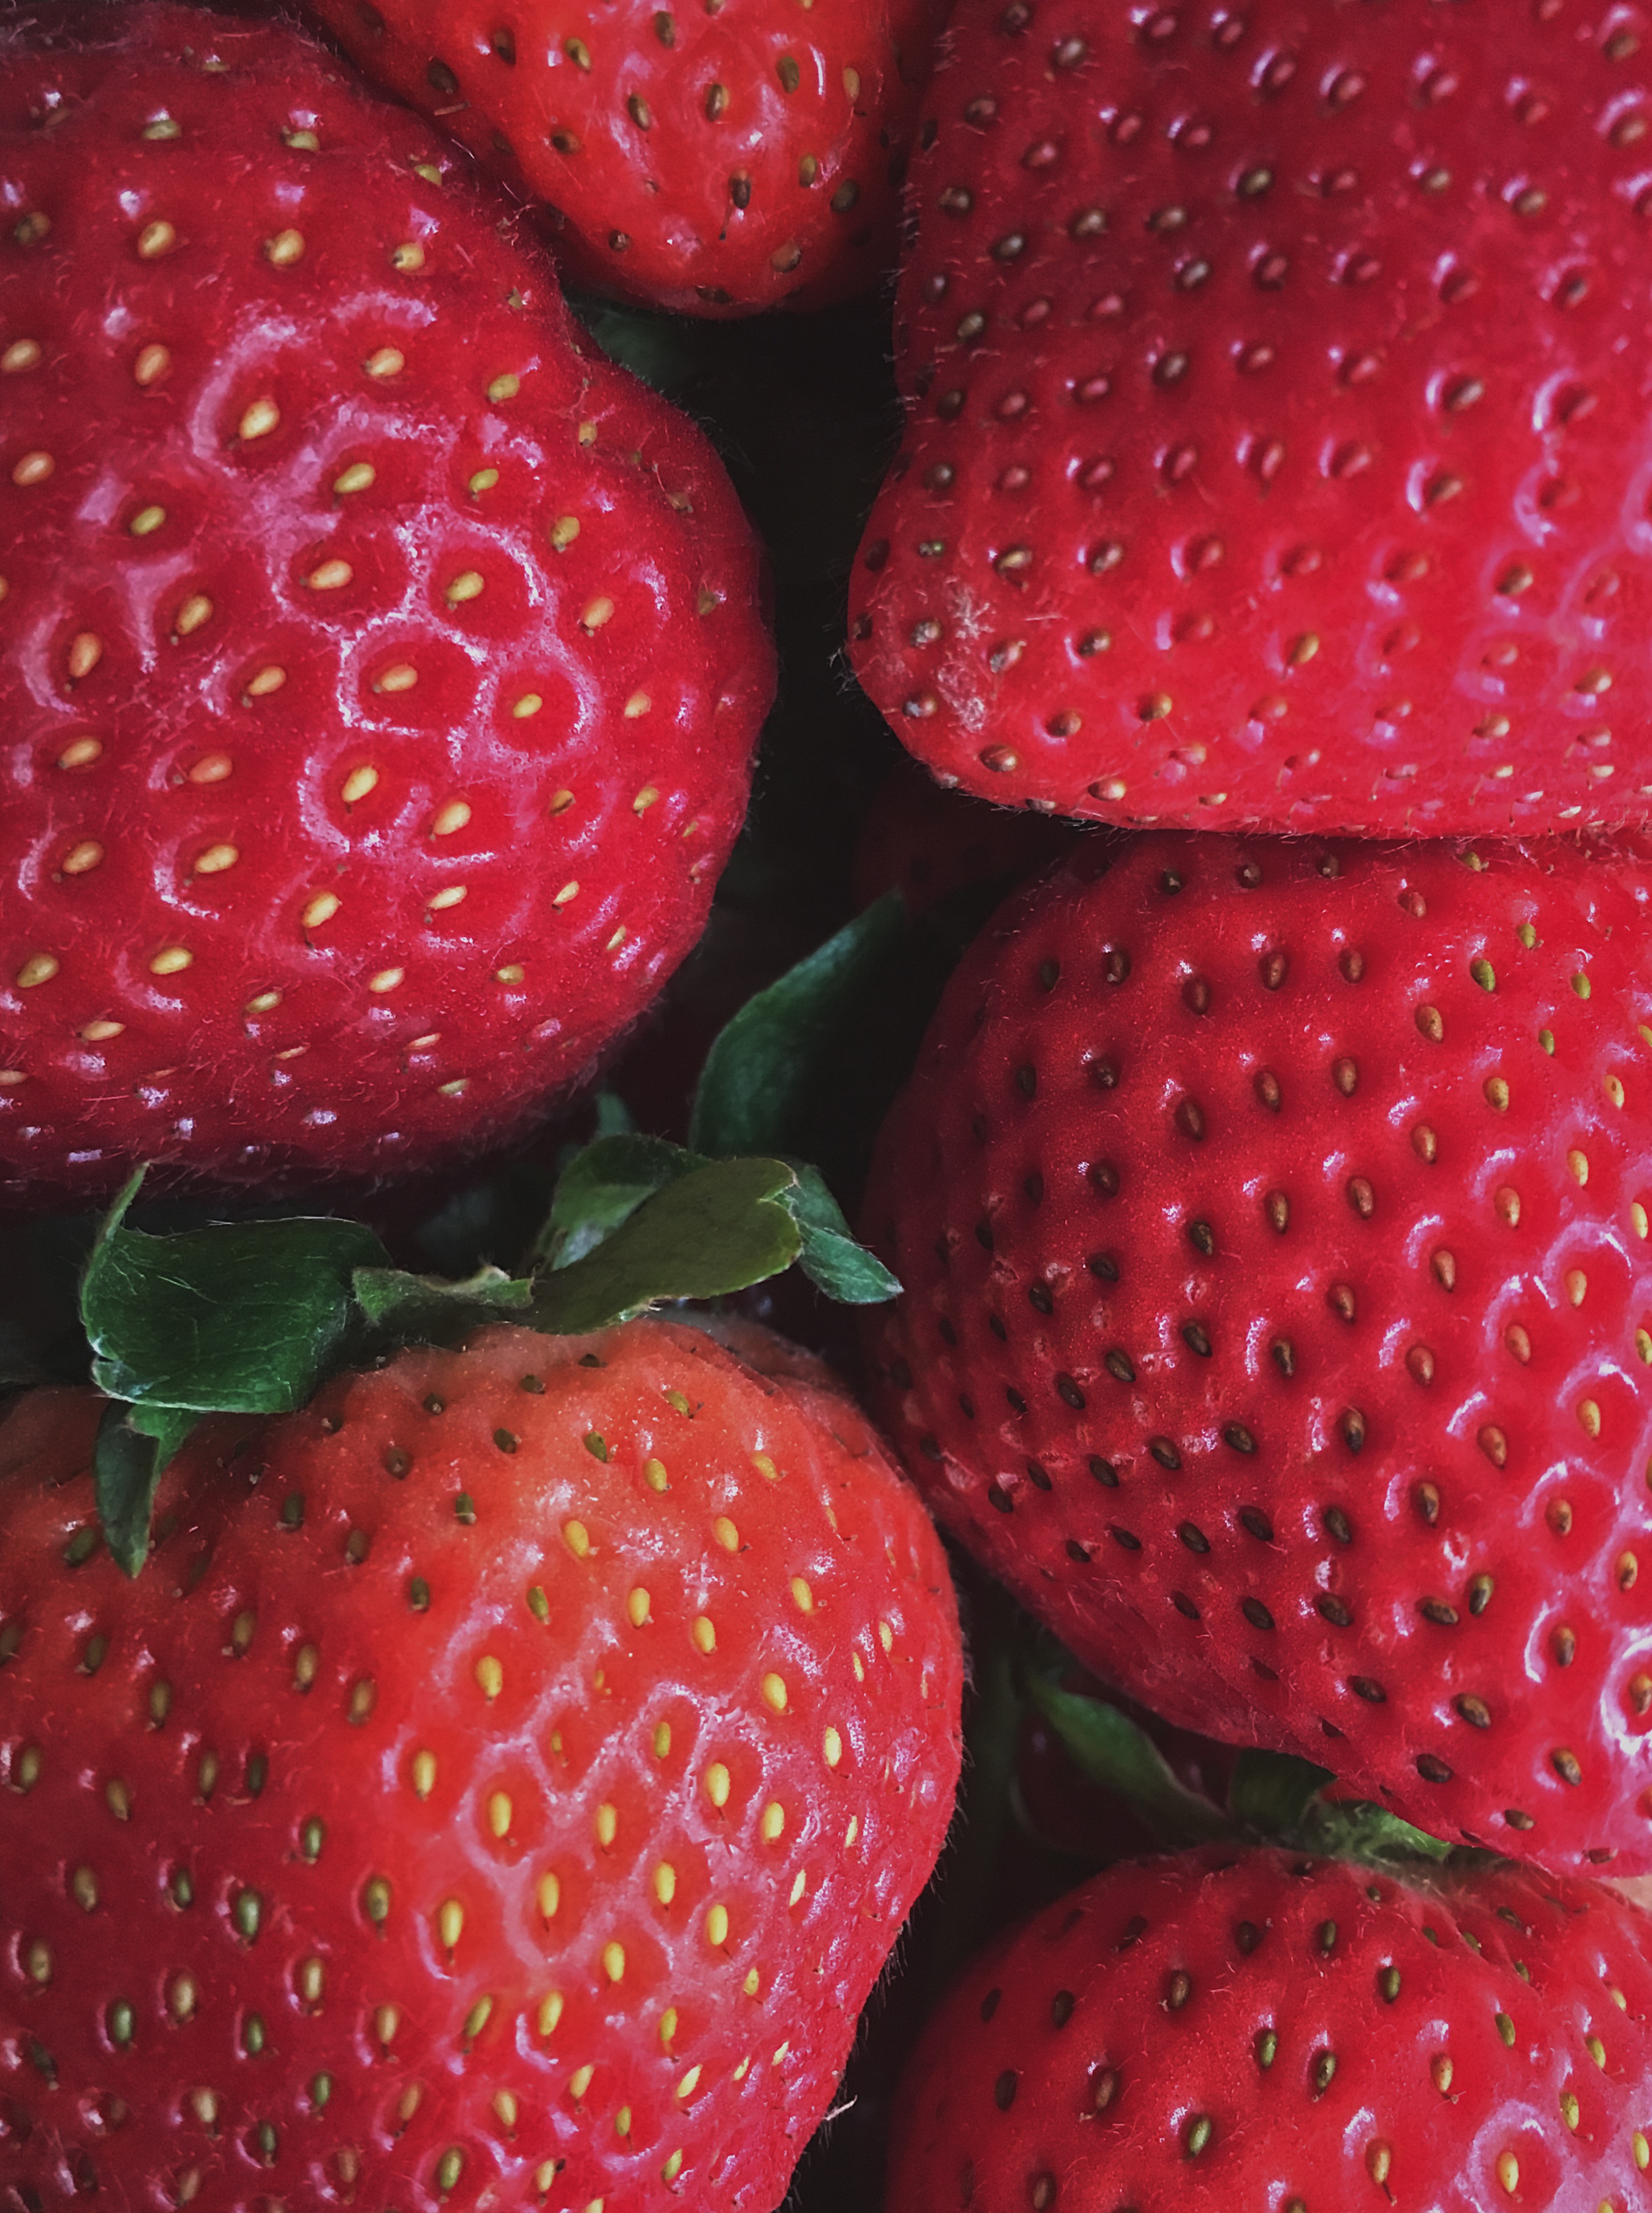
(1) Container of strawberries
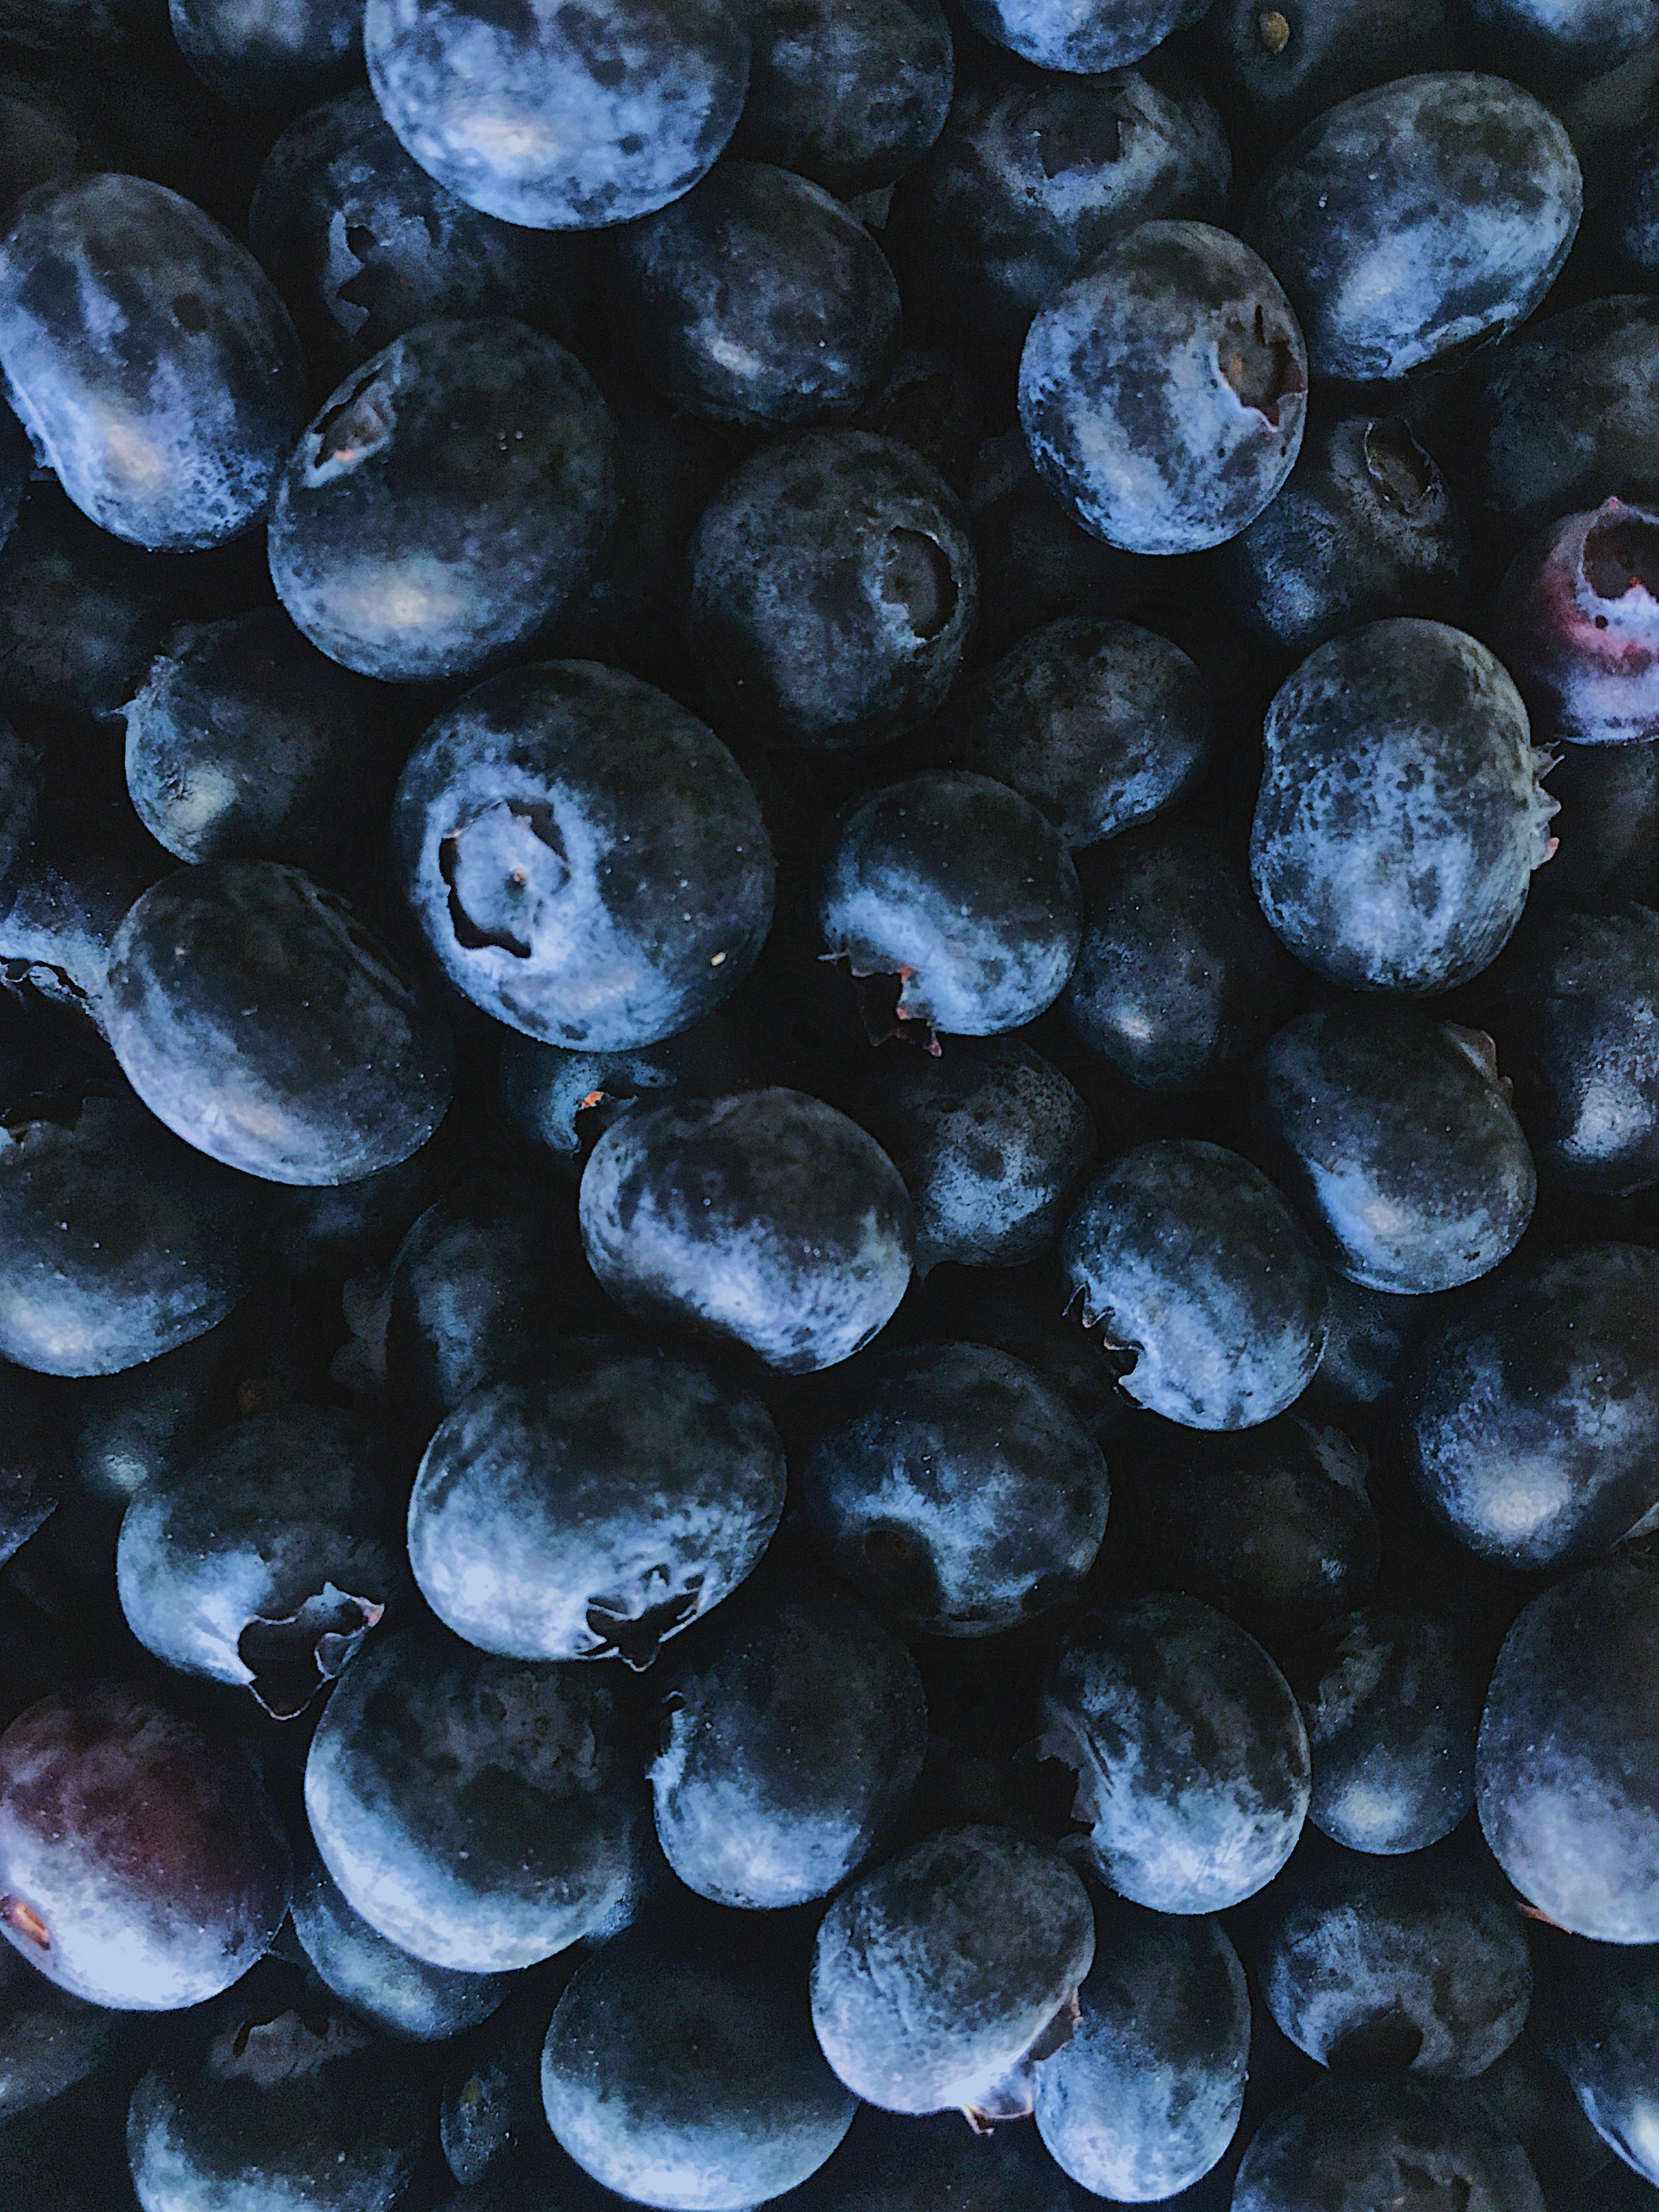
(2) Small or (1) large container of blueberries
(2) 8 oz. containers of Cool Whip Original

You can use any brand of white cake mix or vanilla flavored cake mix that you like. For this post I am using Betty Crocker Super Moist French Vanilla.
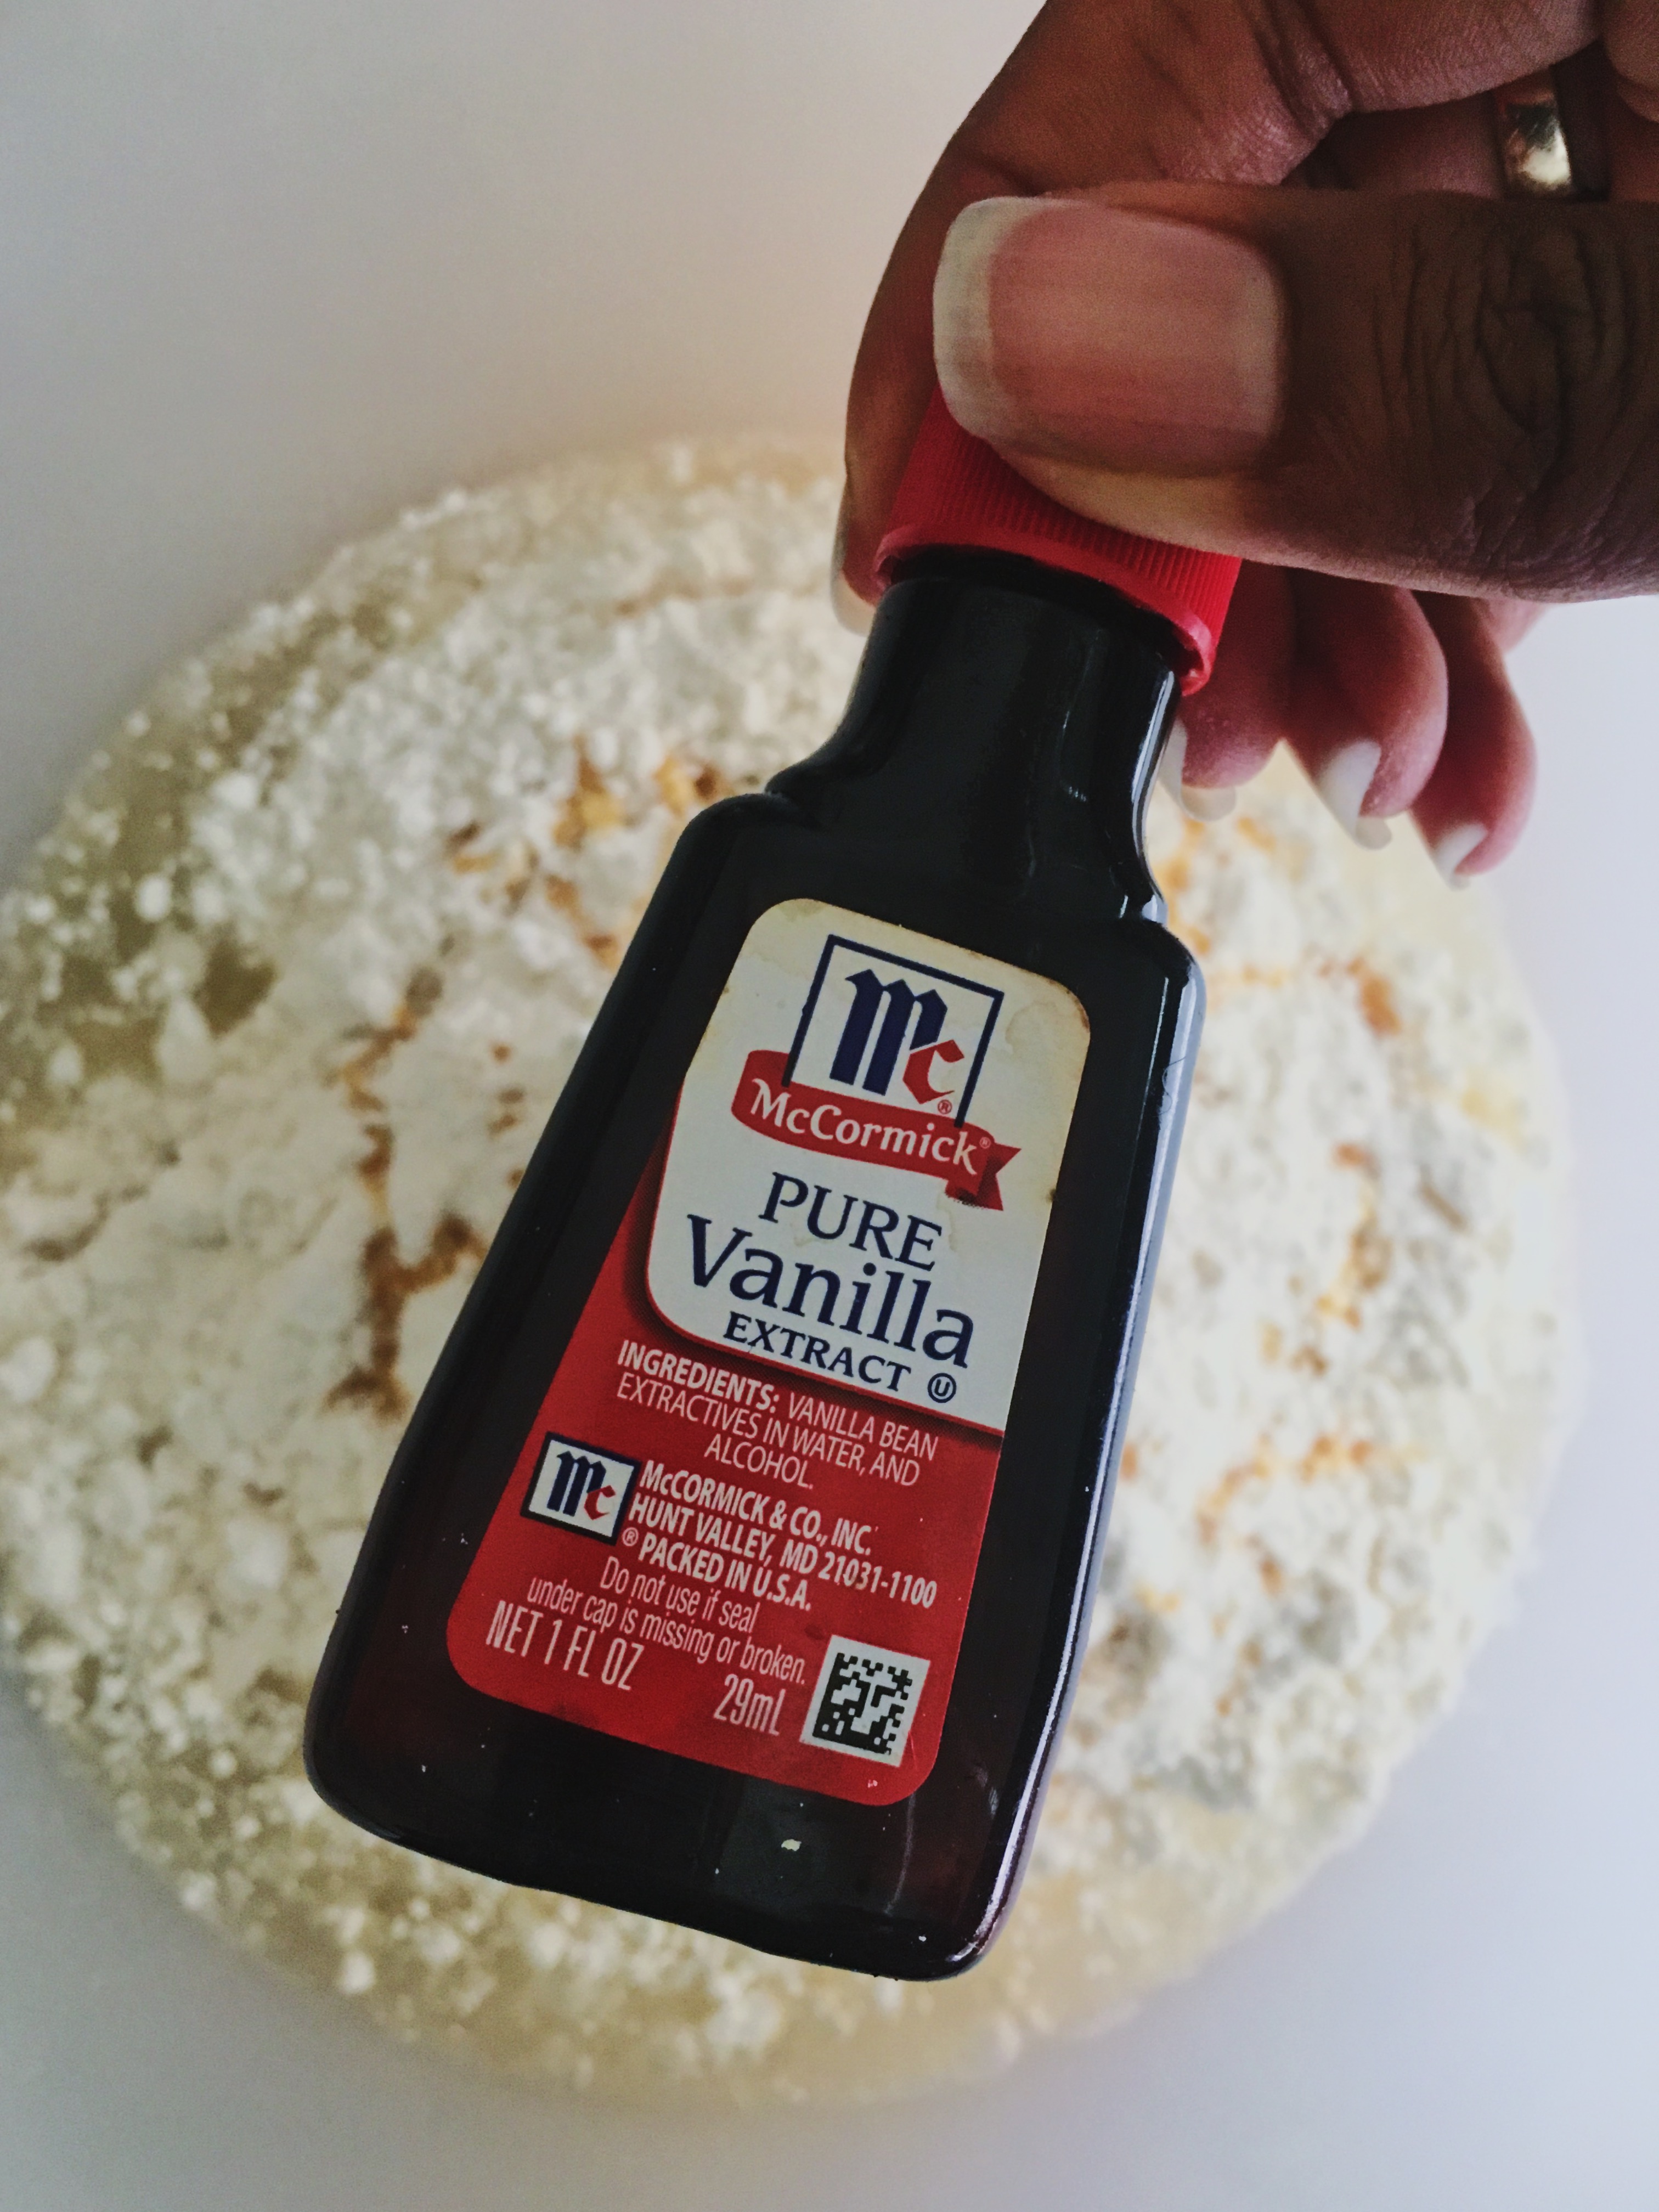
Add a teaspoon or a capful of pure vanilla extract into the cake mix batter.

Add 1 tablespoon of cane sugar or plain white granulated sugar to the berry mixture filling.
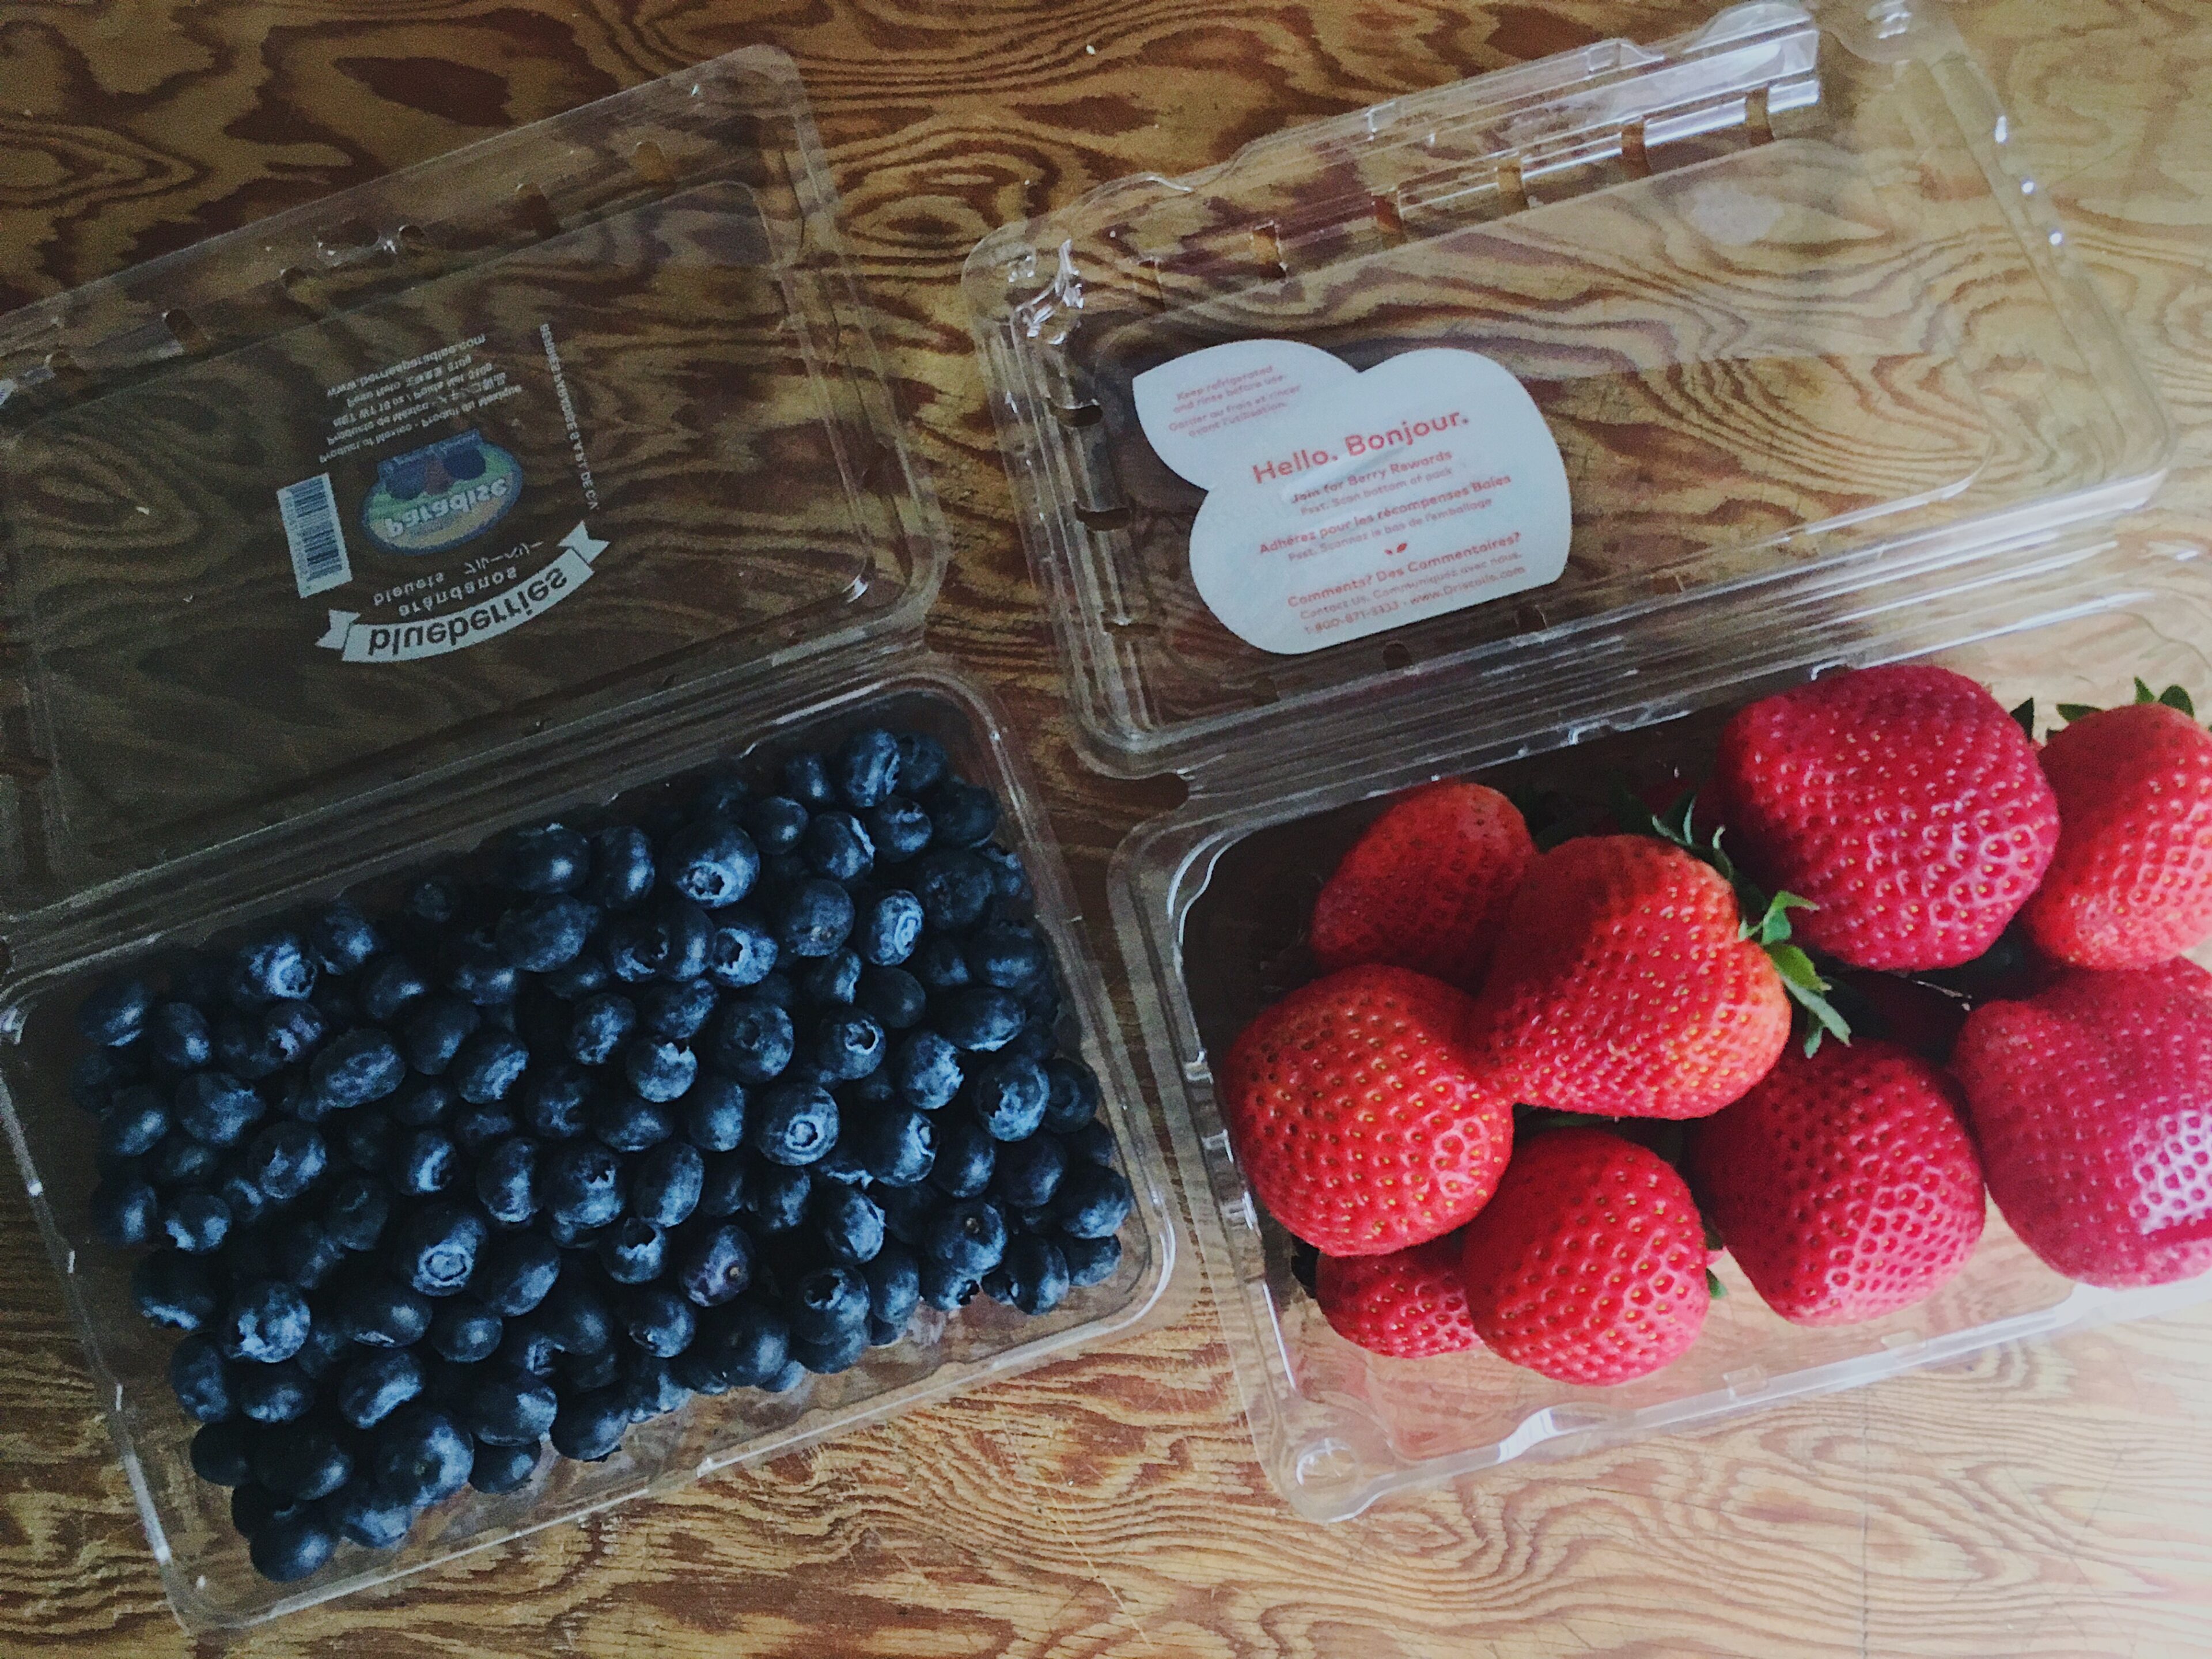
For the cake pictured in this post, I used one regular sized box of strawberries and one large box of blueberries. If you can’t find a large box of blueberries, just get 2 small boxes. You may have some leftover, but it’s better to have more than not enough.
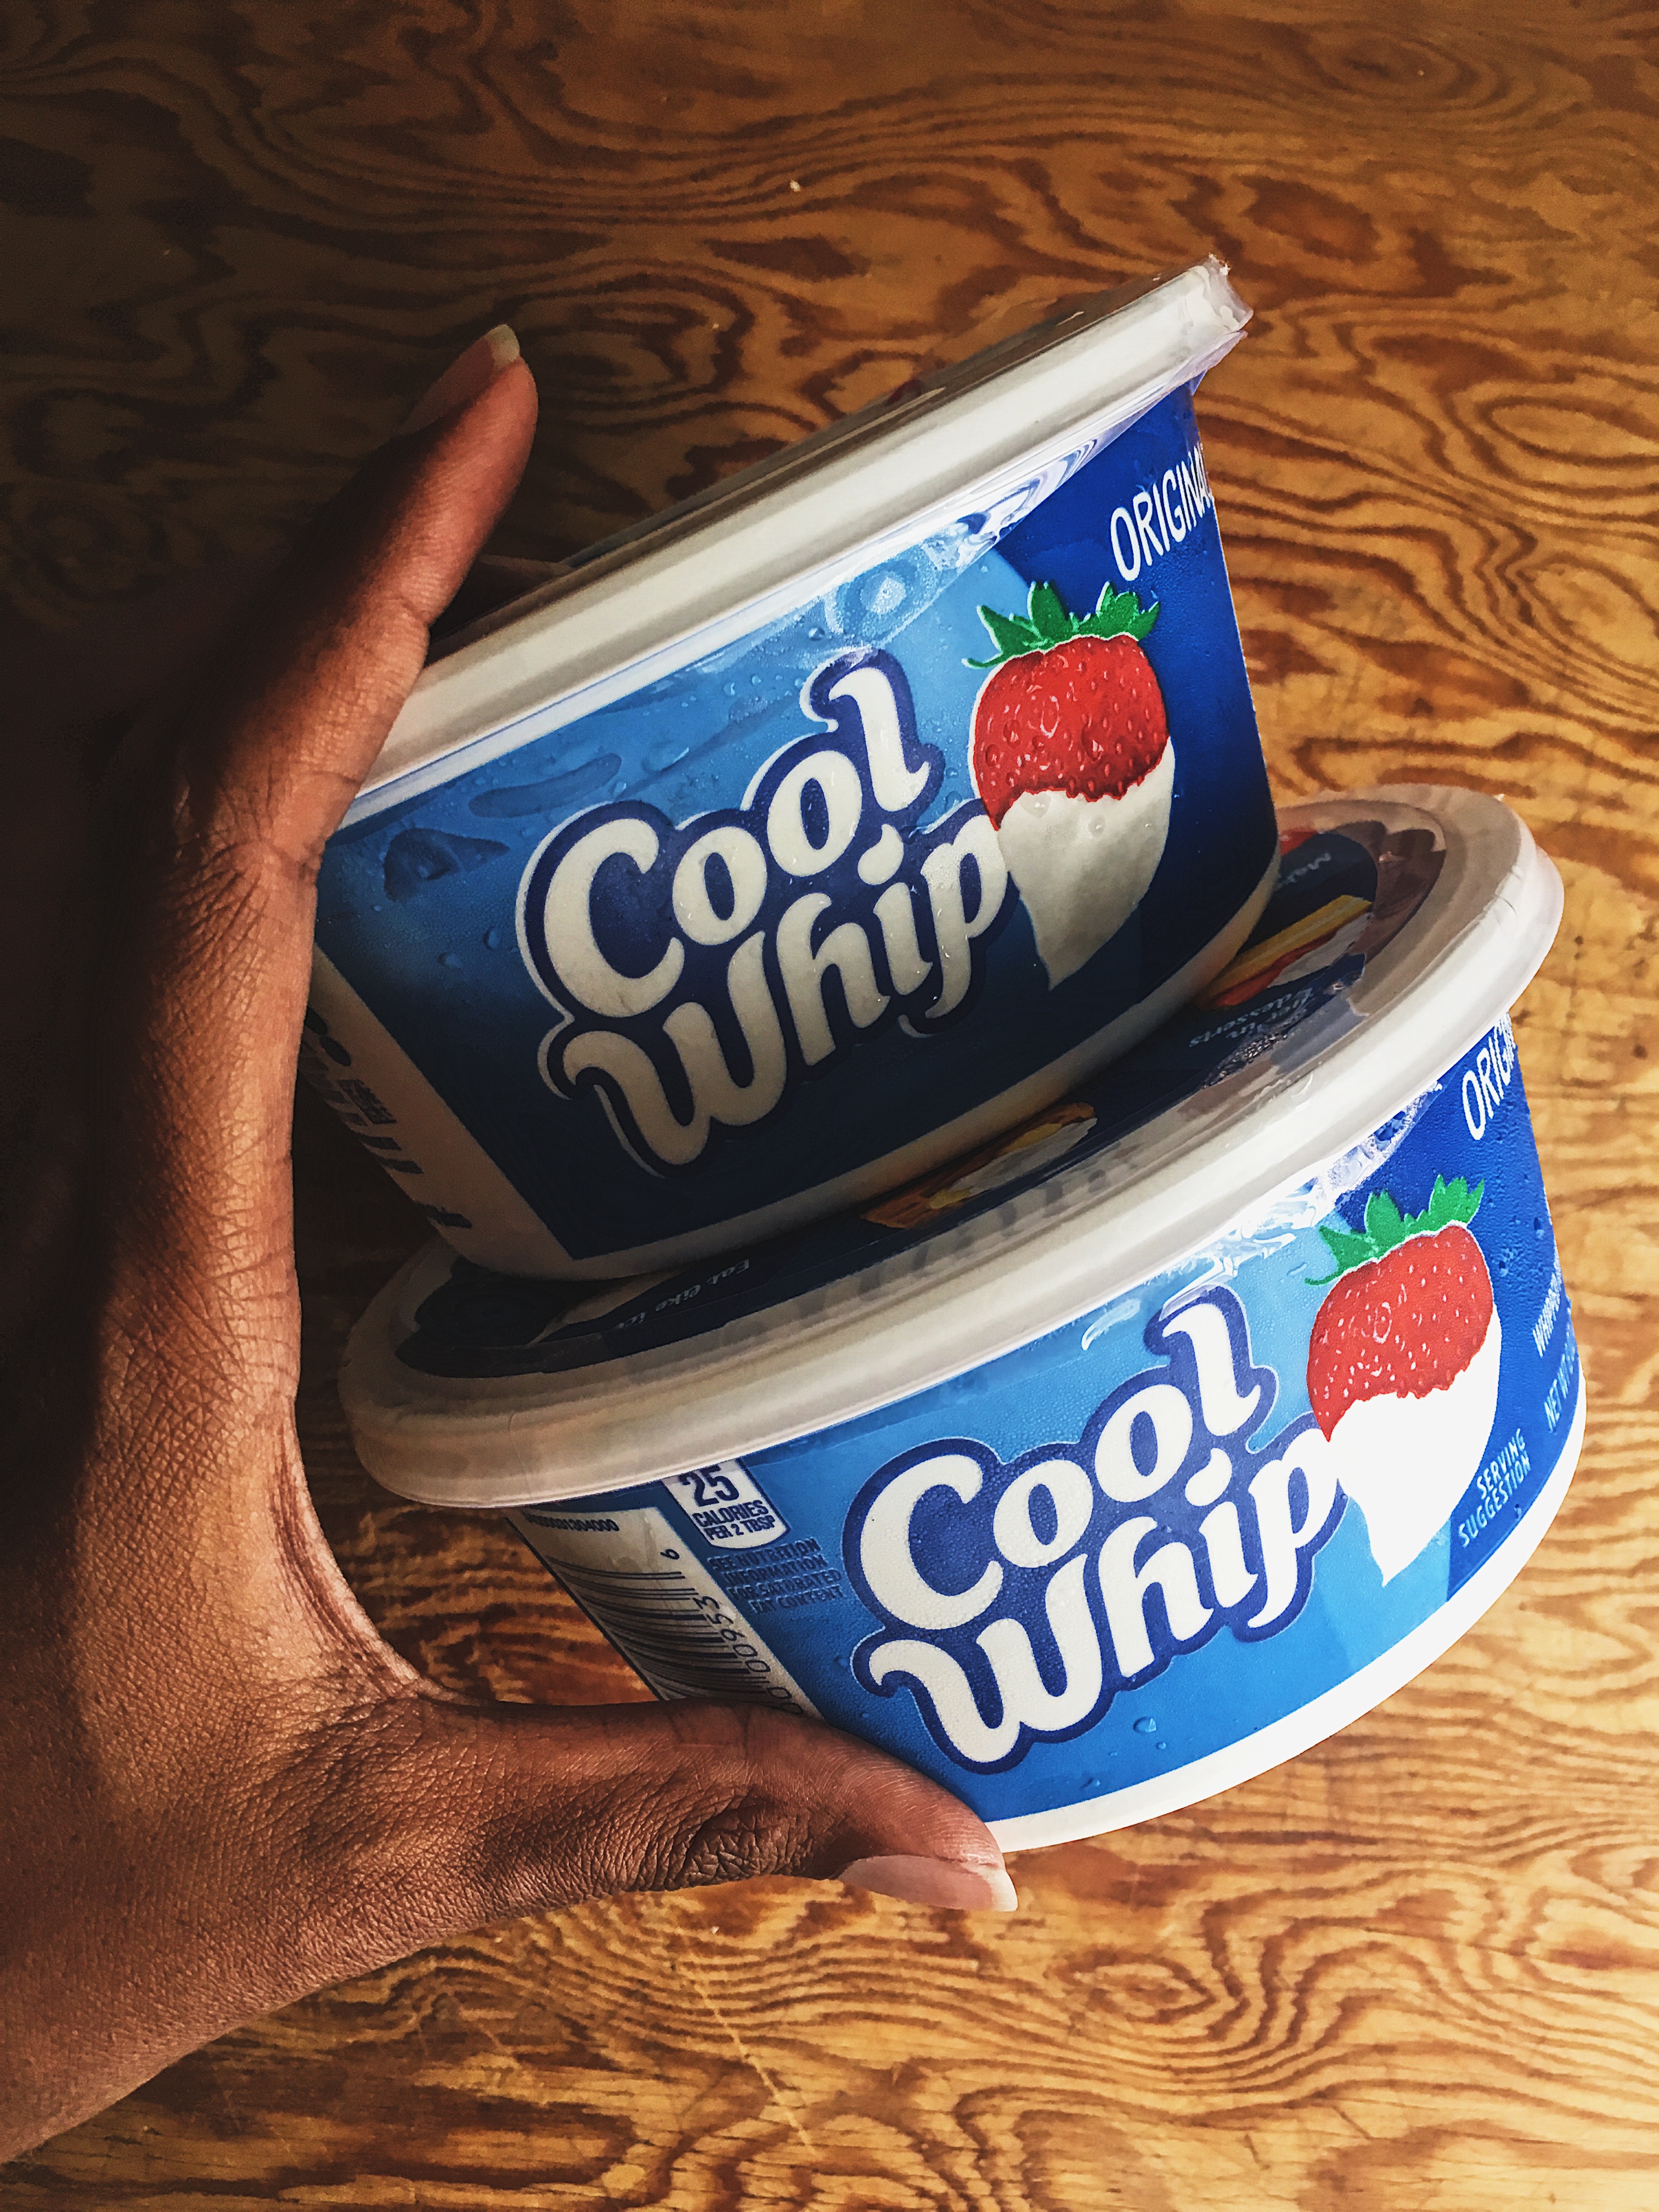
You will need all of (2) 8oz. containers worth of Cool Whip Original.
Instructions with pictures:
(Instructions repeated without images at the bottom of the article.)
1. (Very Important Step) Remove Cool Whip from the freezer.
Allow Cool Whip to fully thaw before using, however keep cool in fridge if need be. Will be too hard to spread onto cake if the Cool Whip is still frozen.
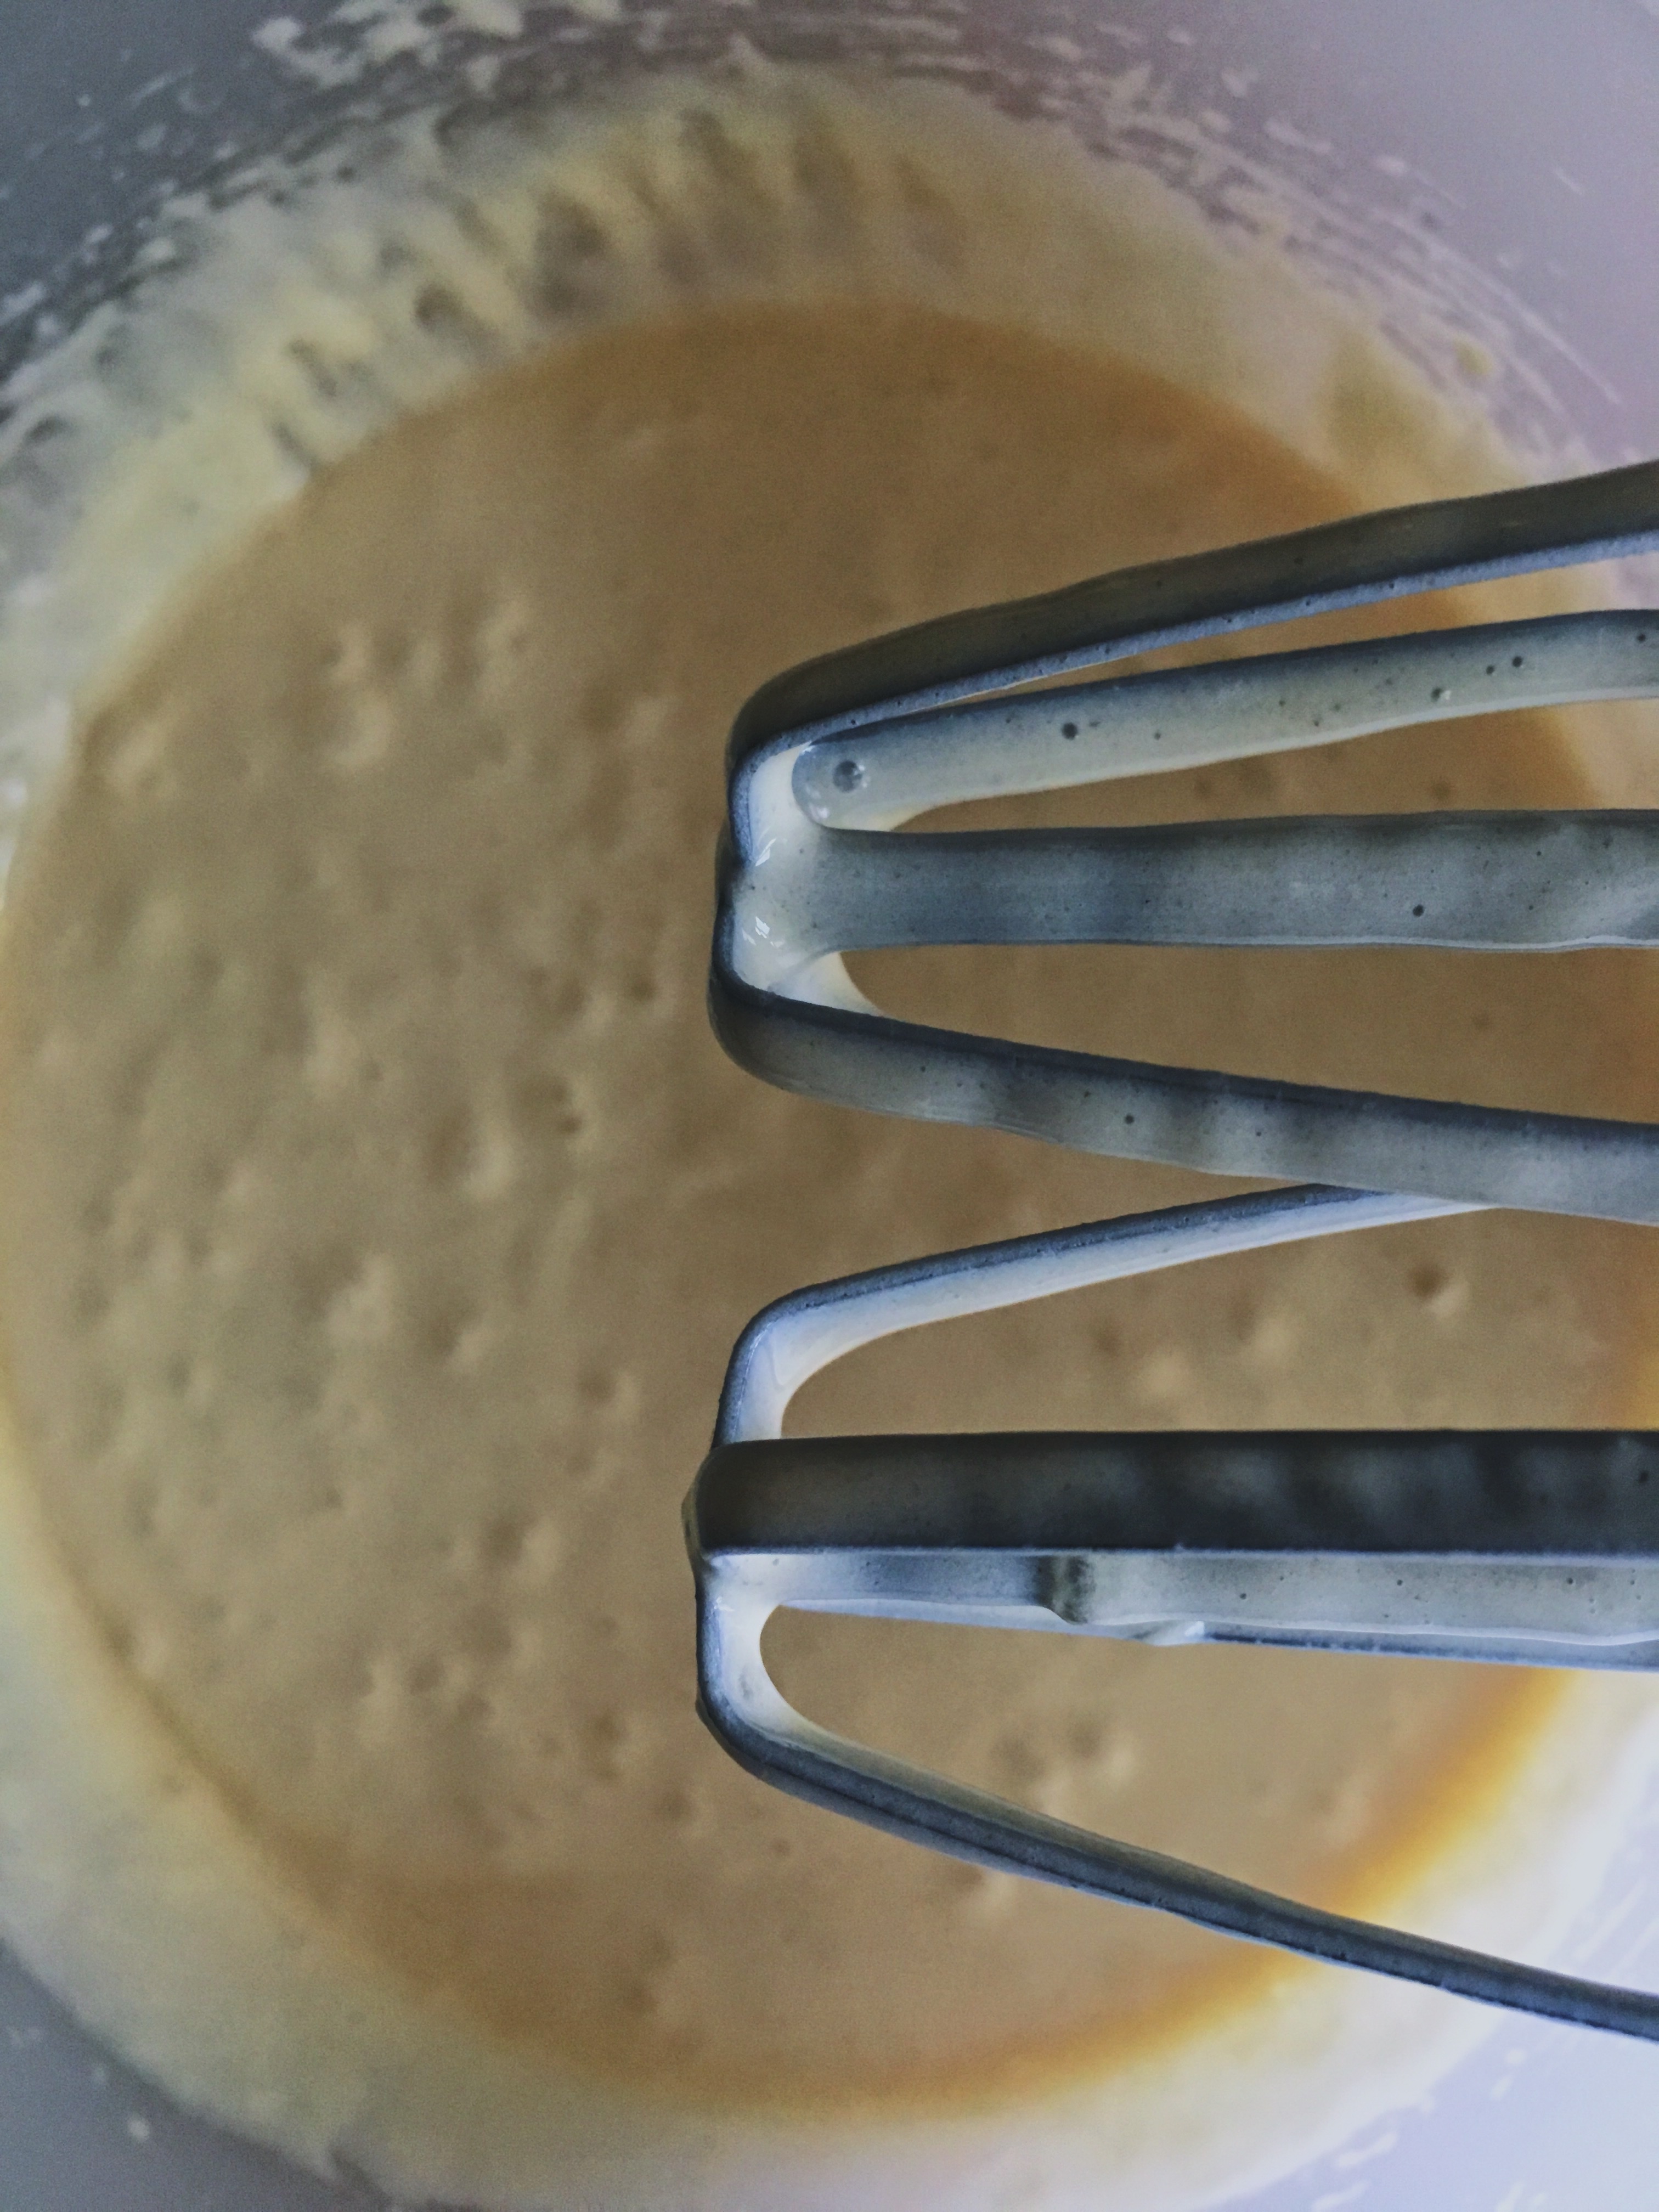
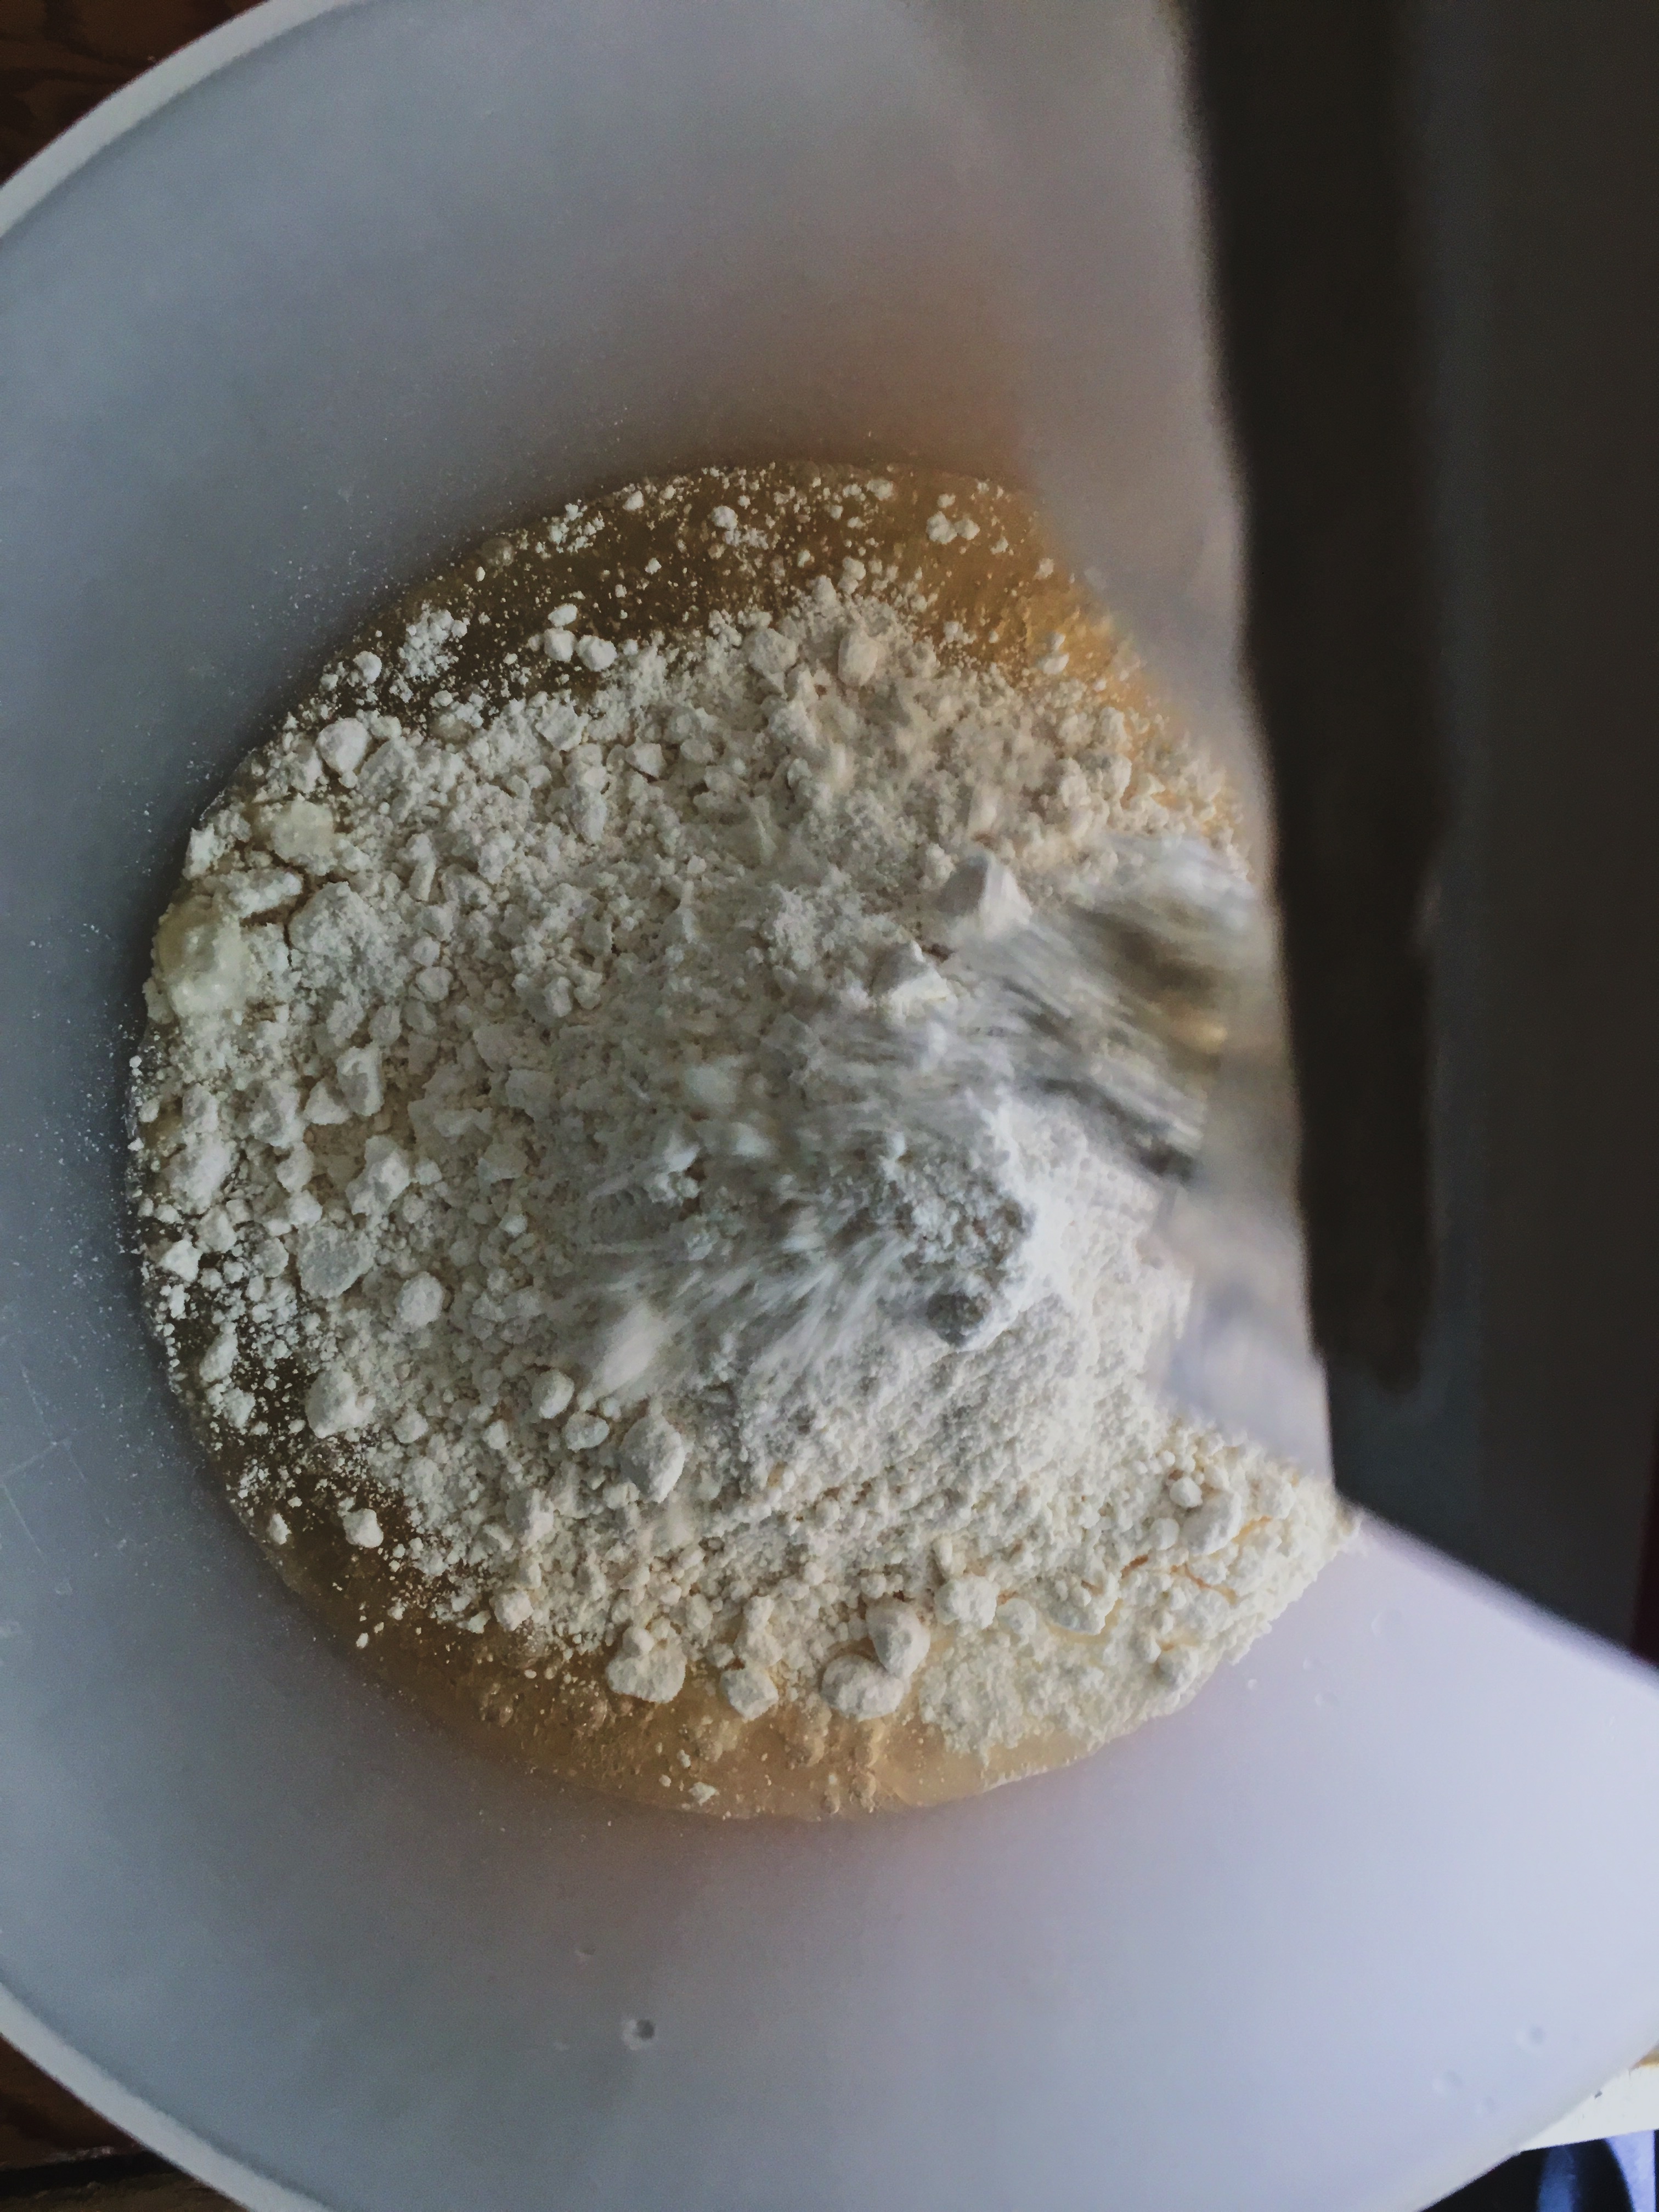
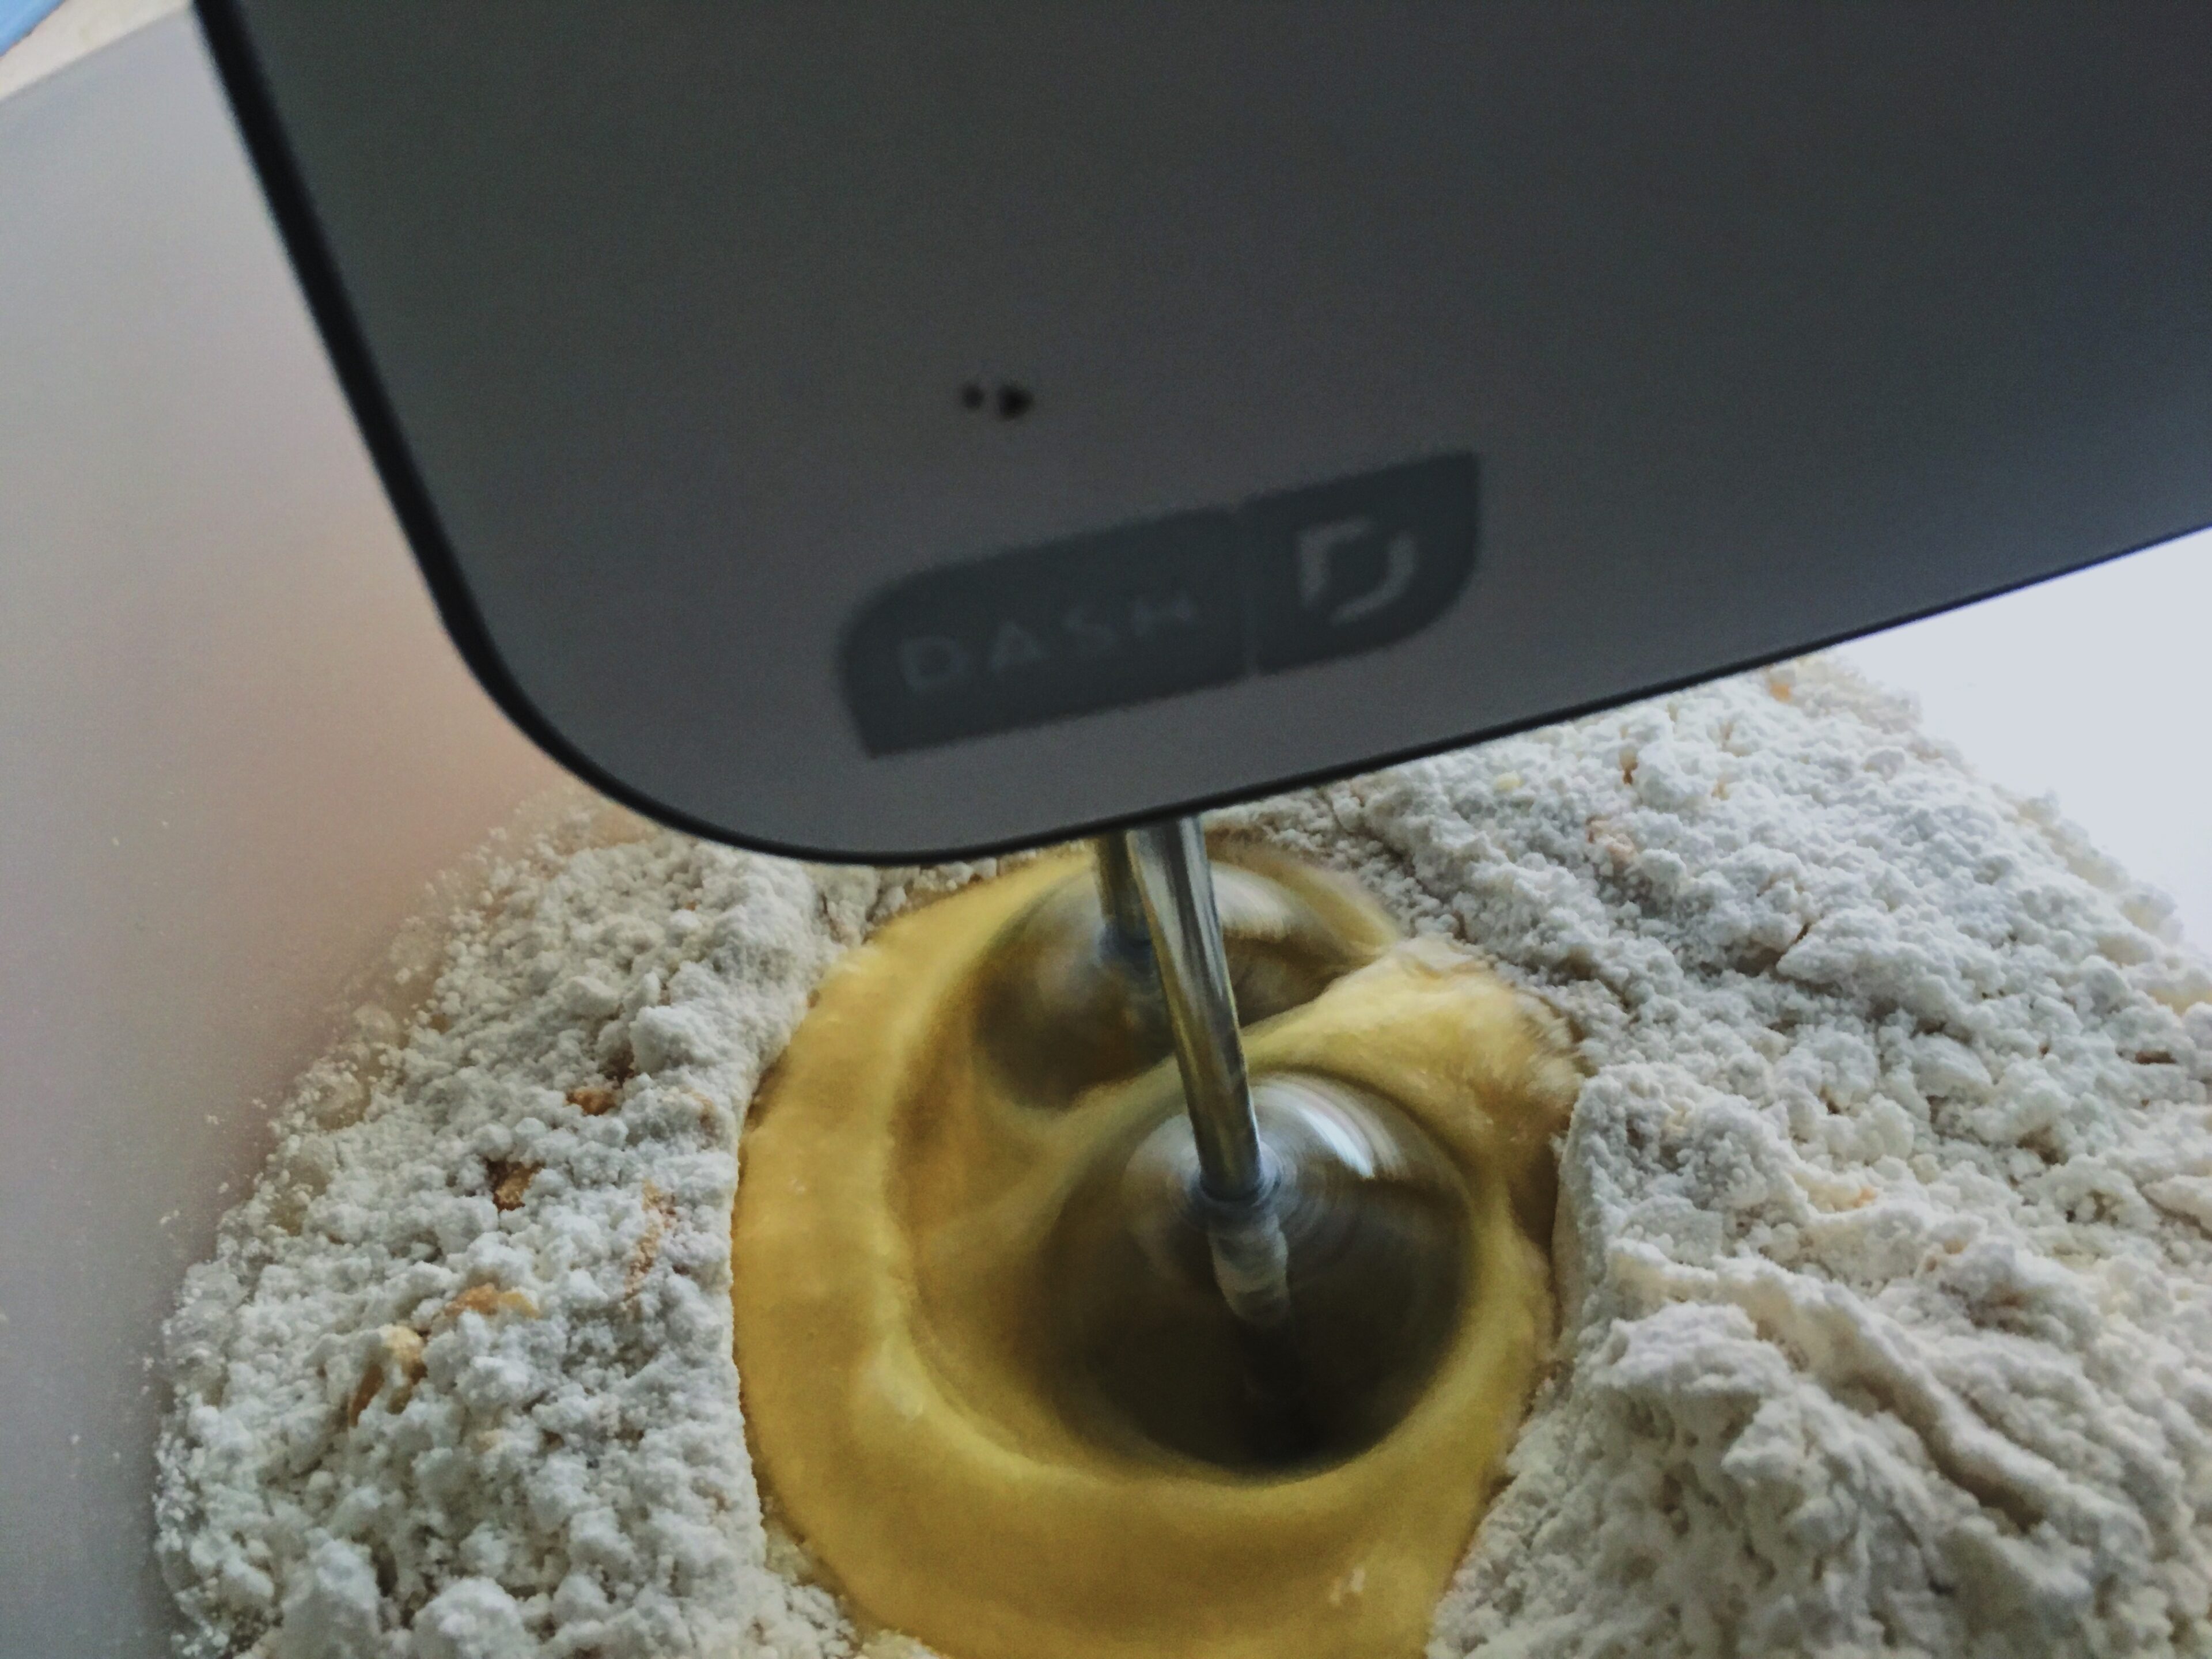
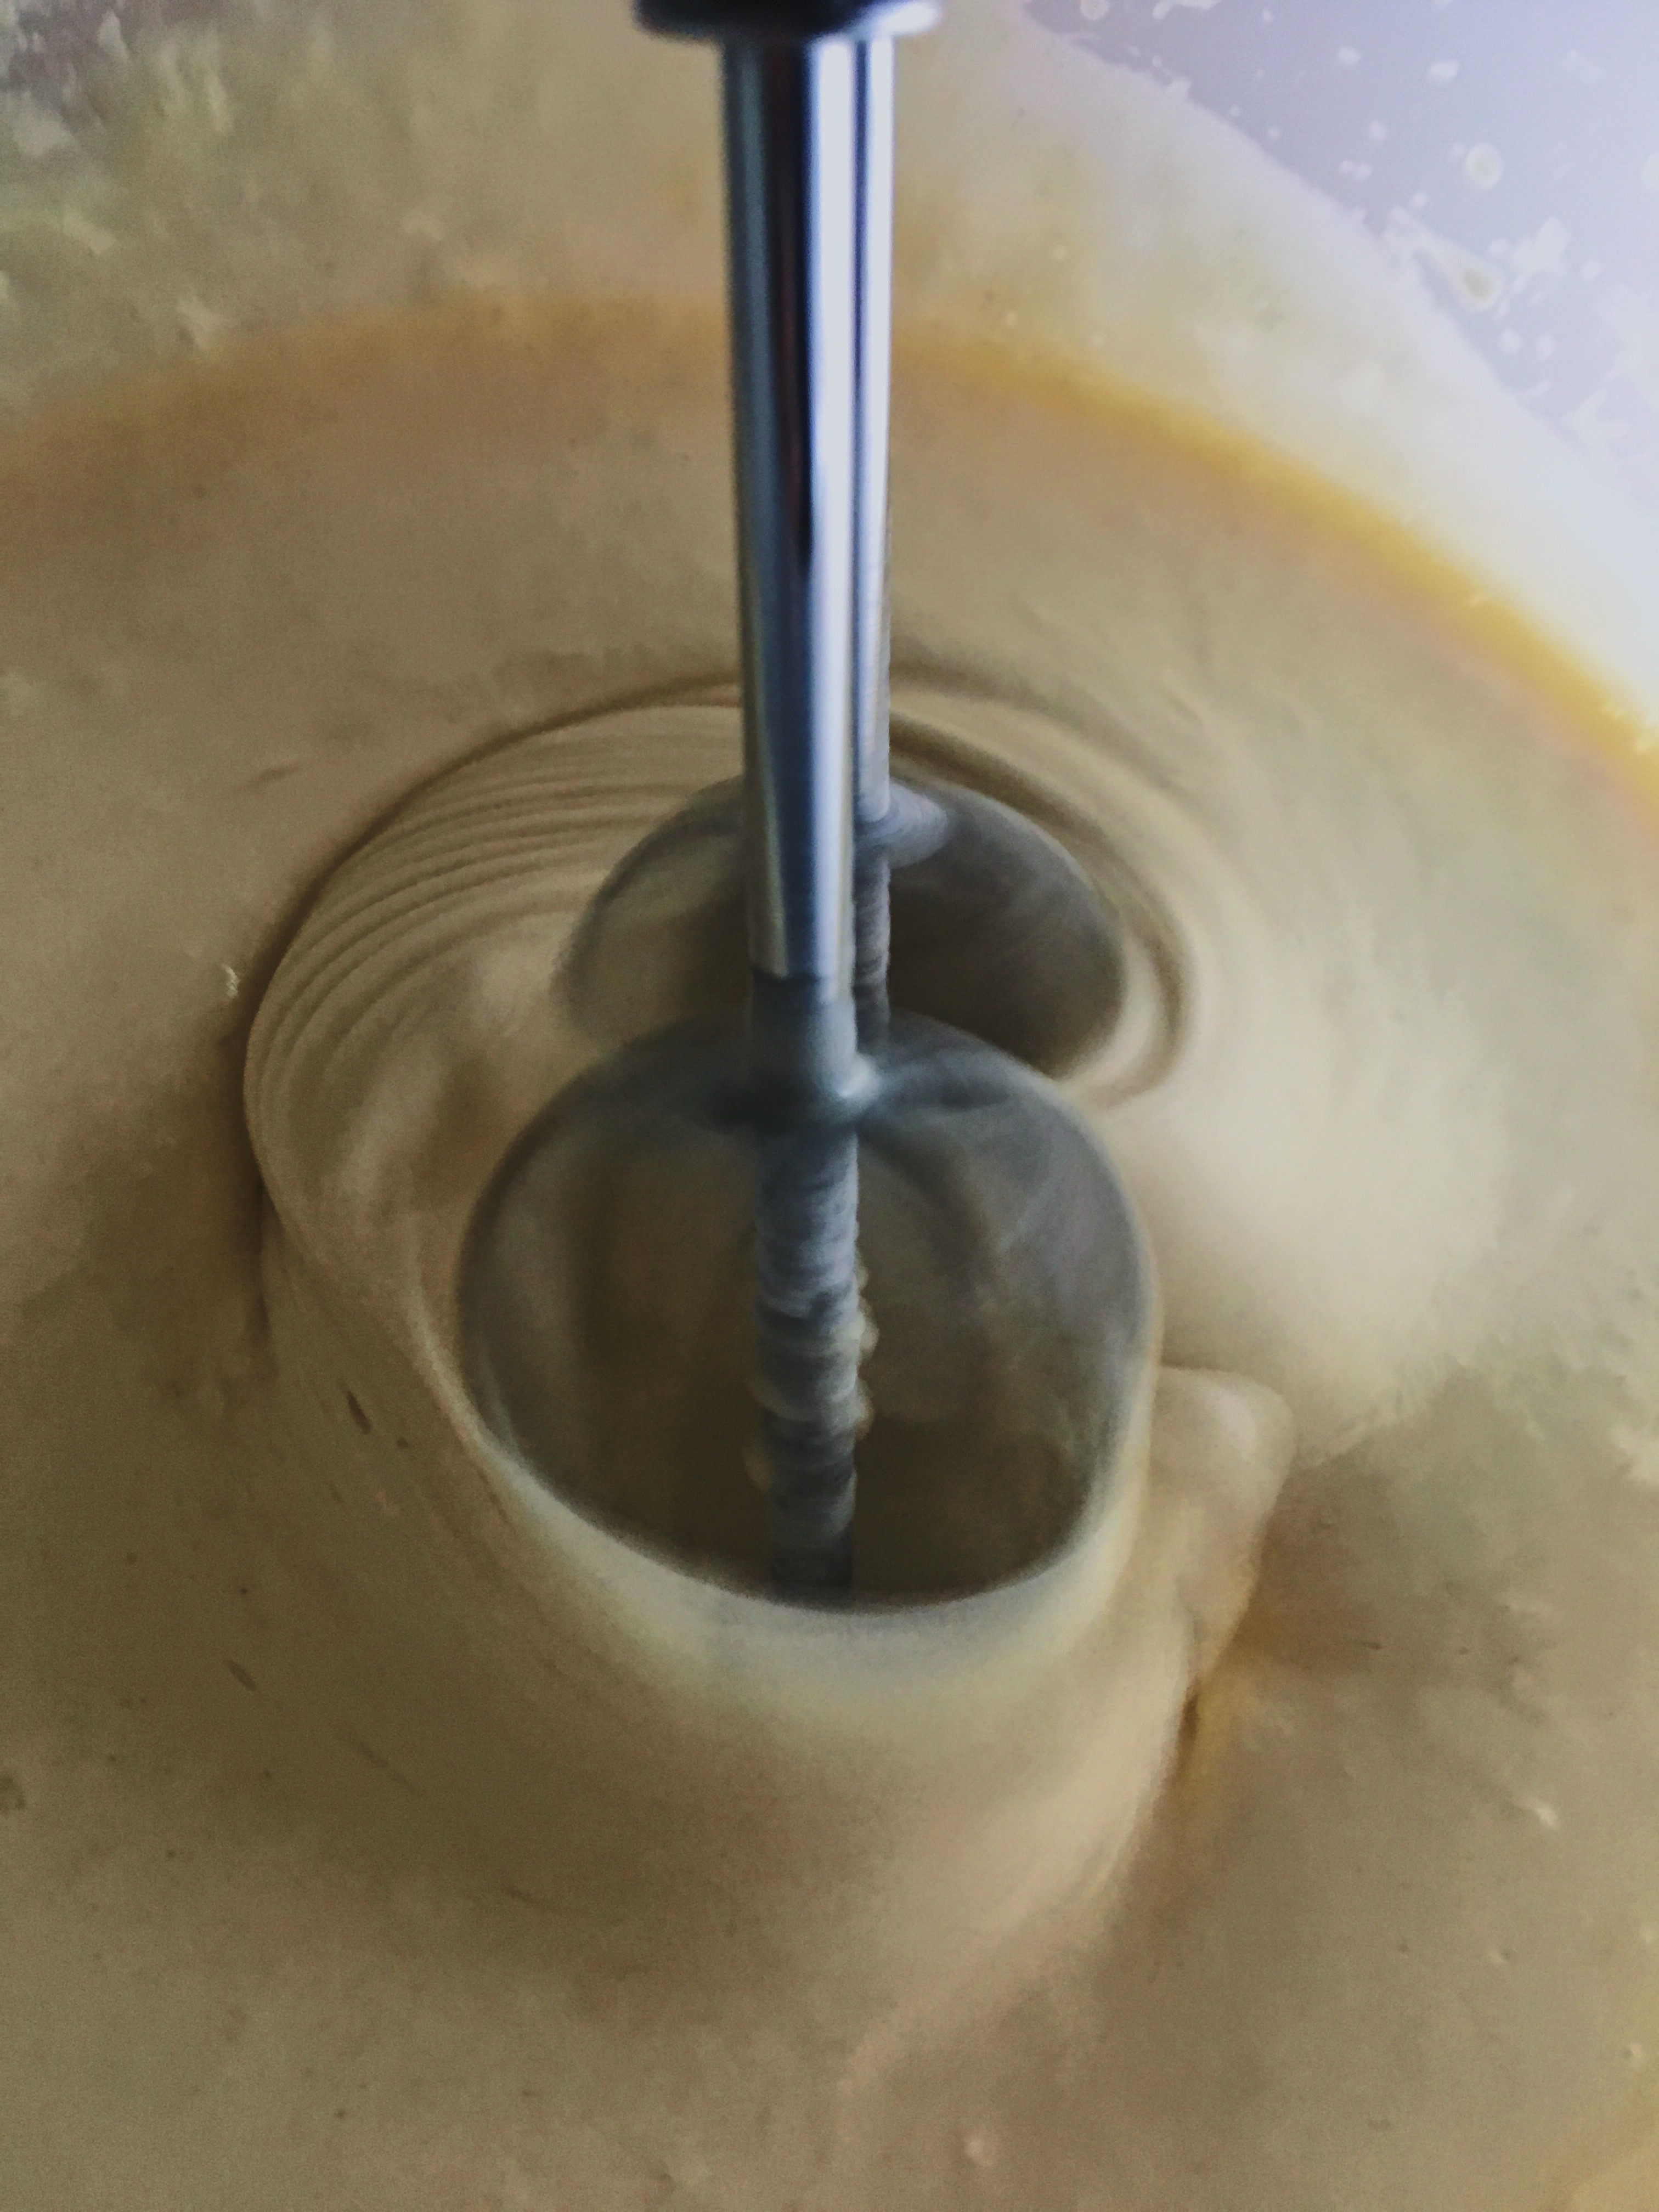
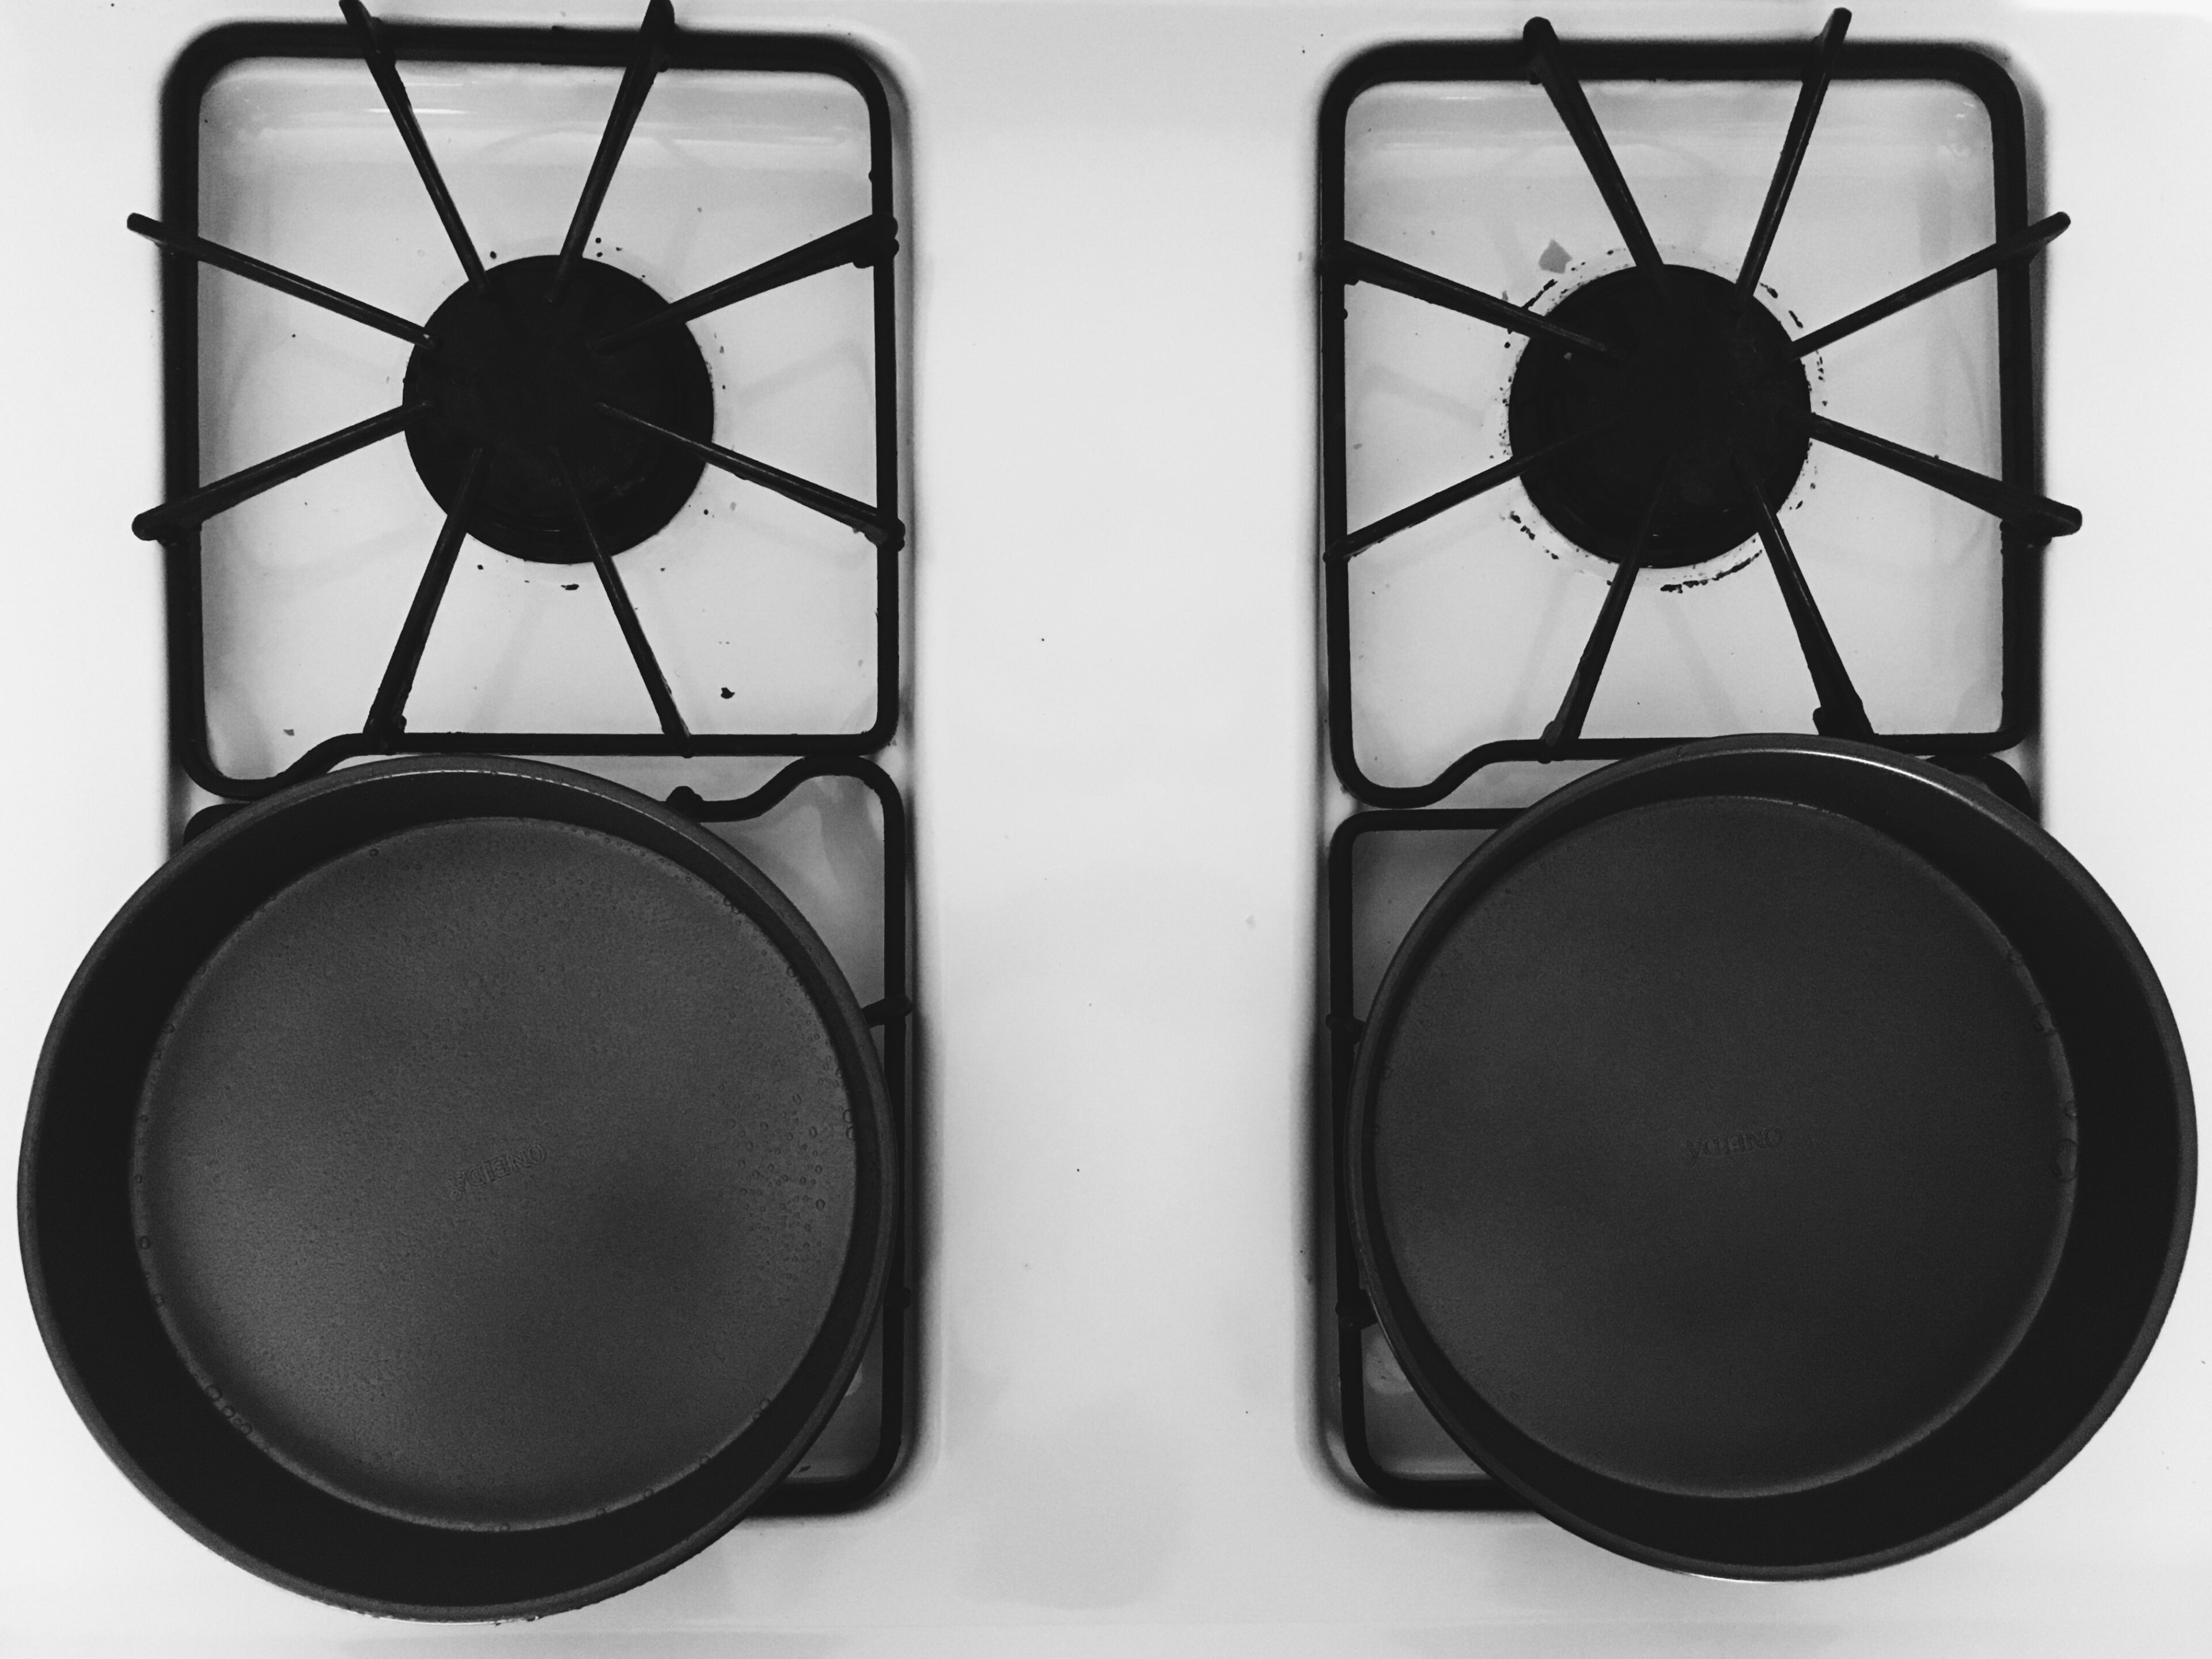
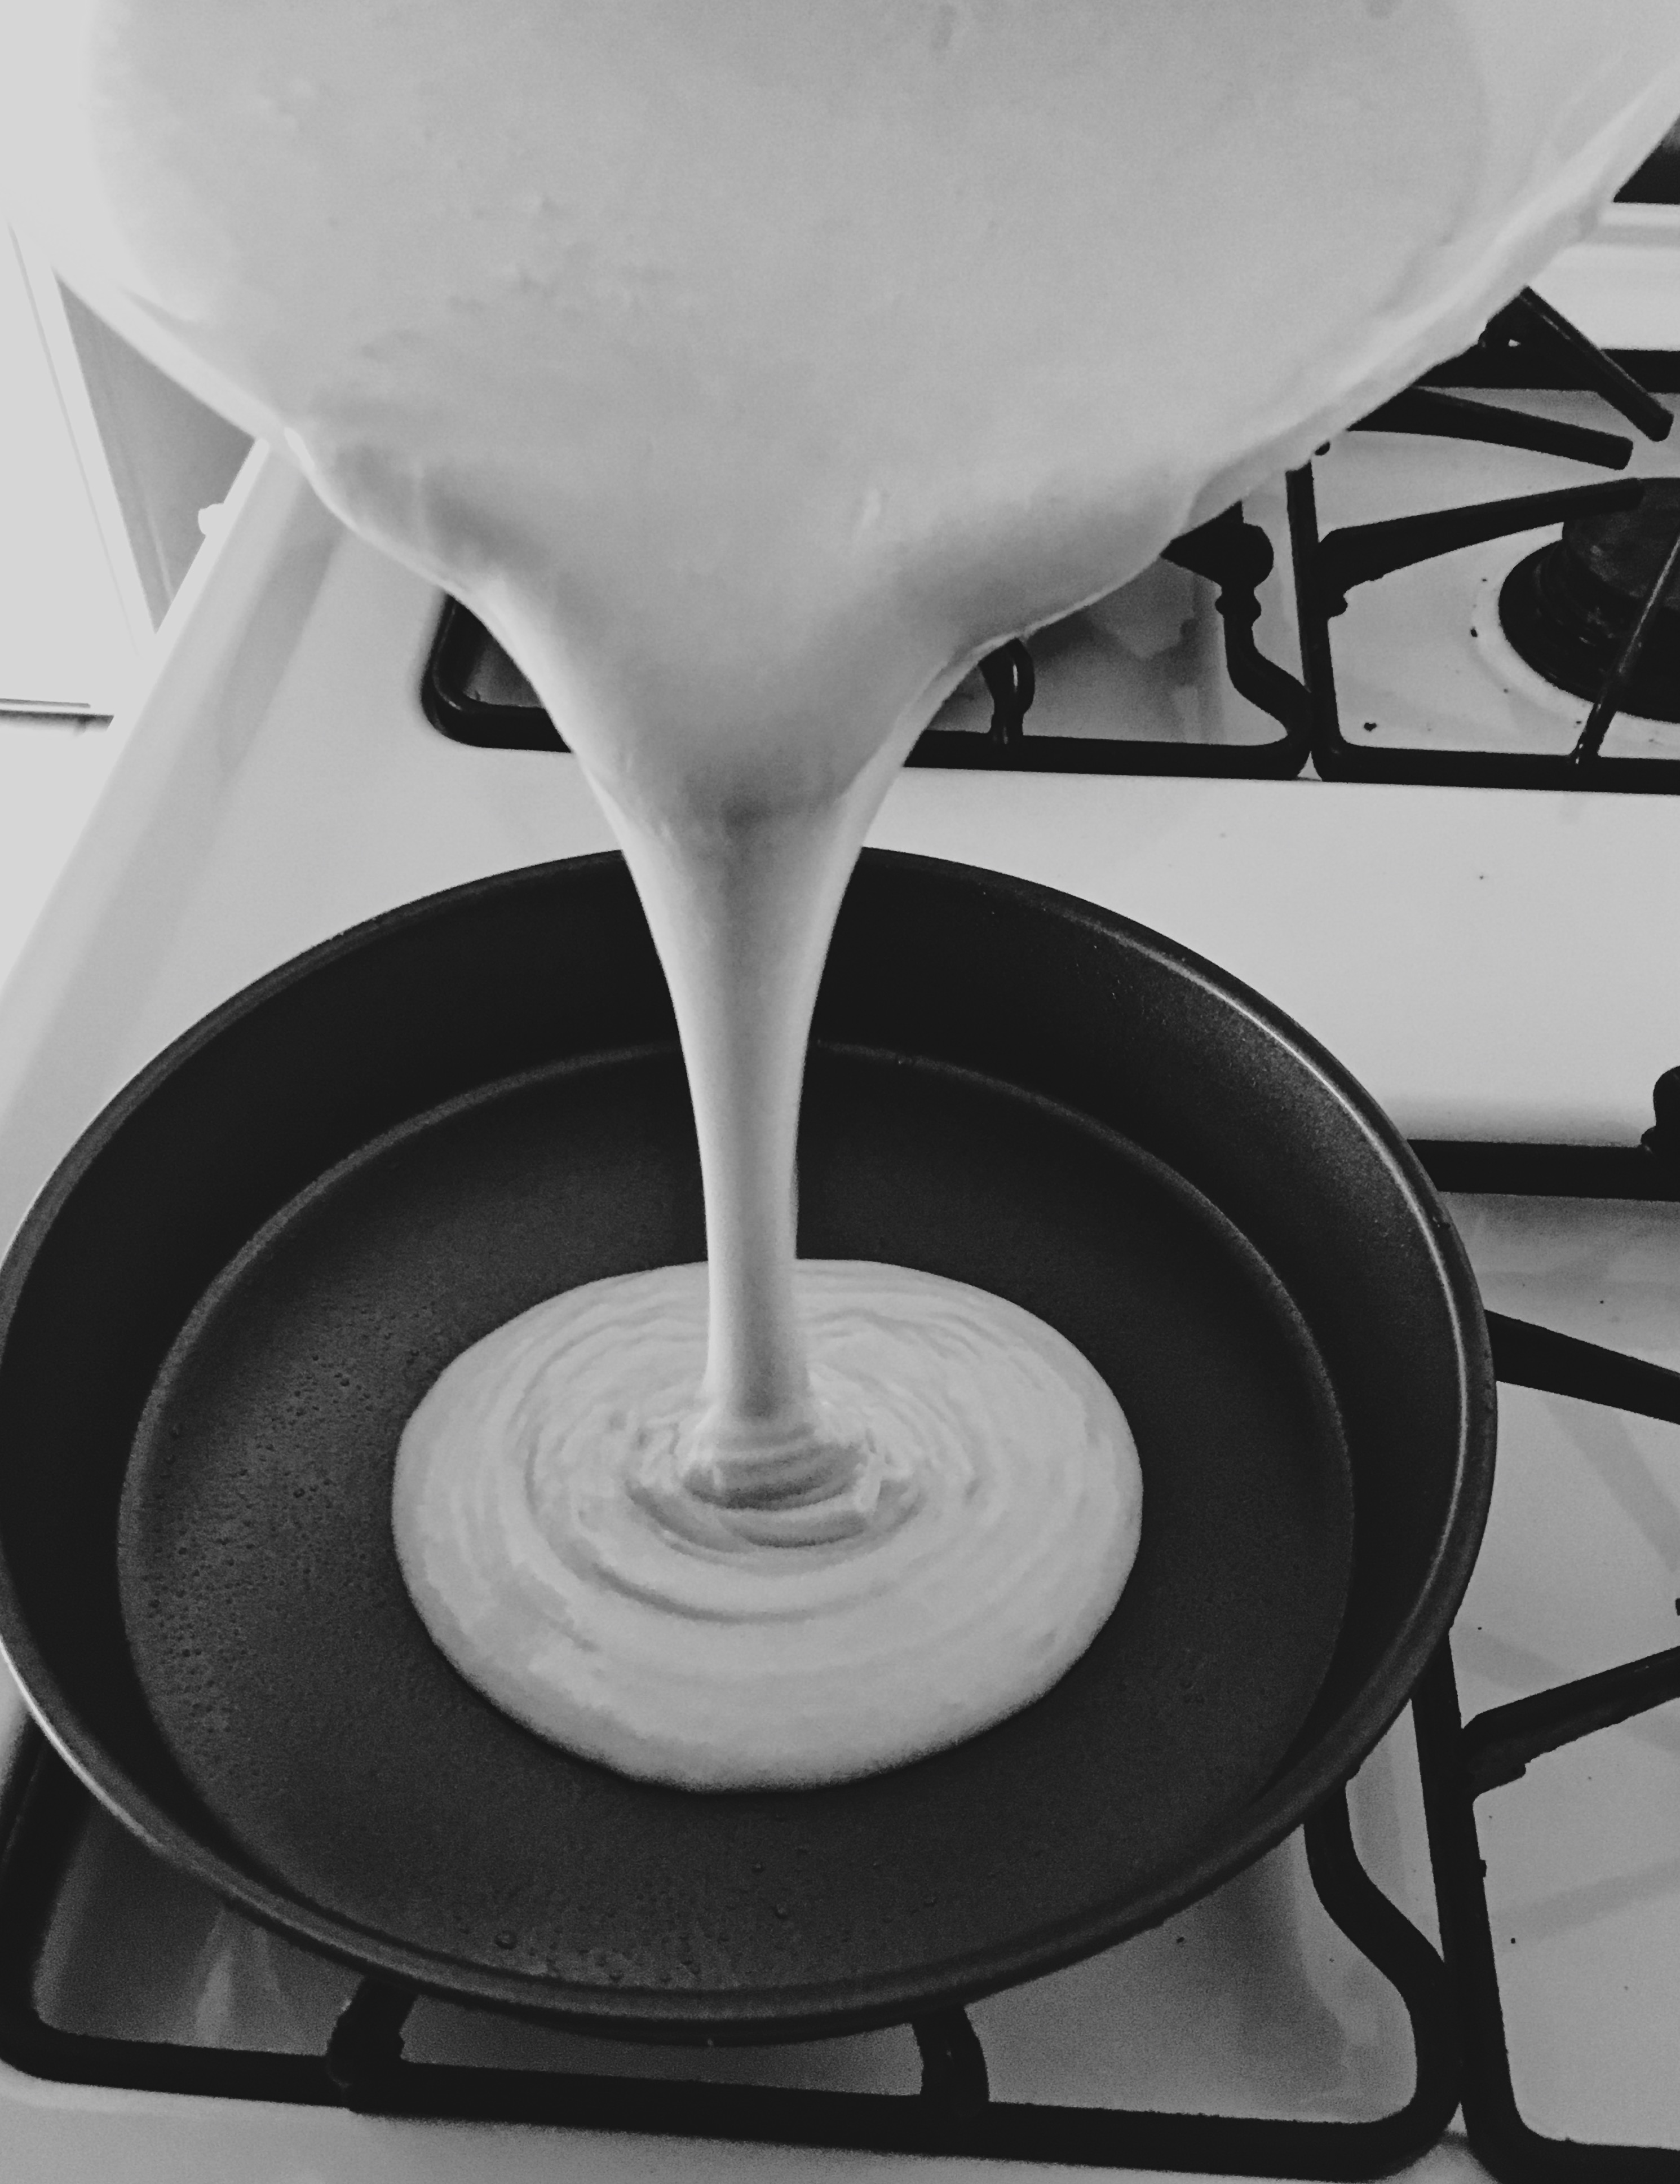
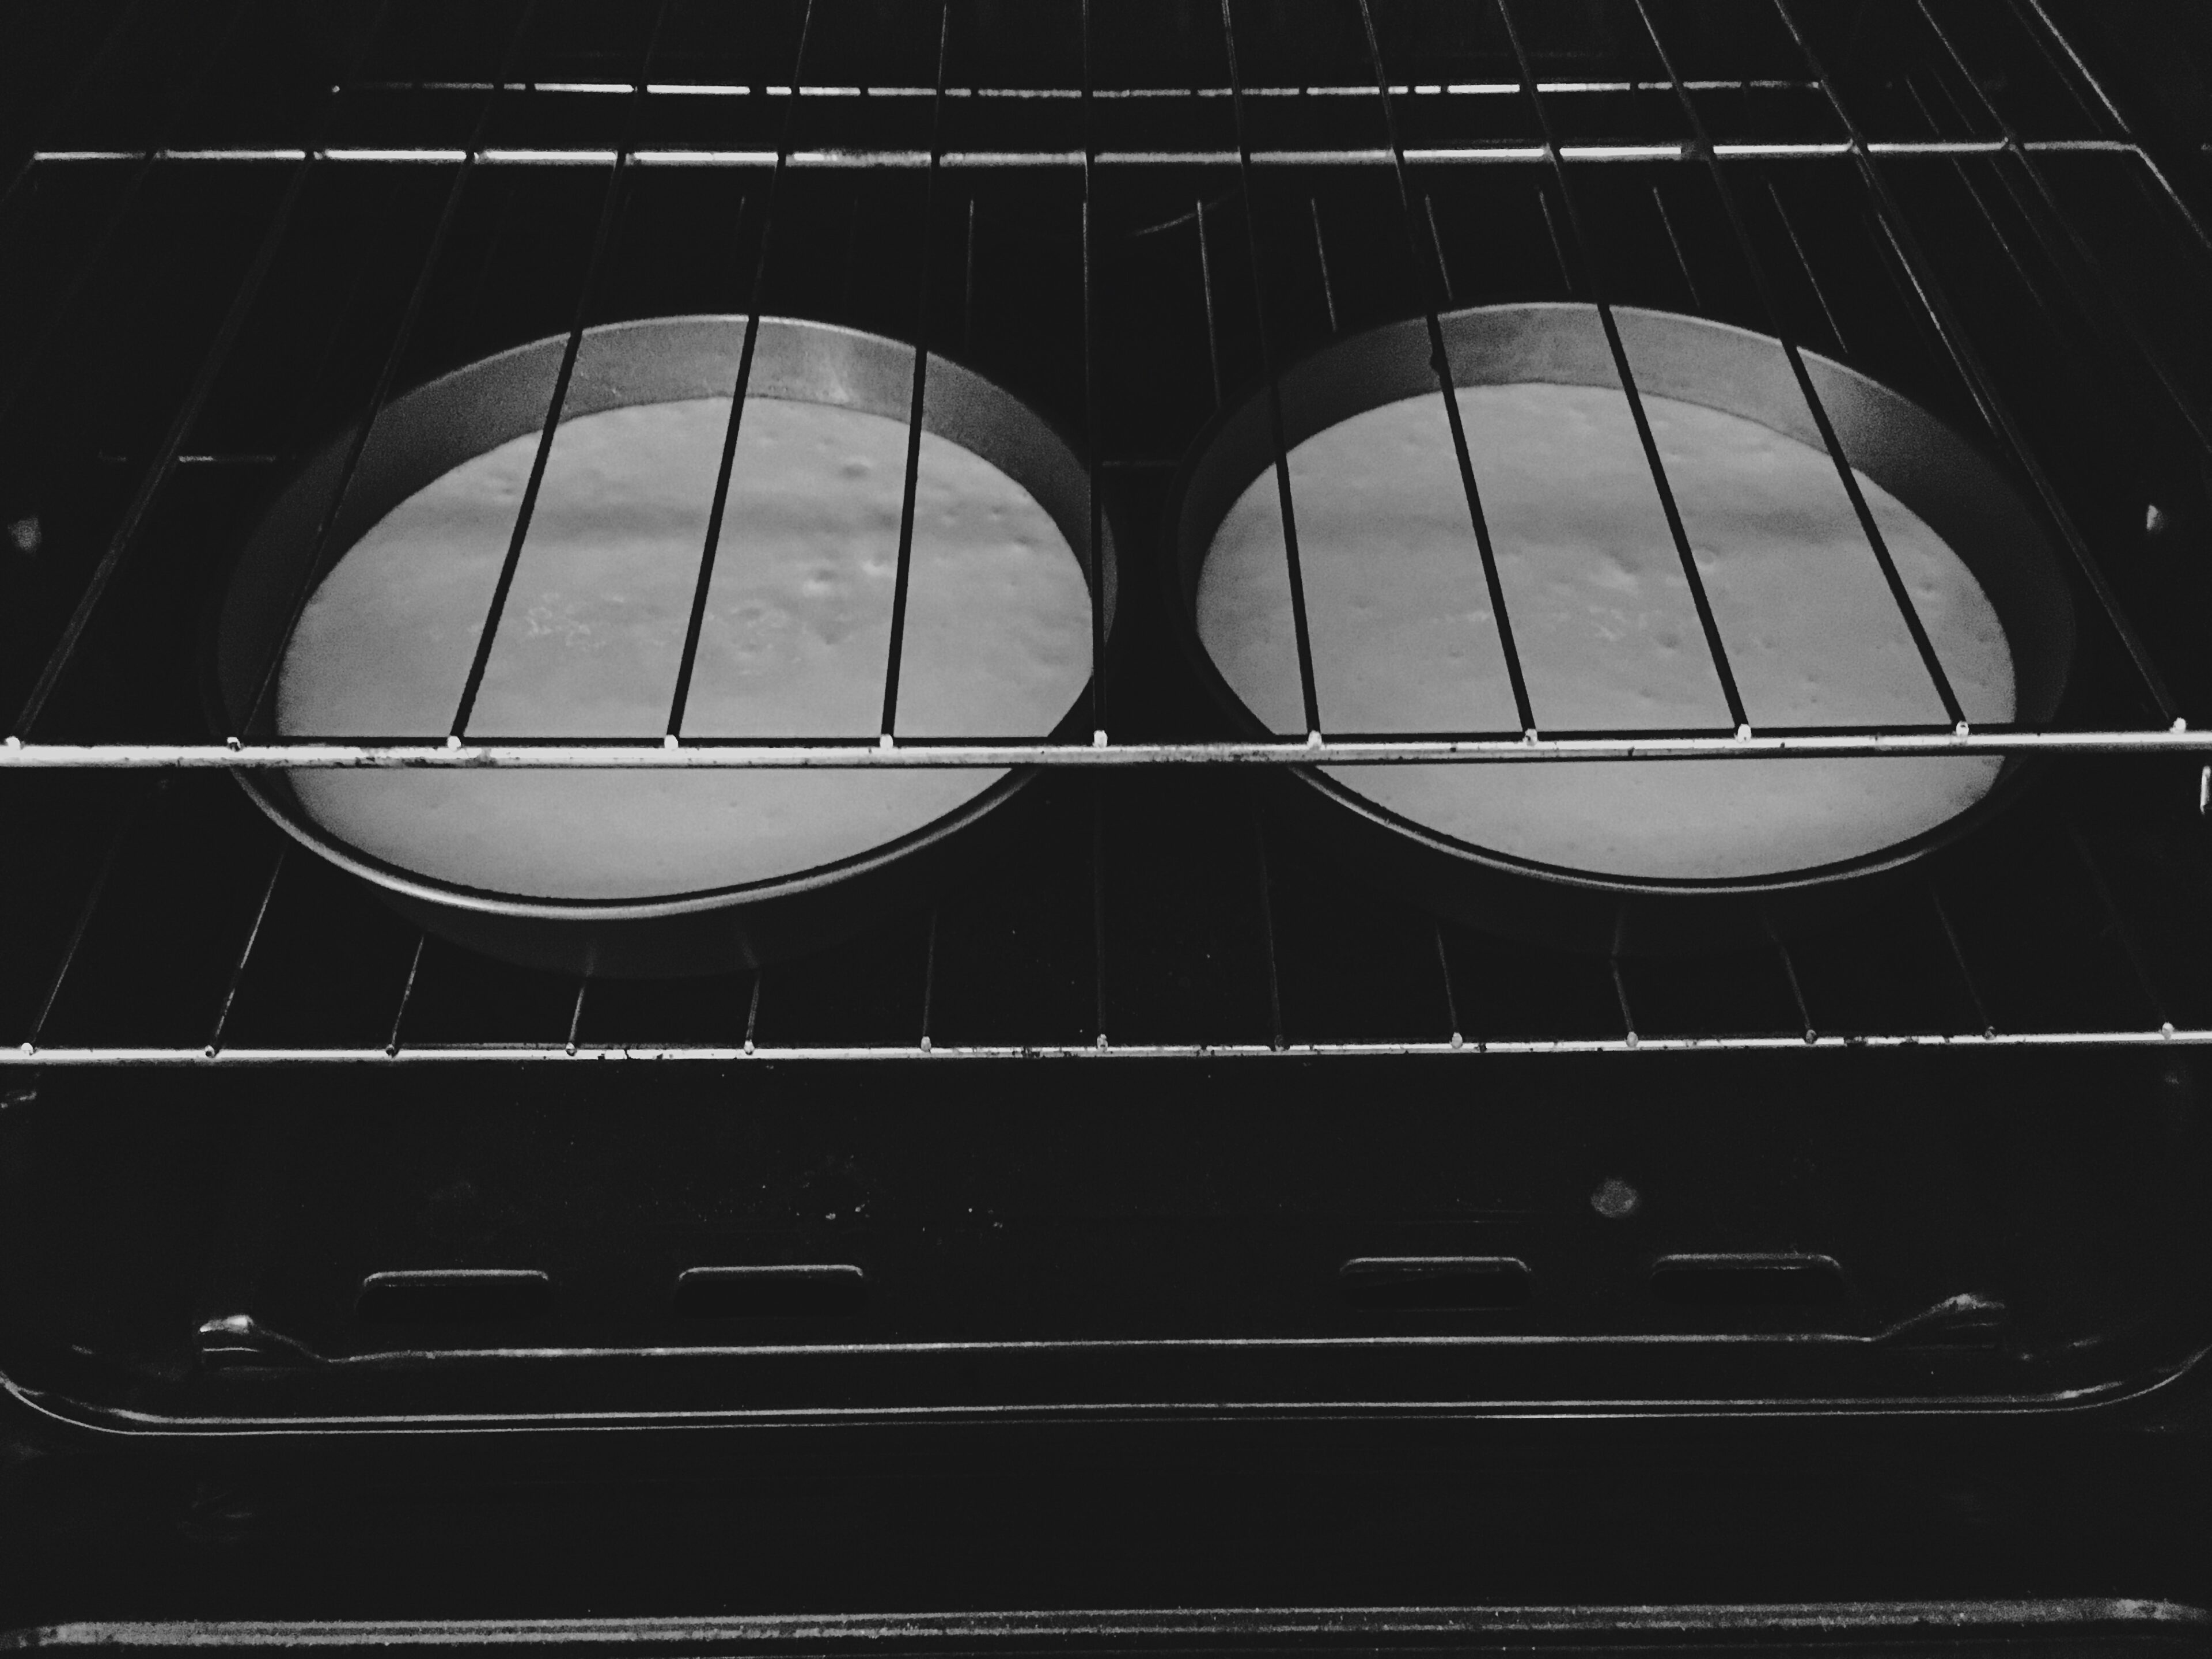
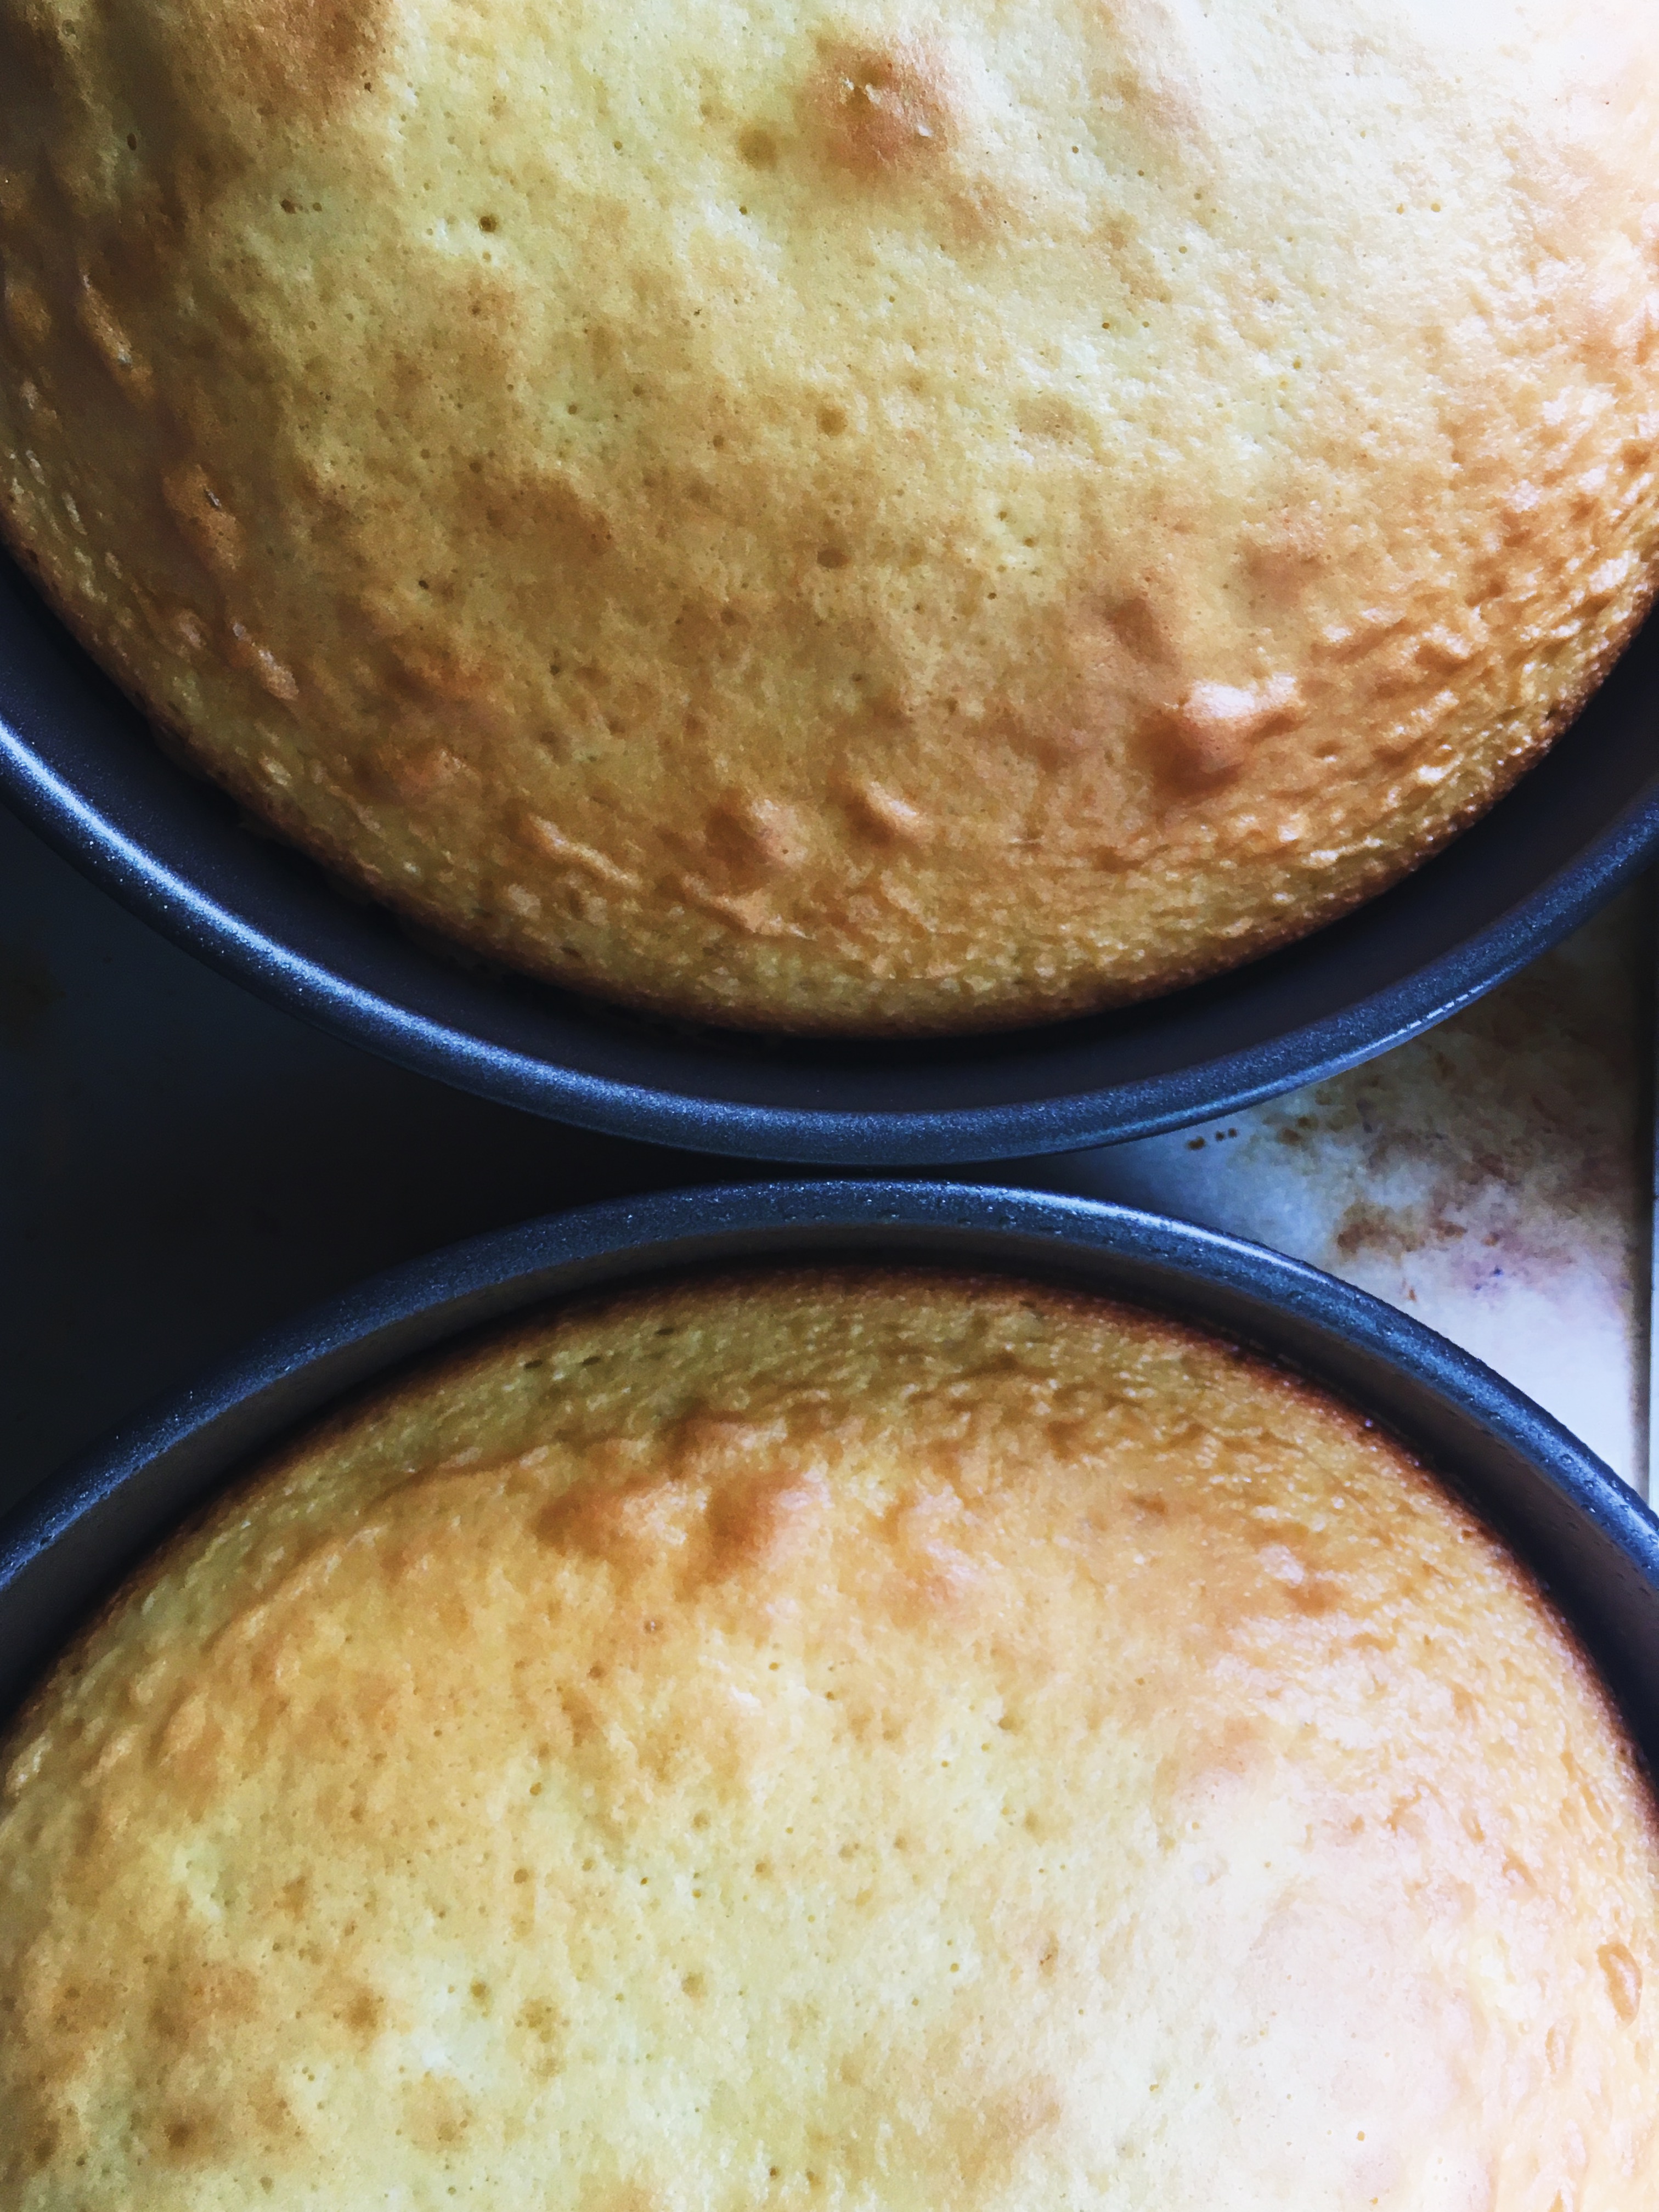
2. Follow instructions on the back of the cake mix box, and add 1 teaspoon of vanilla extract.
Mix fully into batter before pouring mixture into greased baking pans.
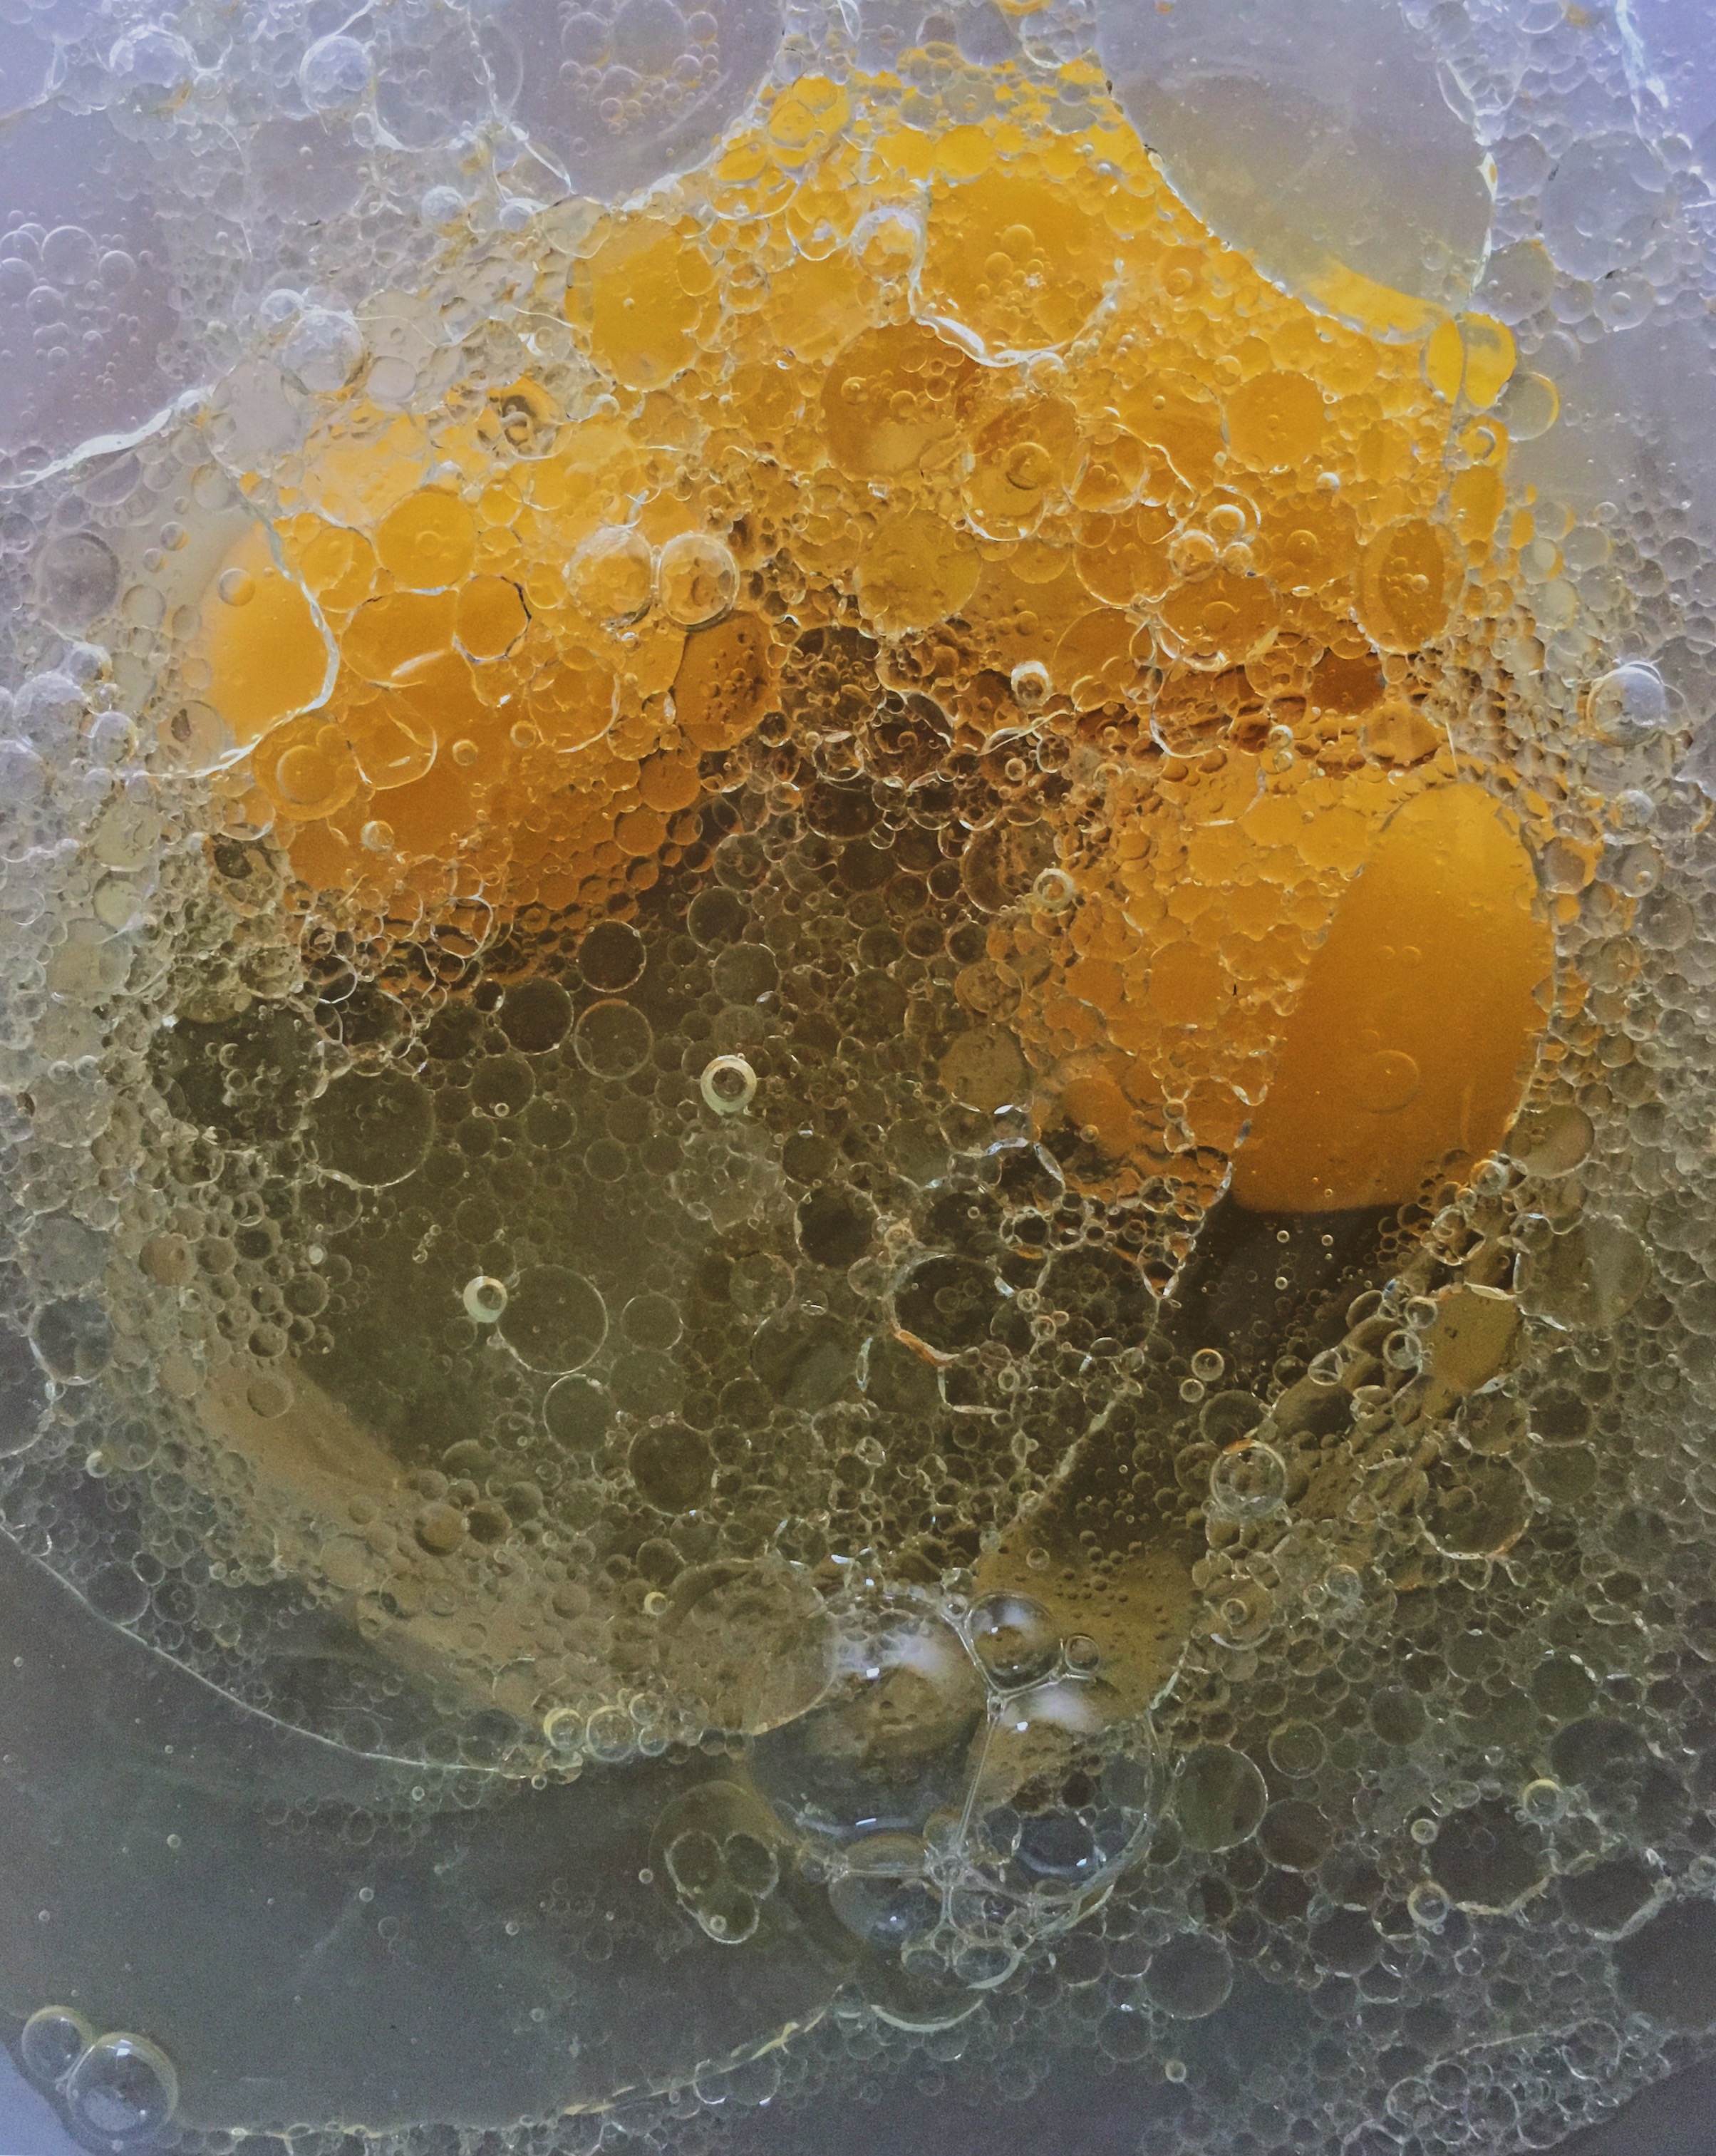

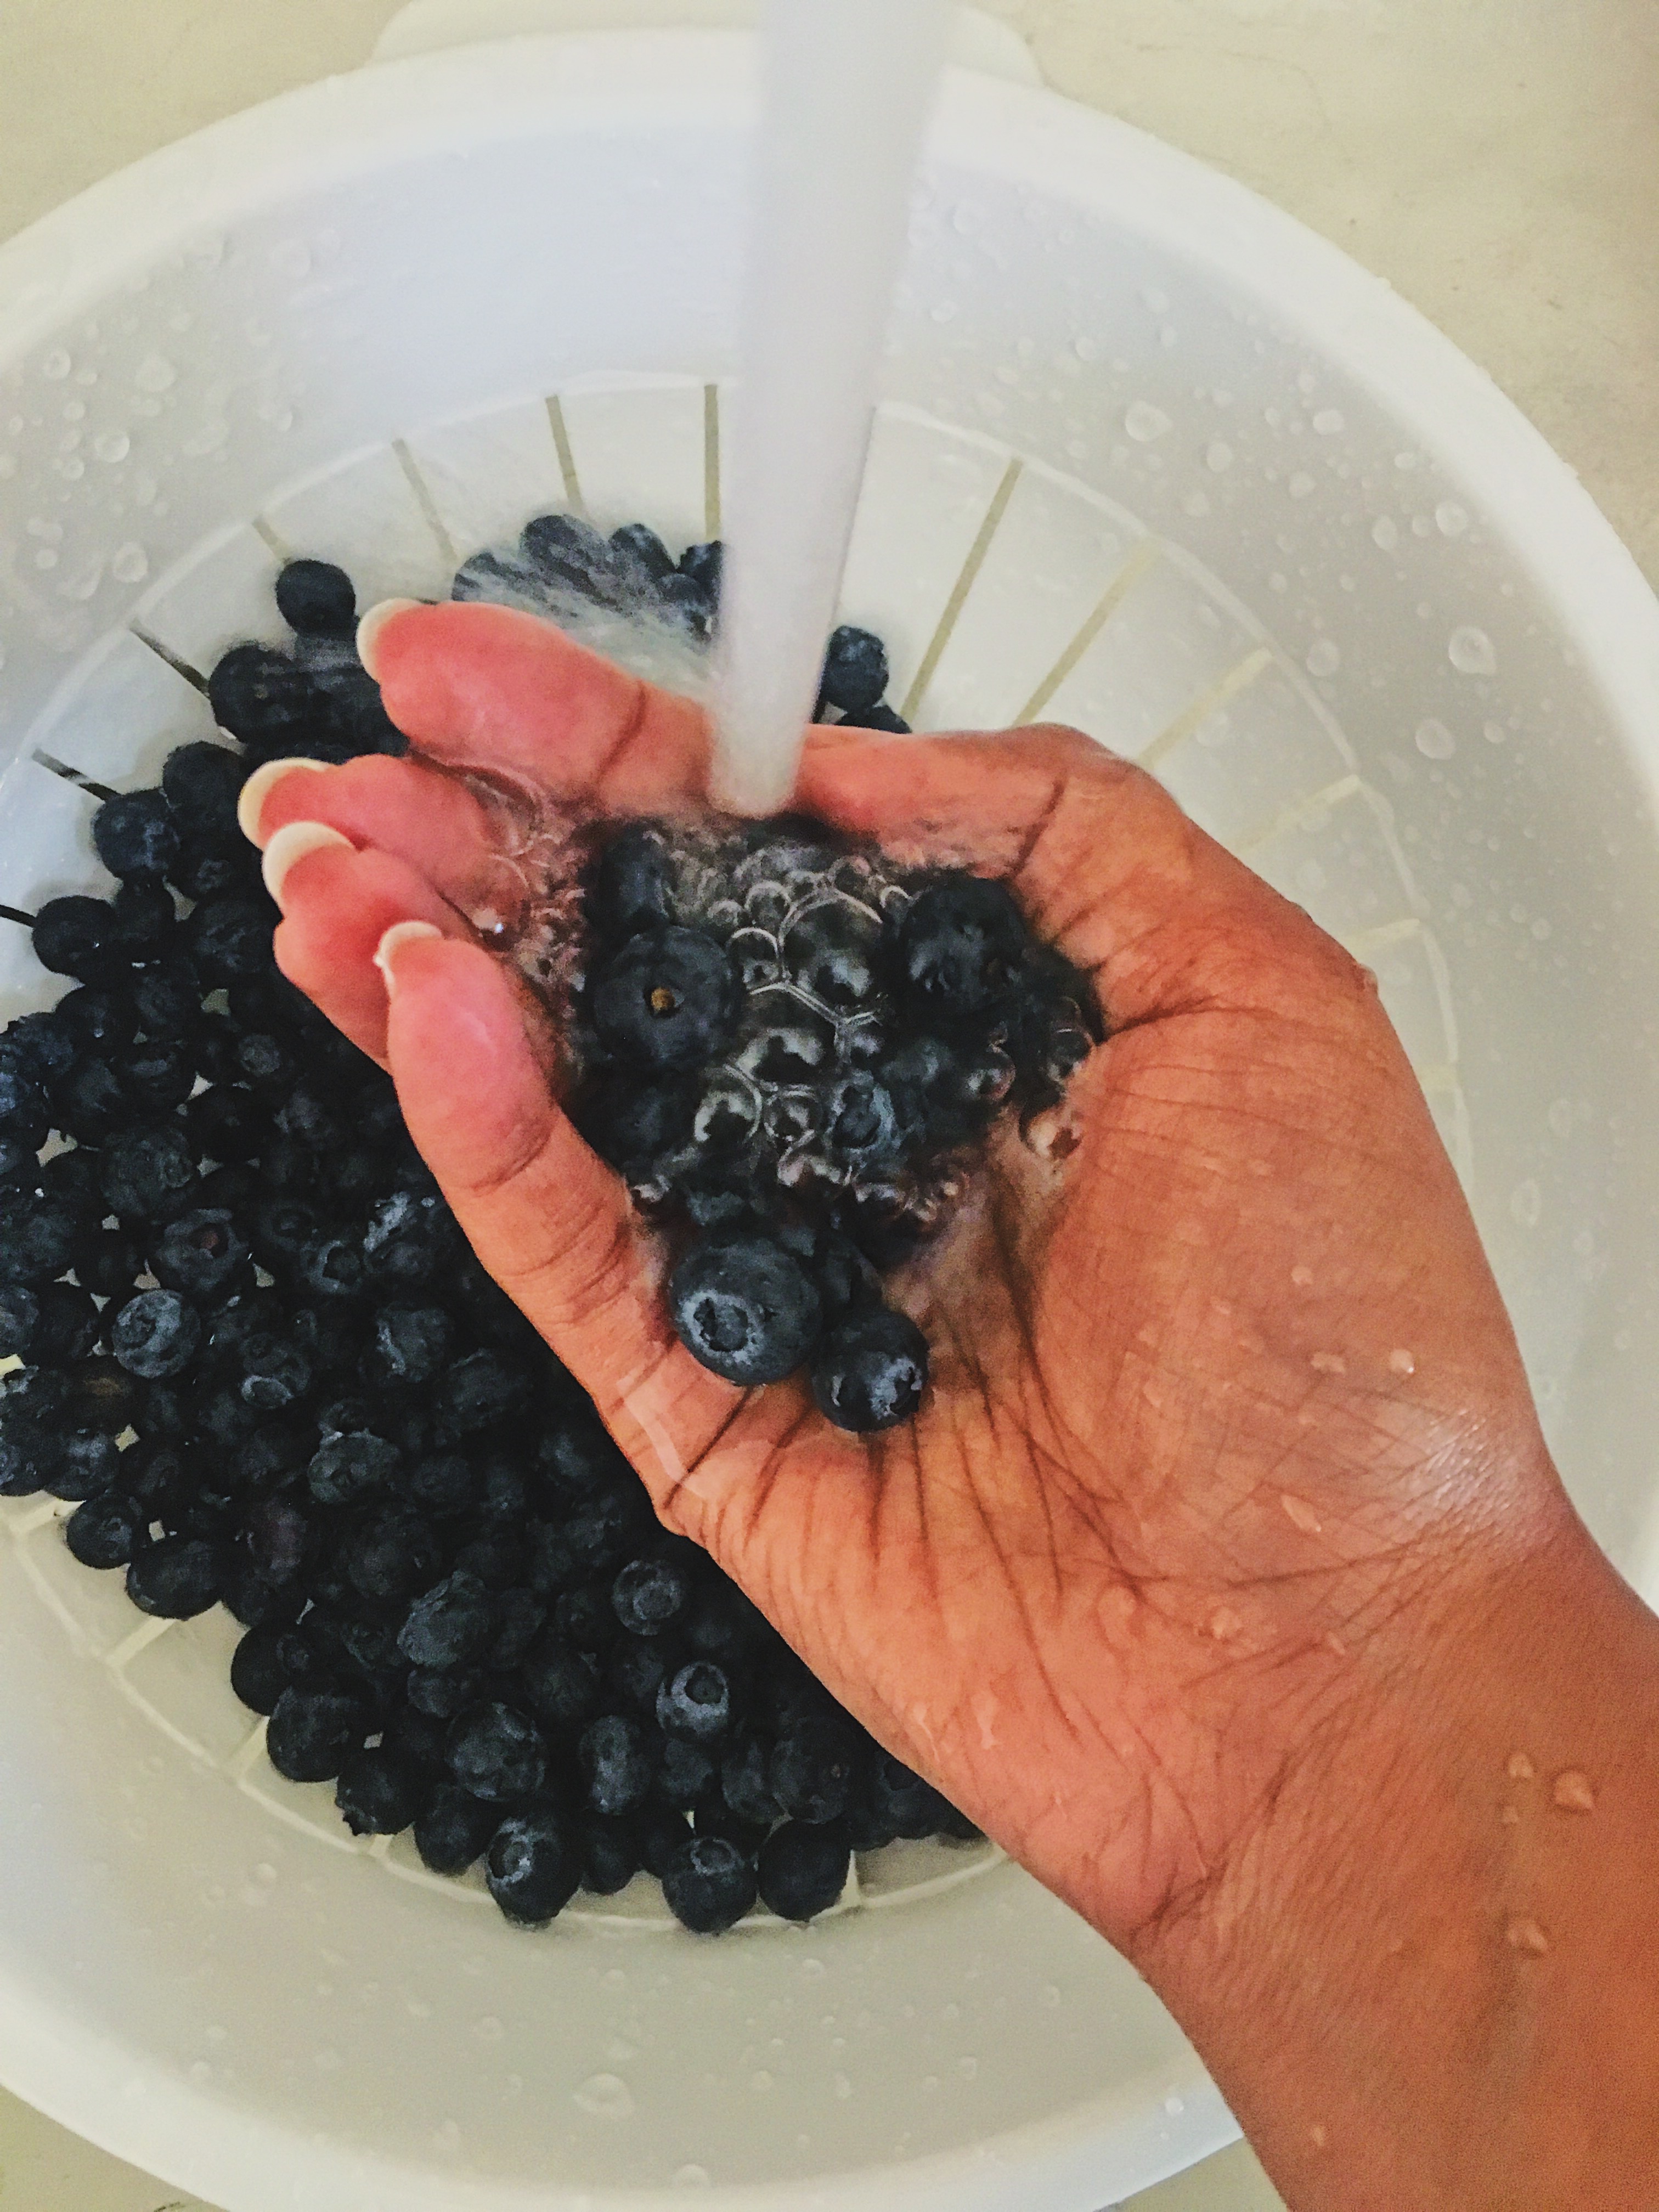
3. While the cakes are baking, prepare the mixture of blueberries and strawberries that will be the filling for the cake.
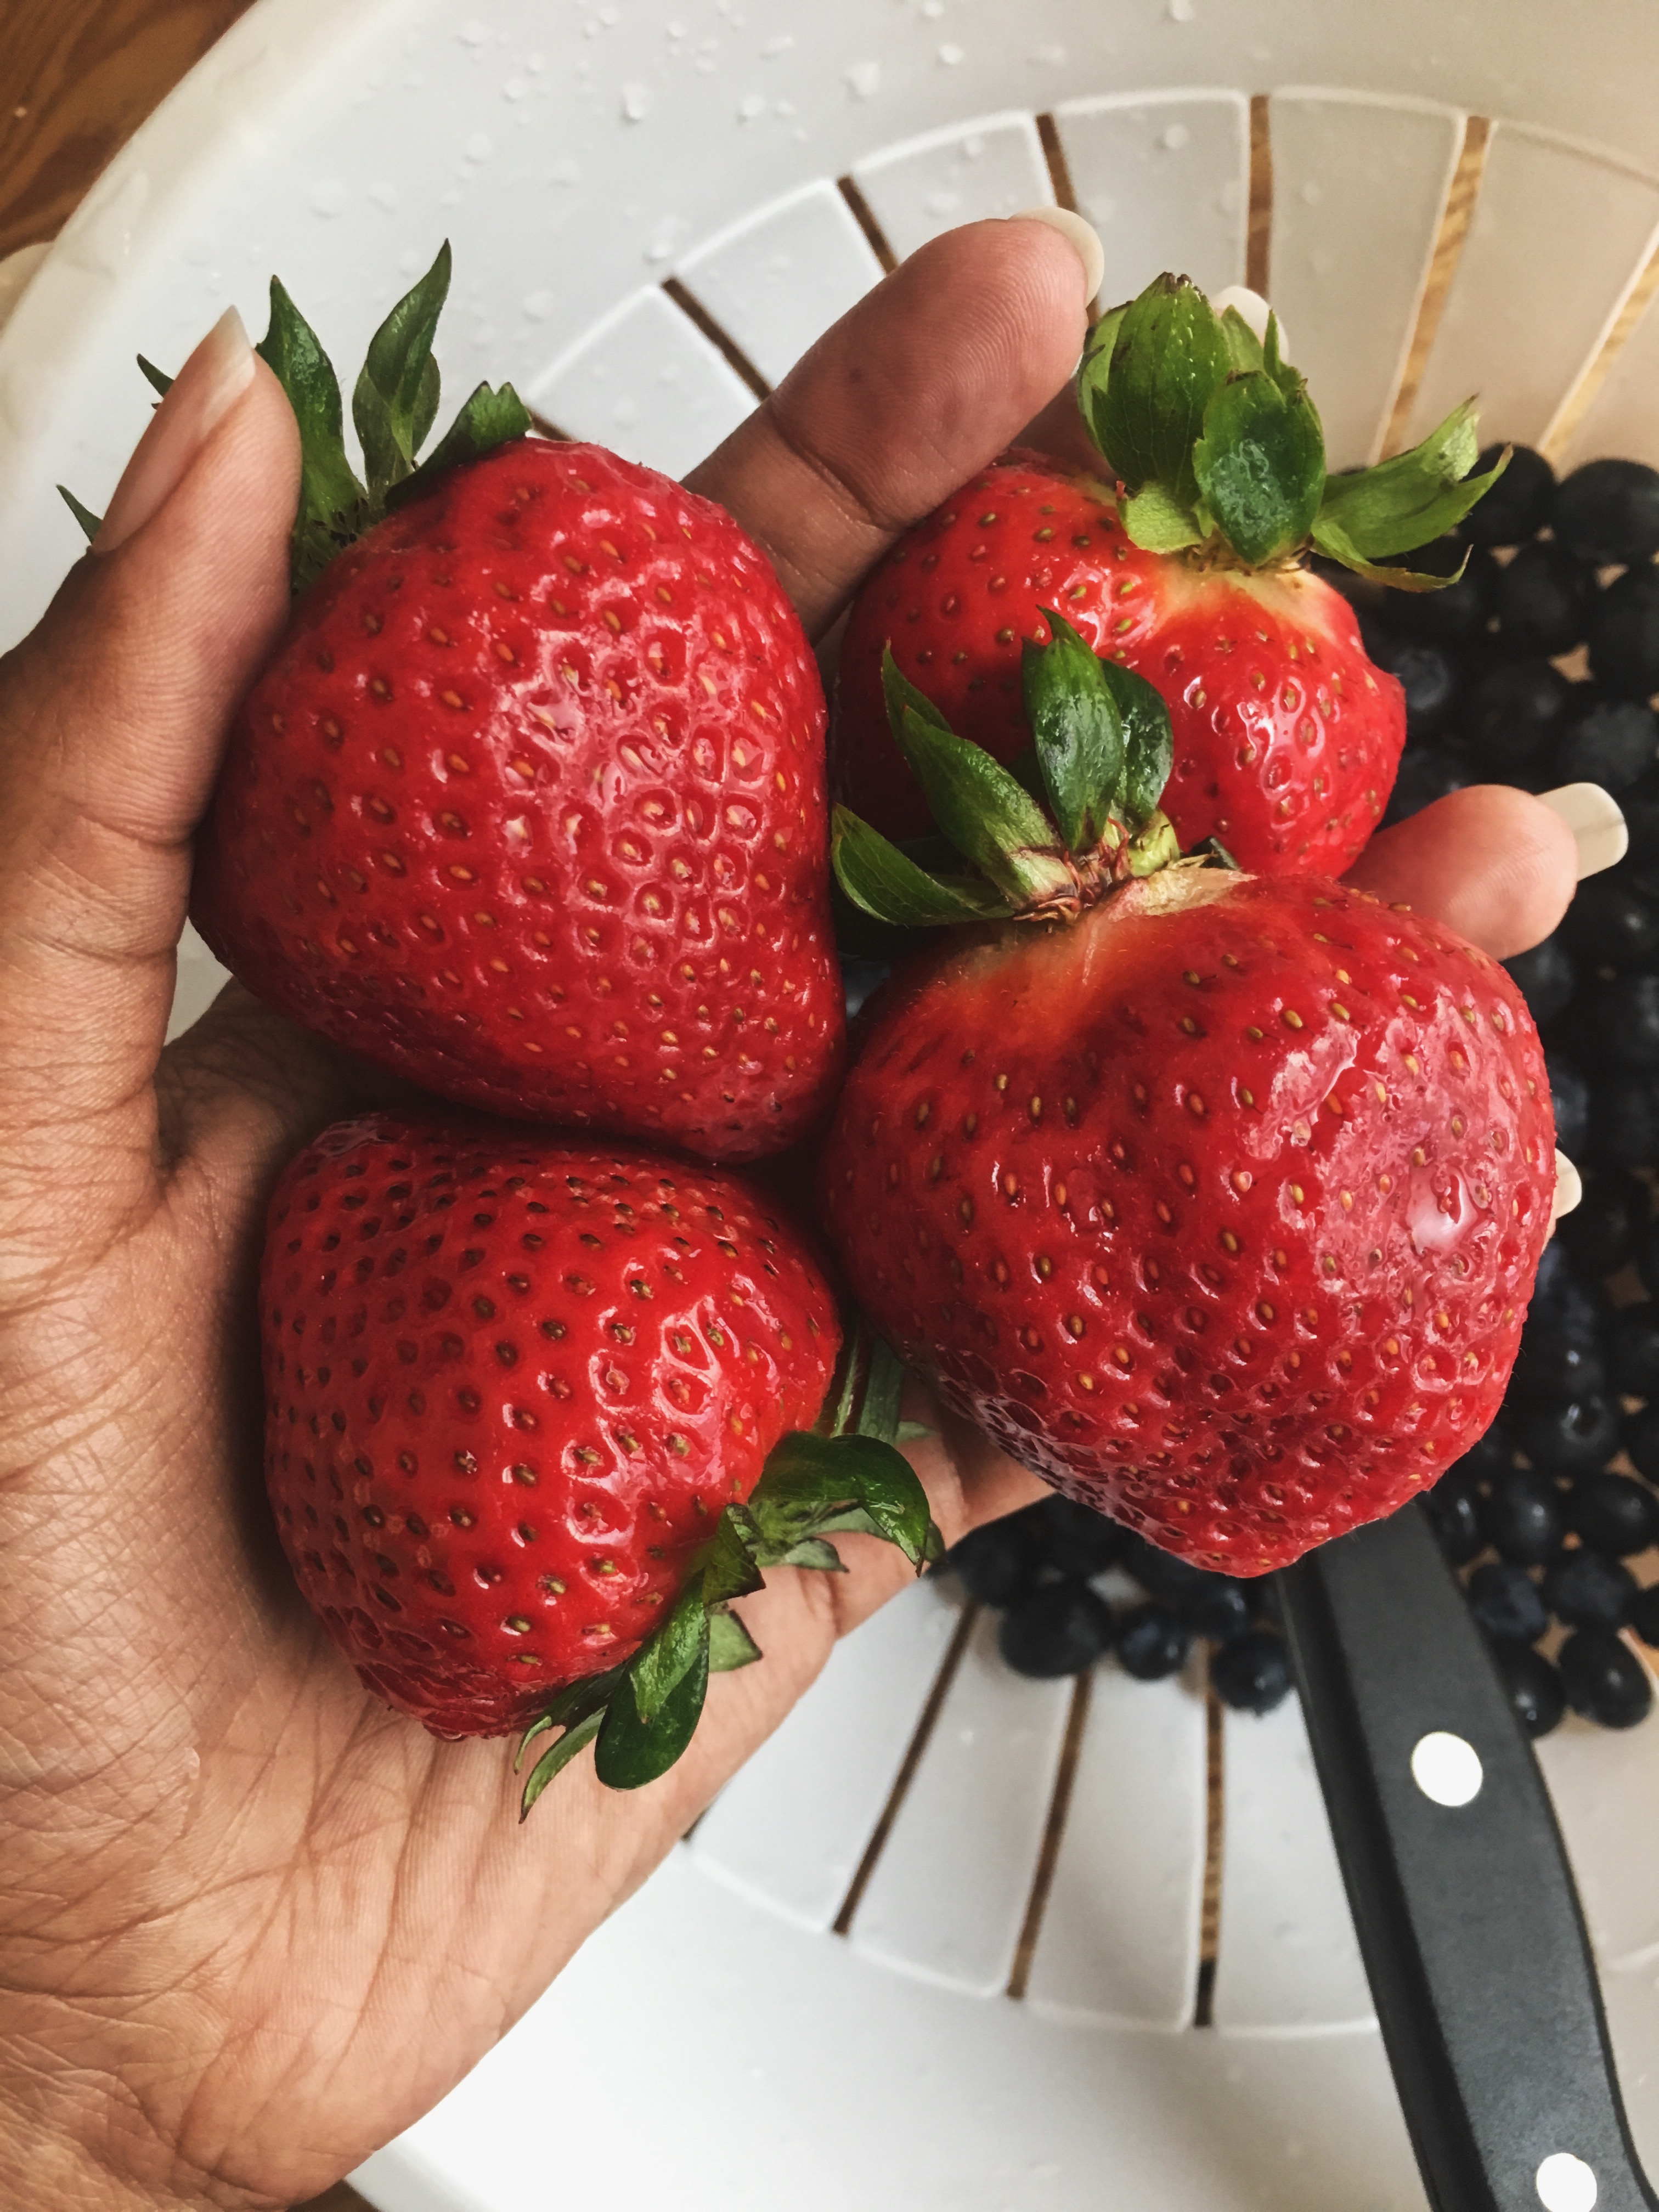
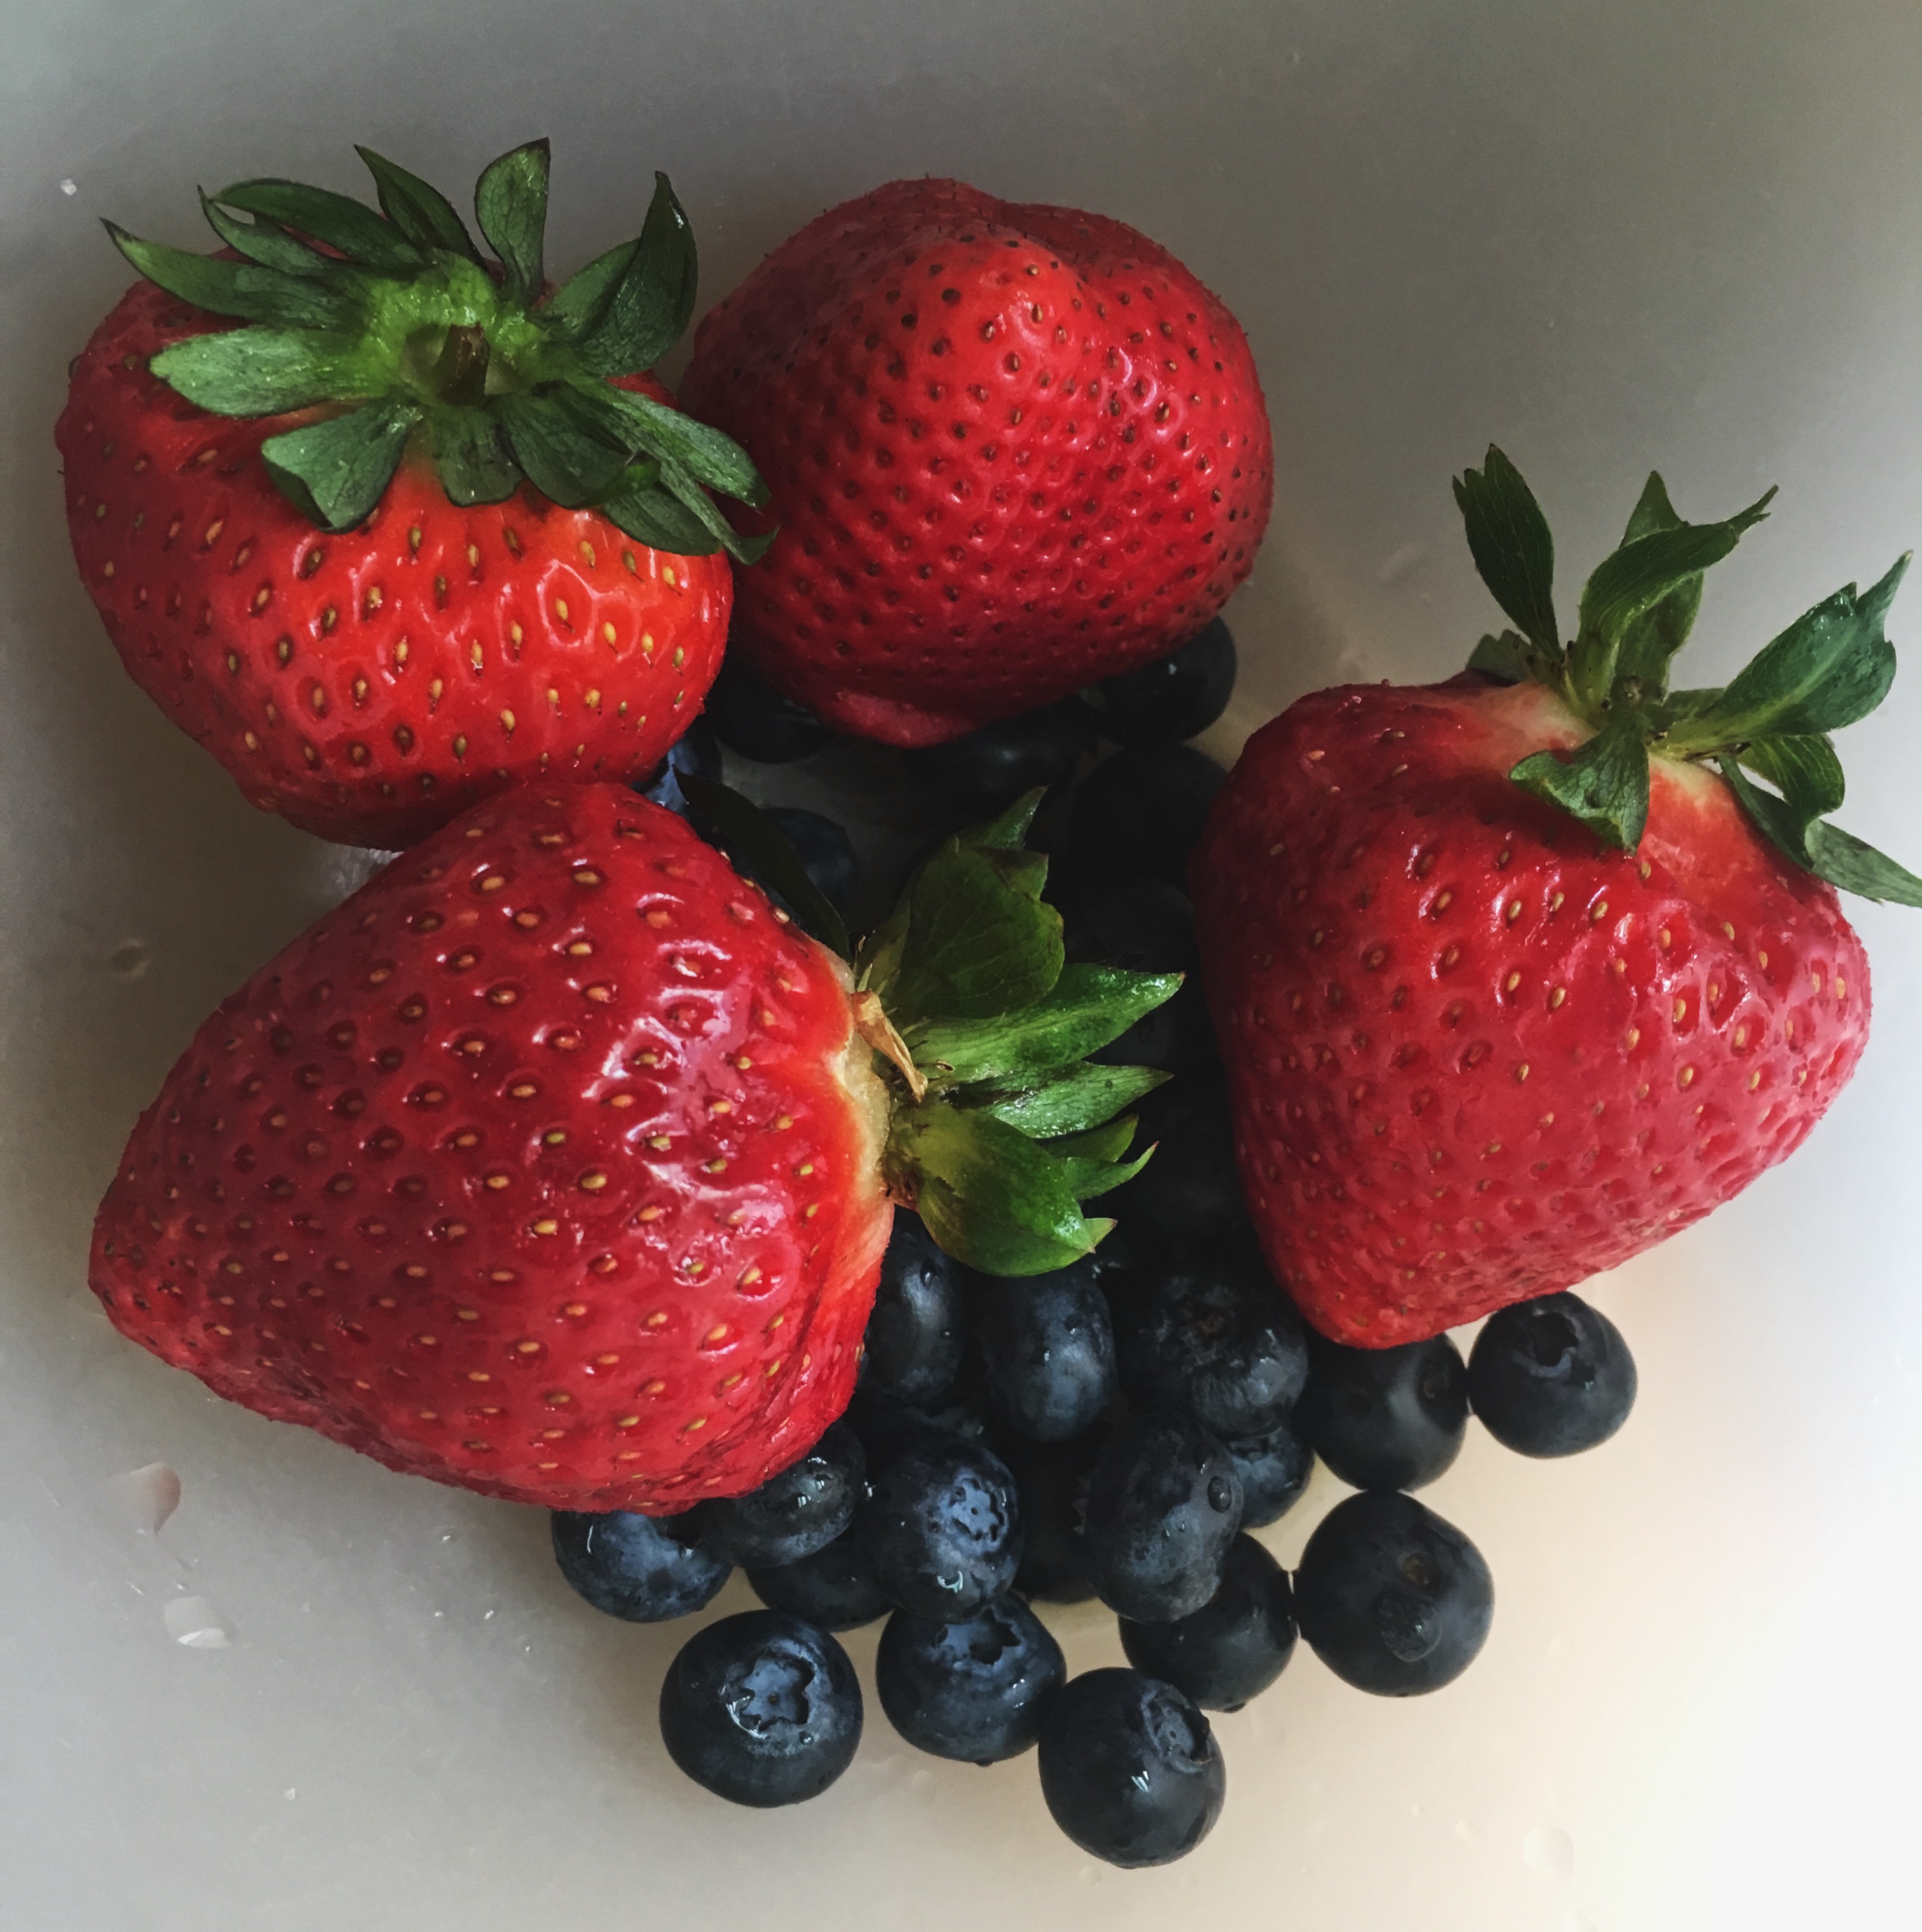
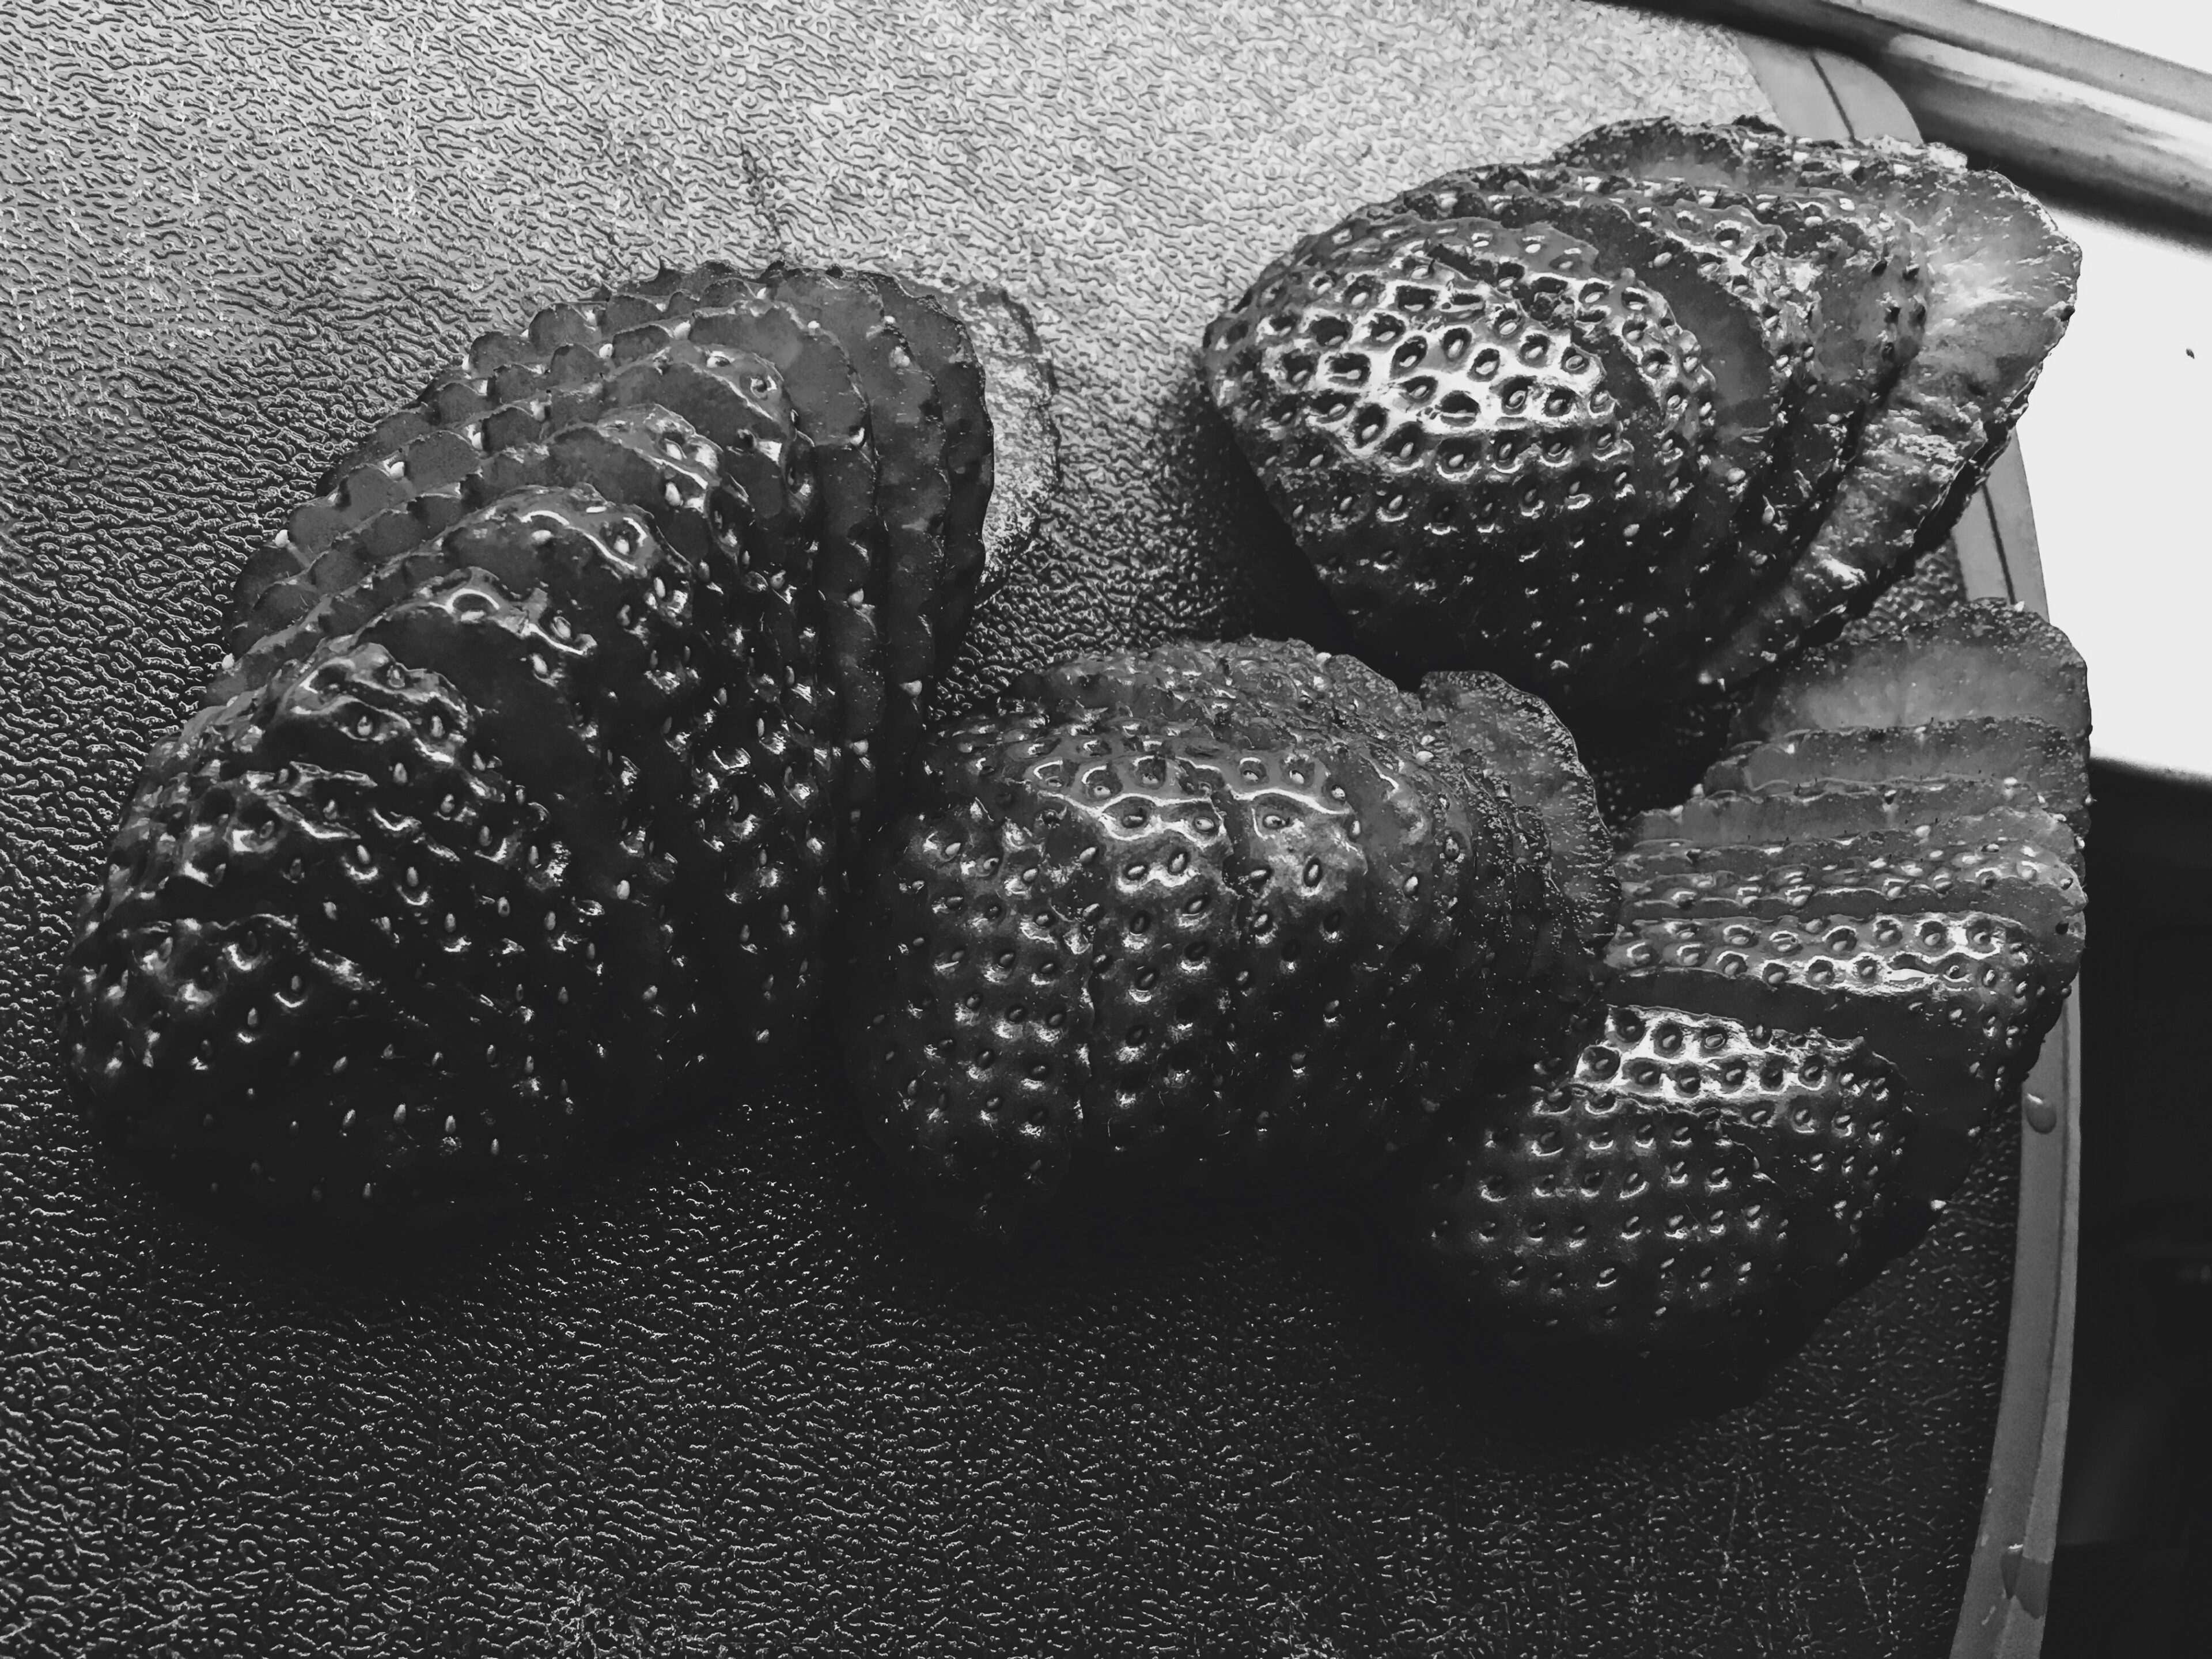
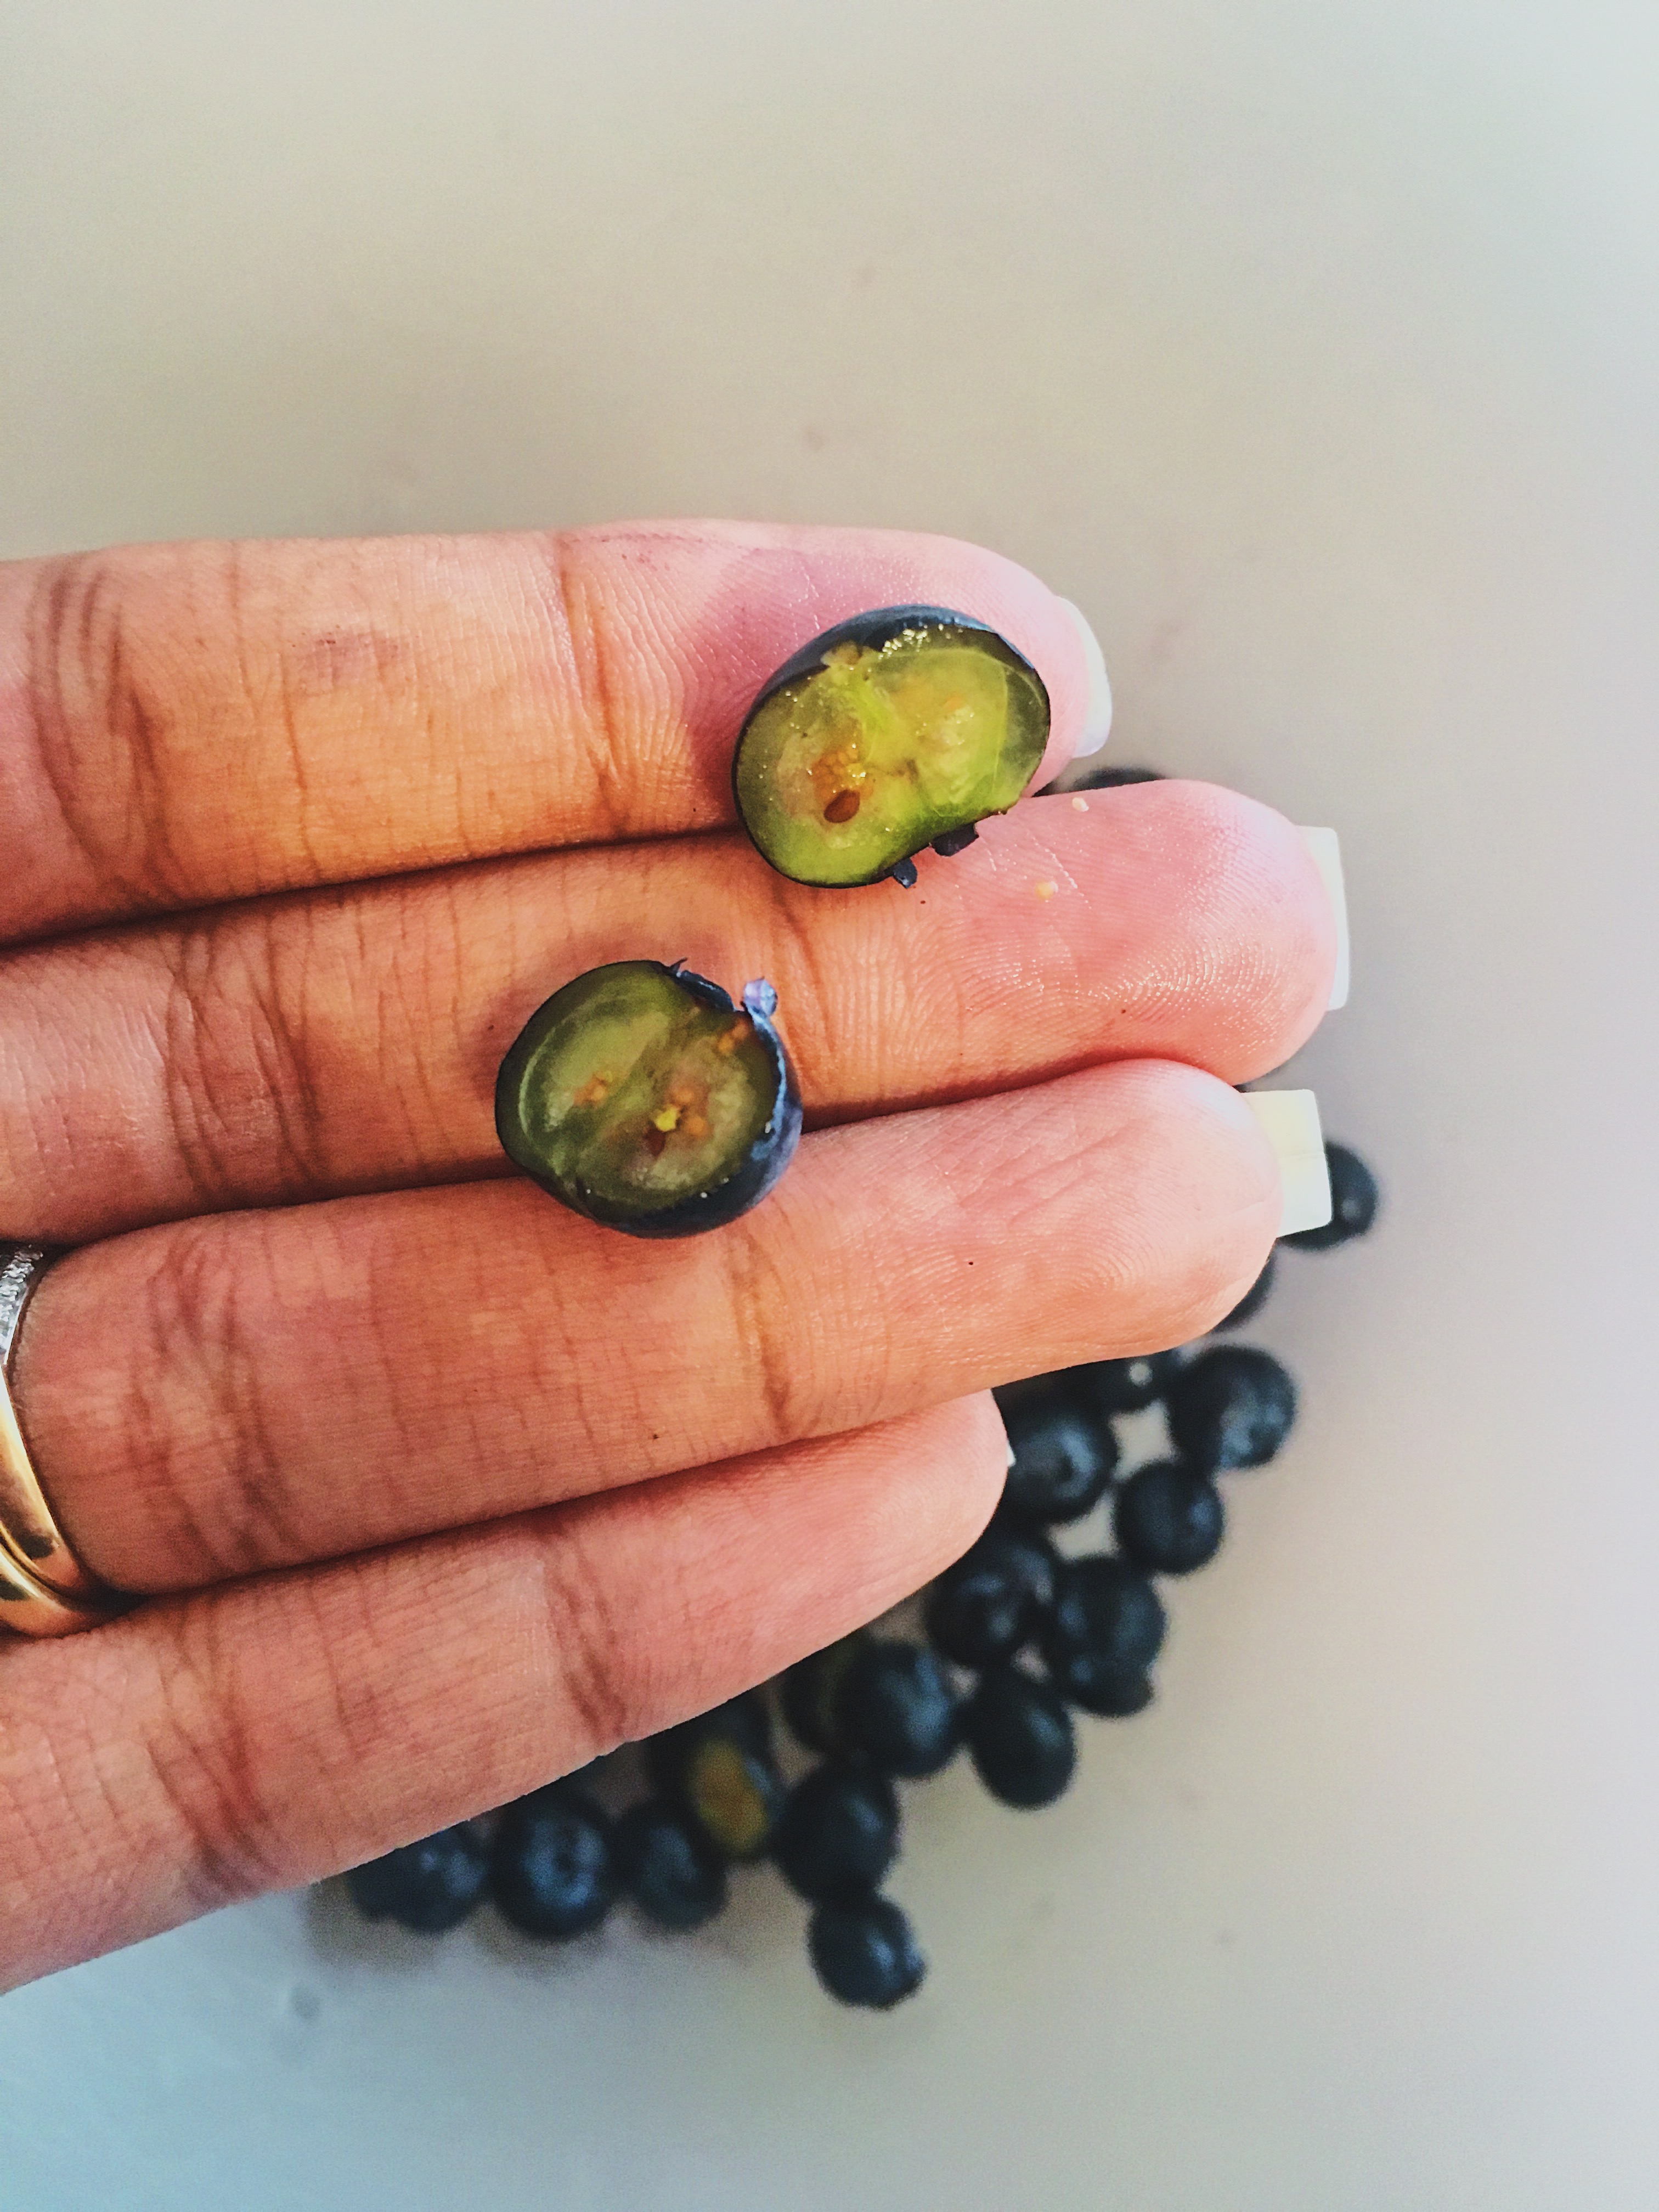
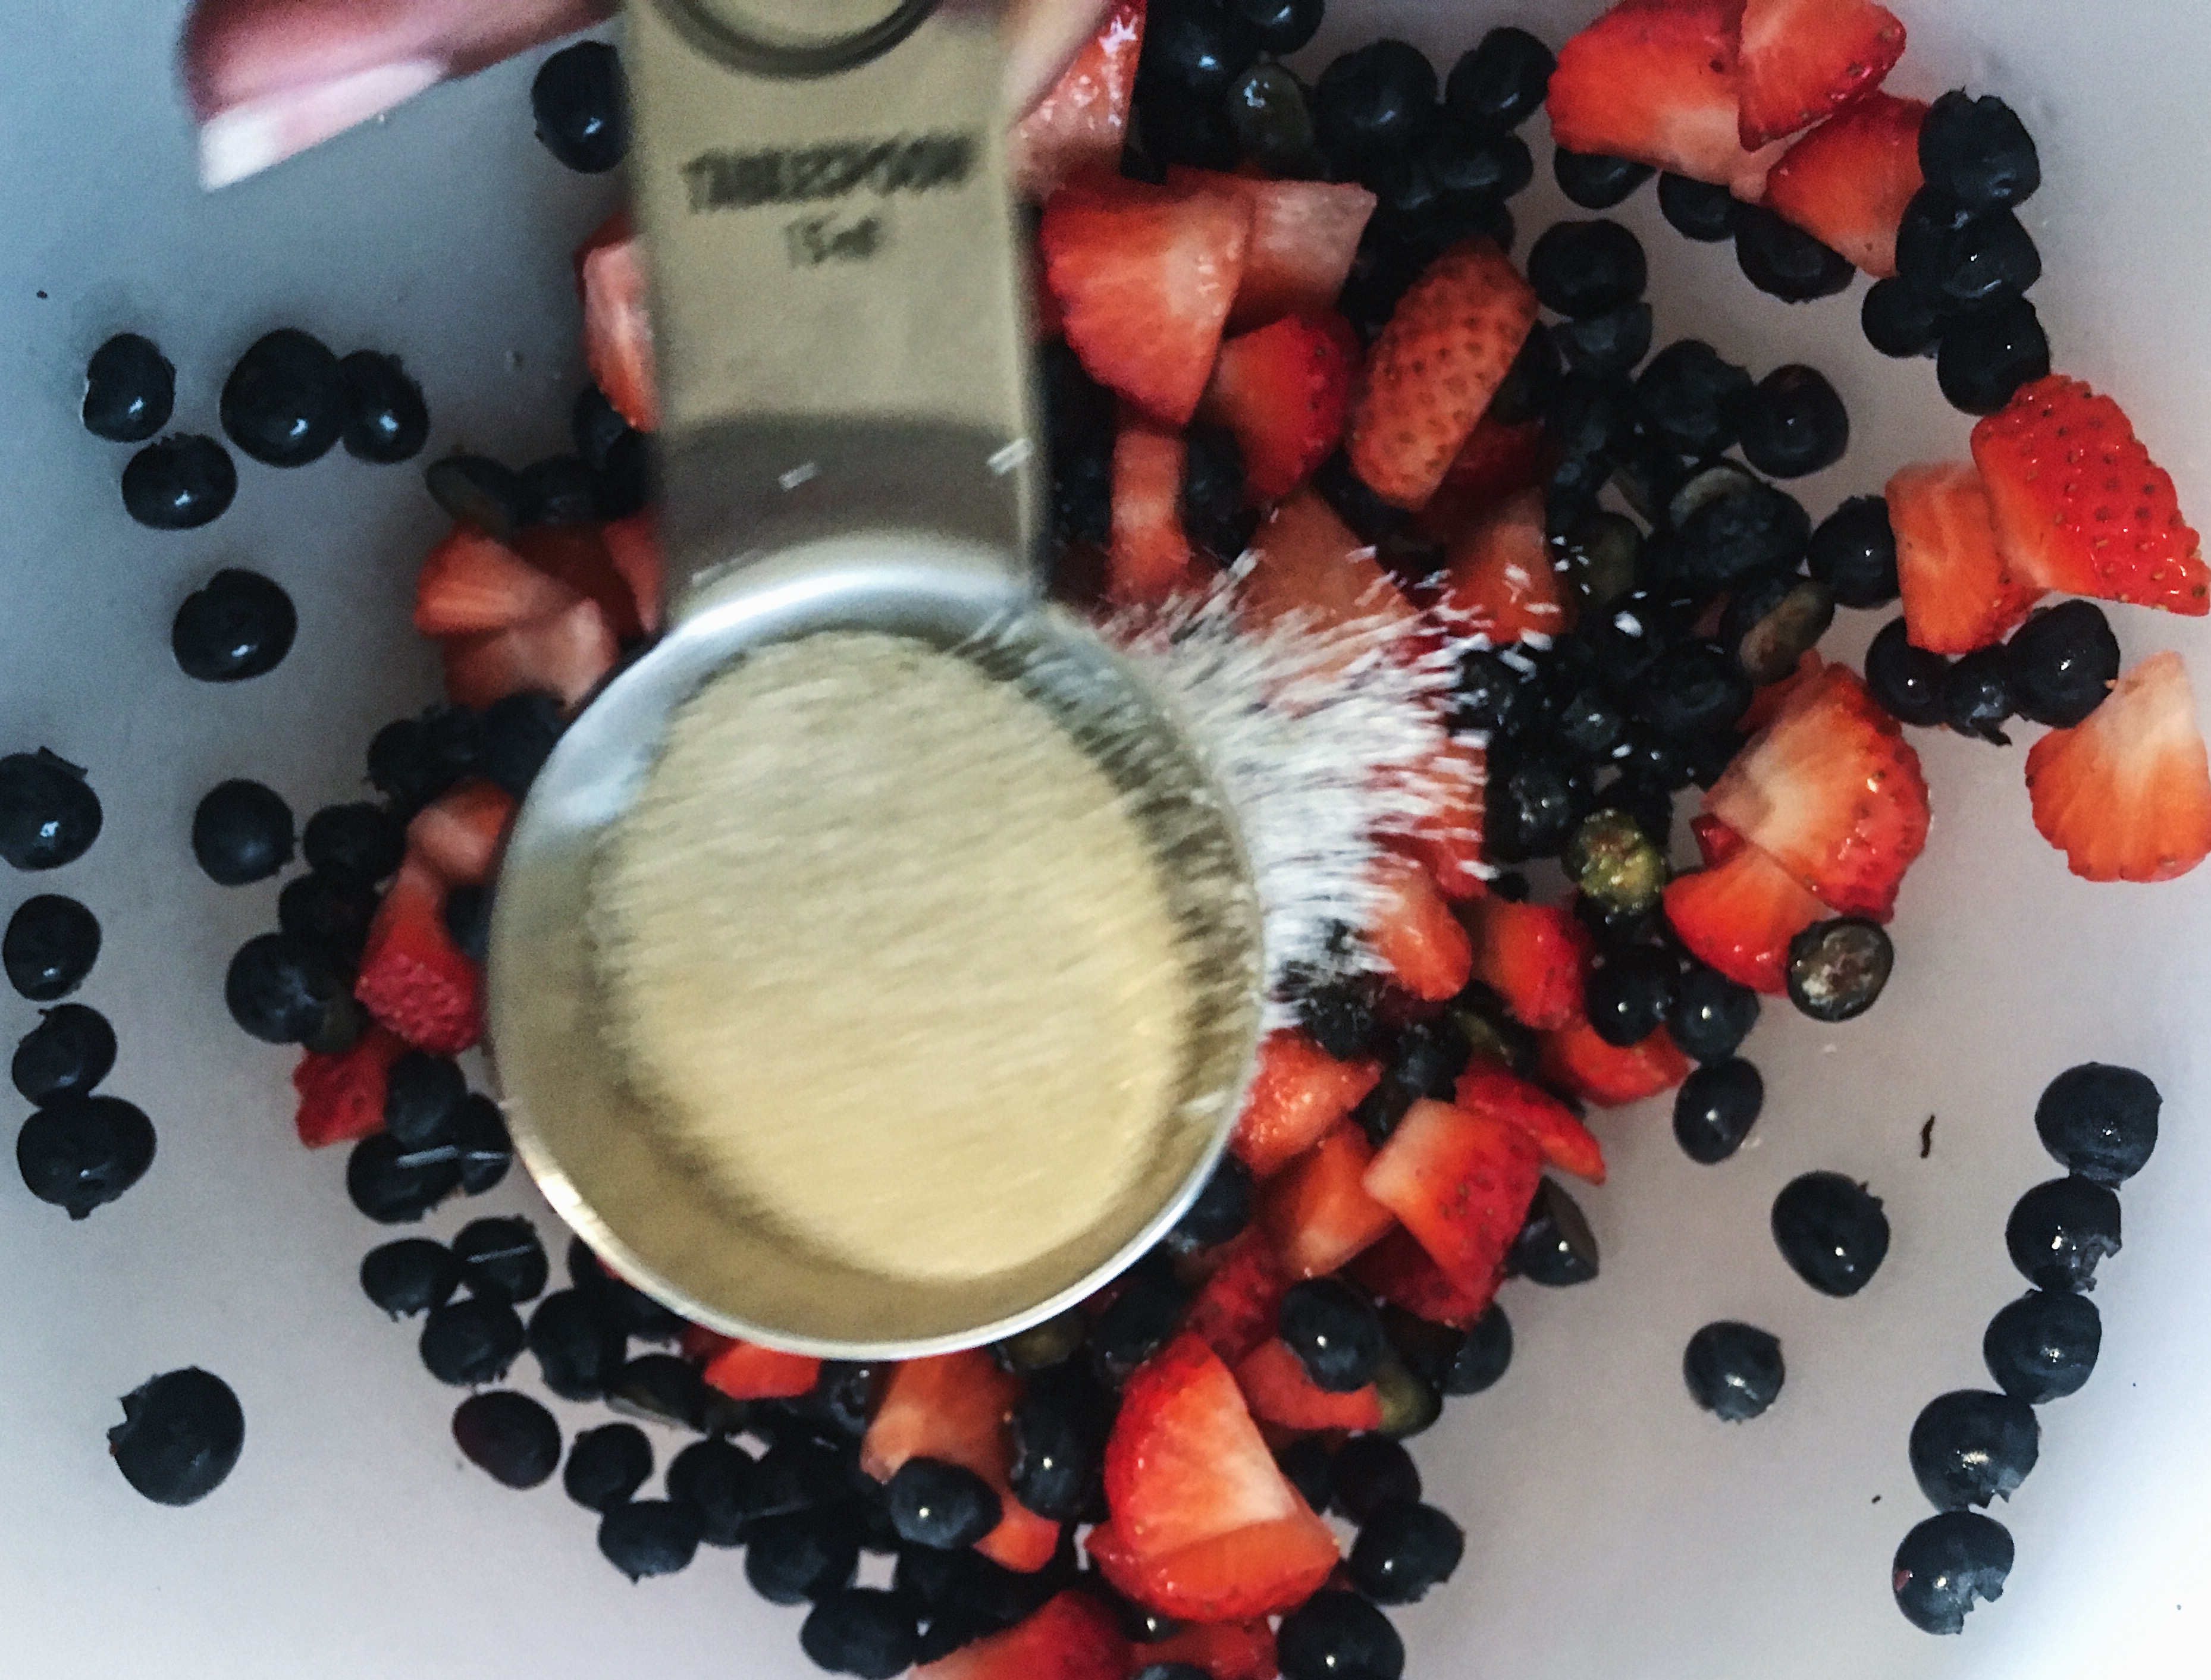
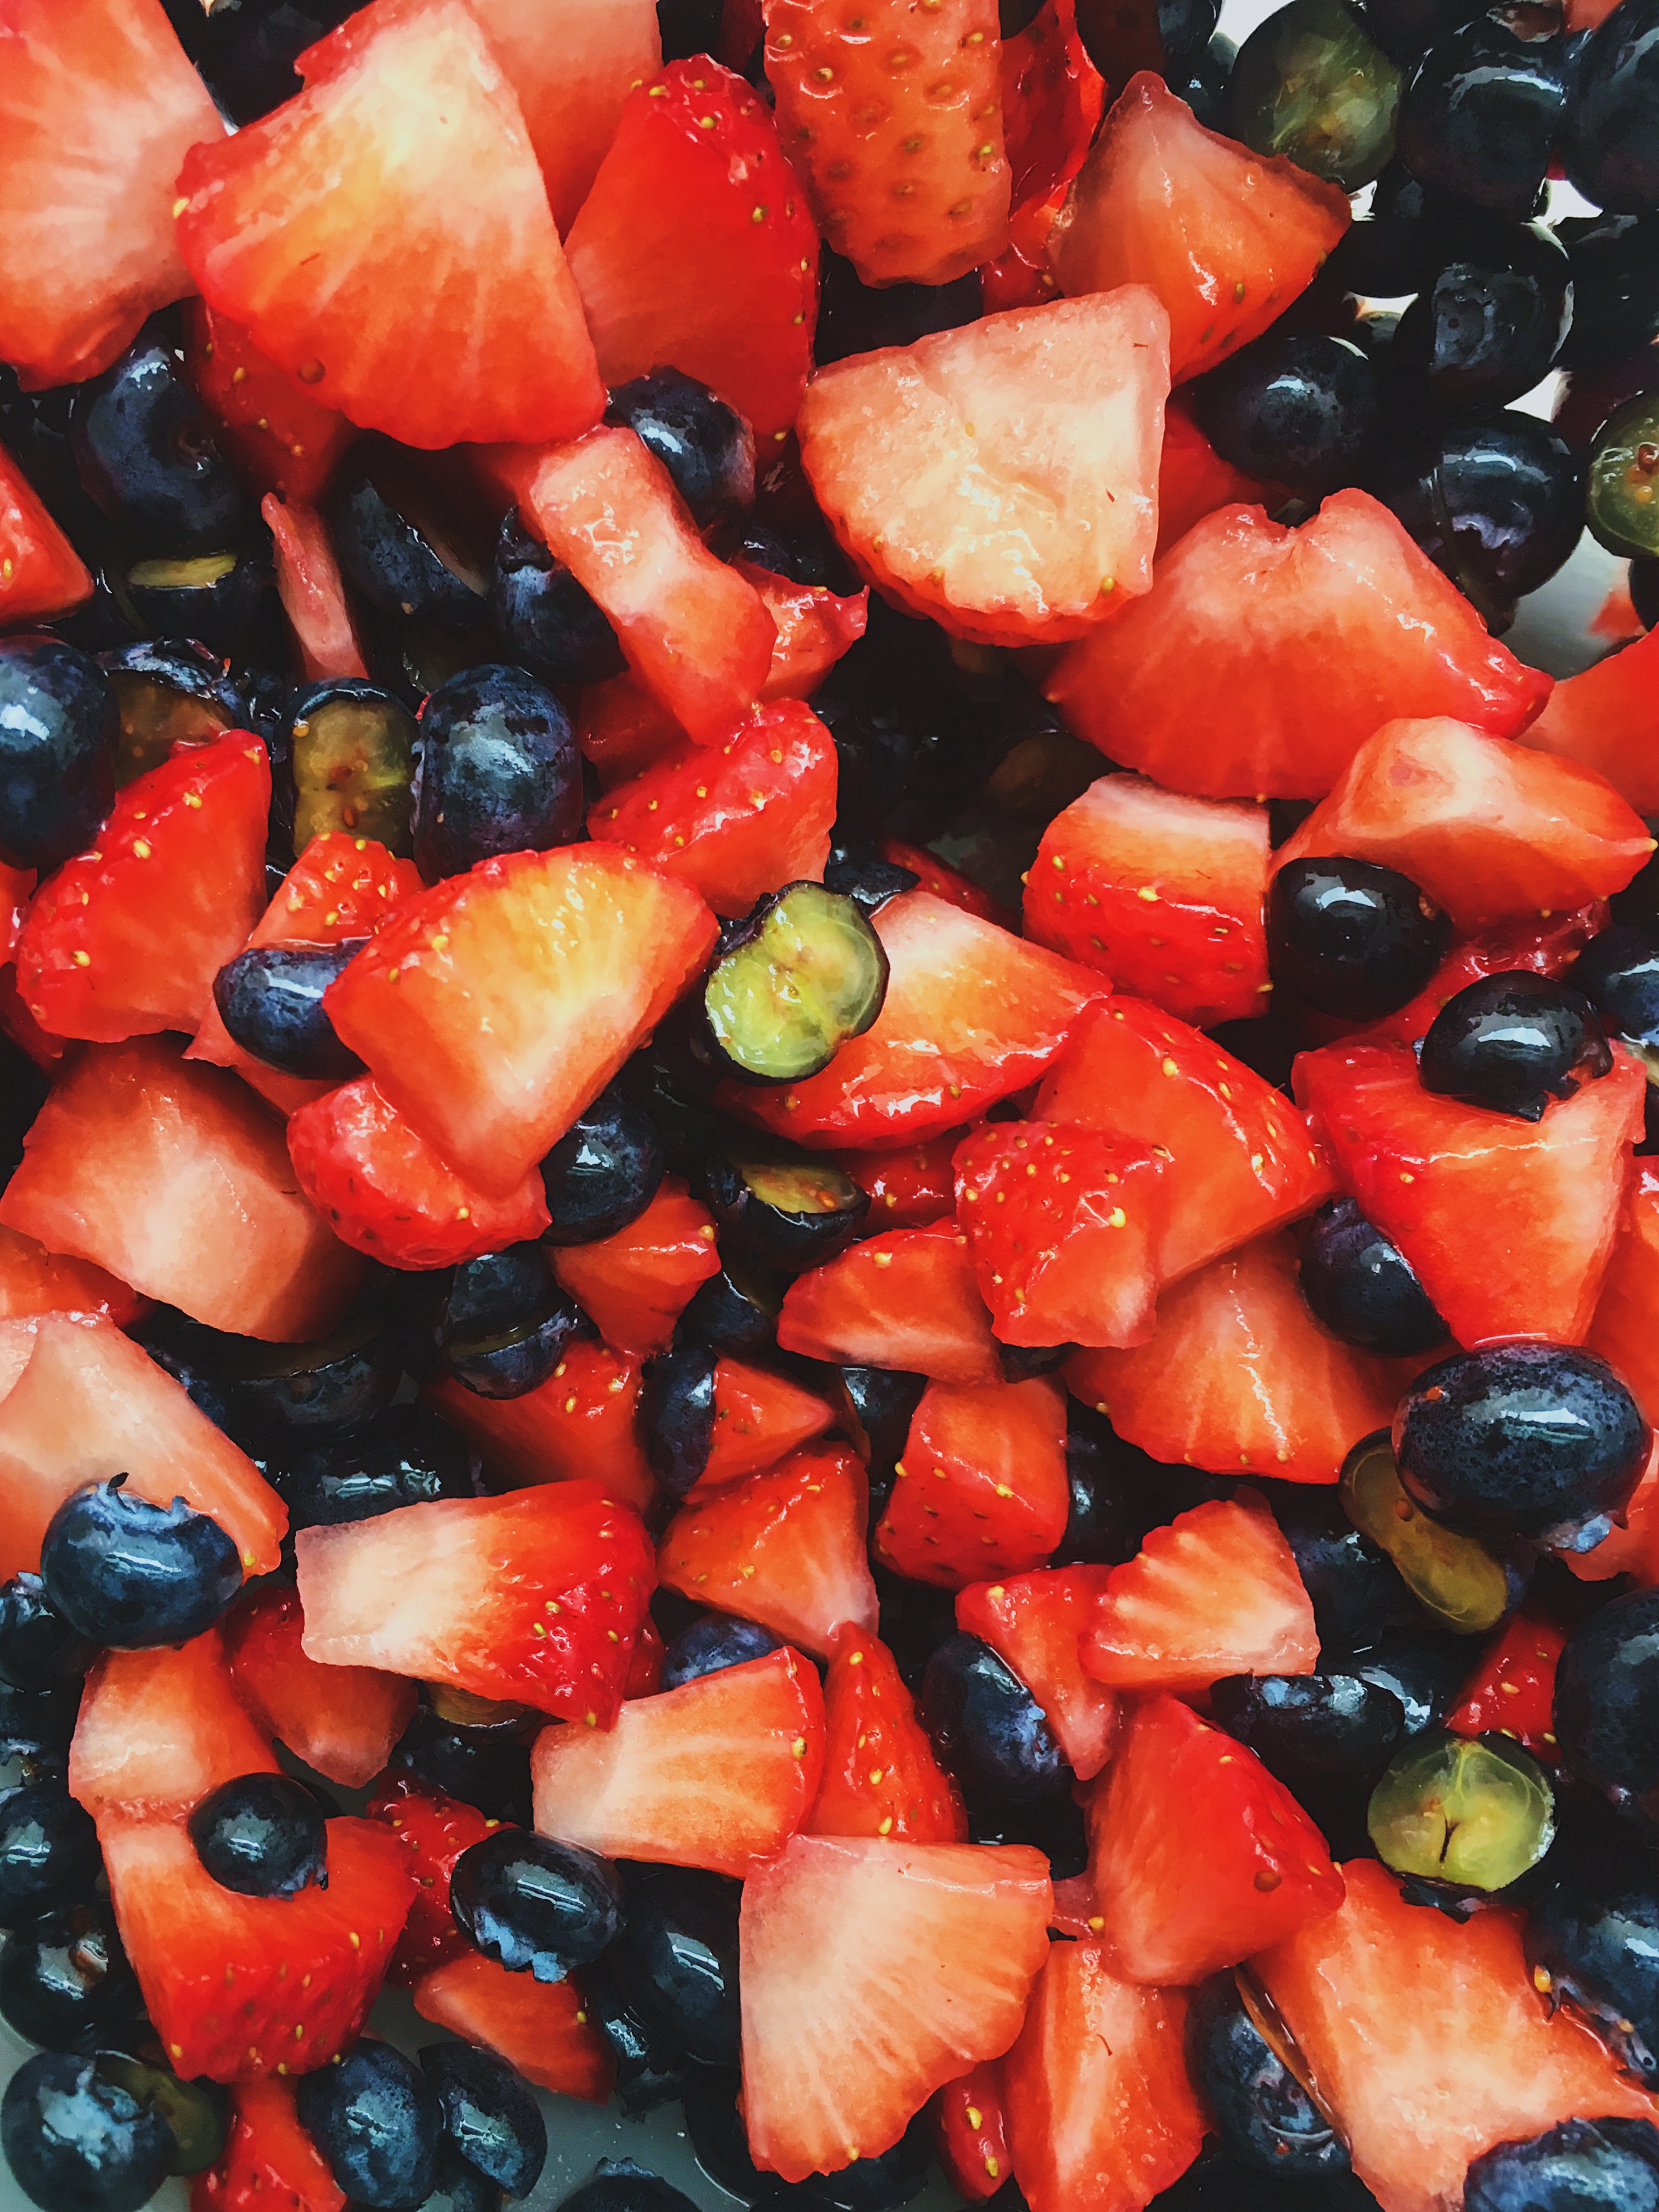
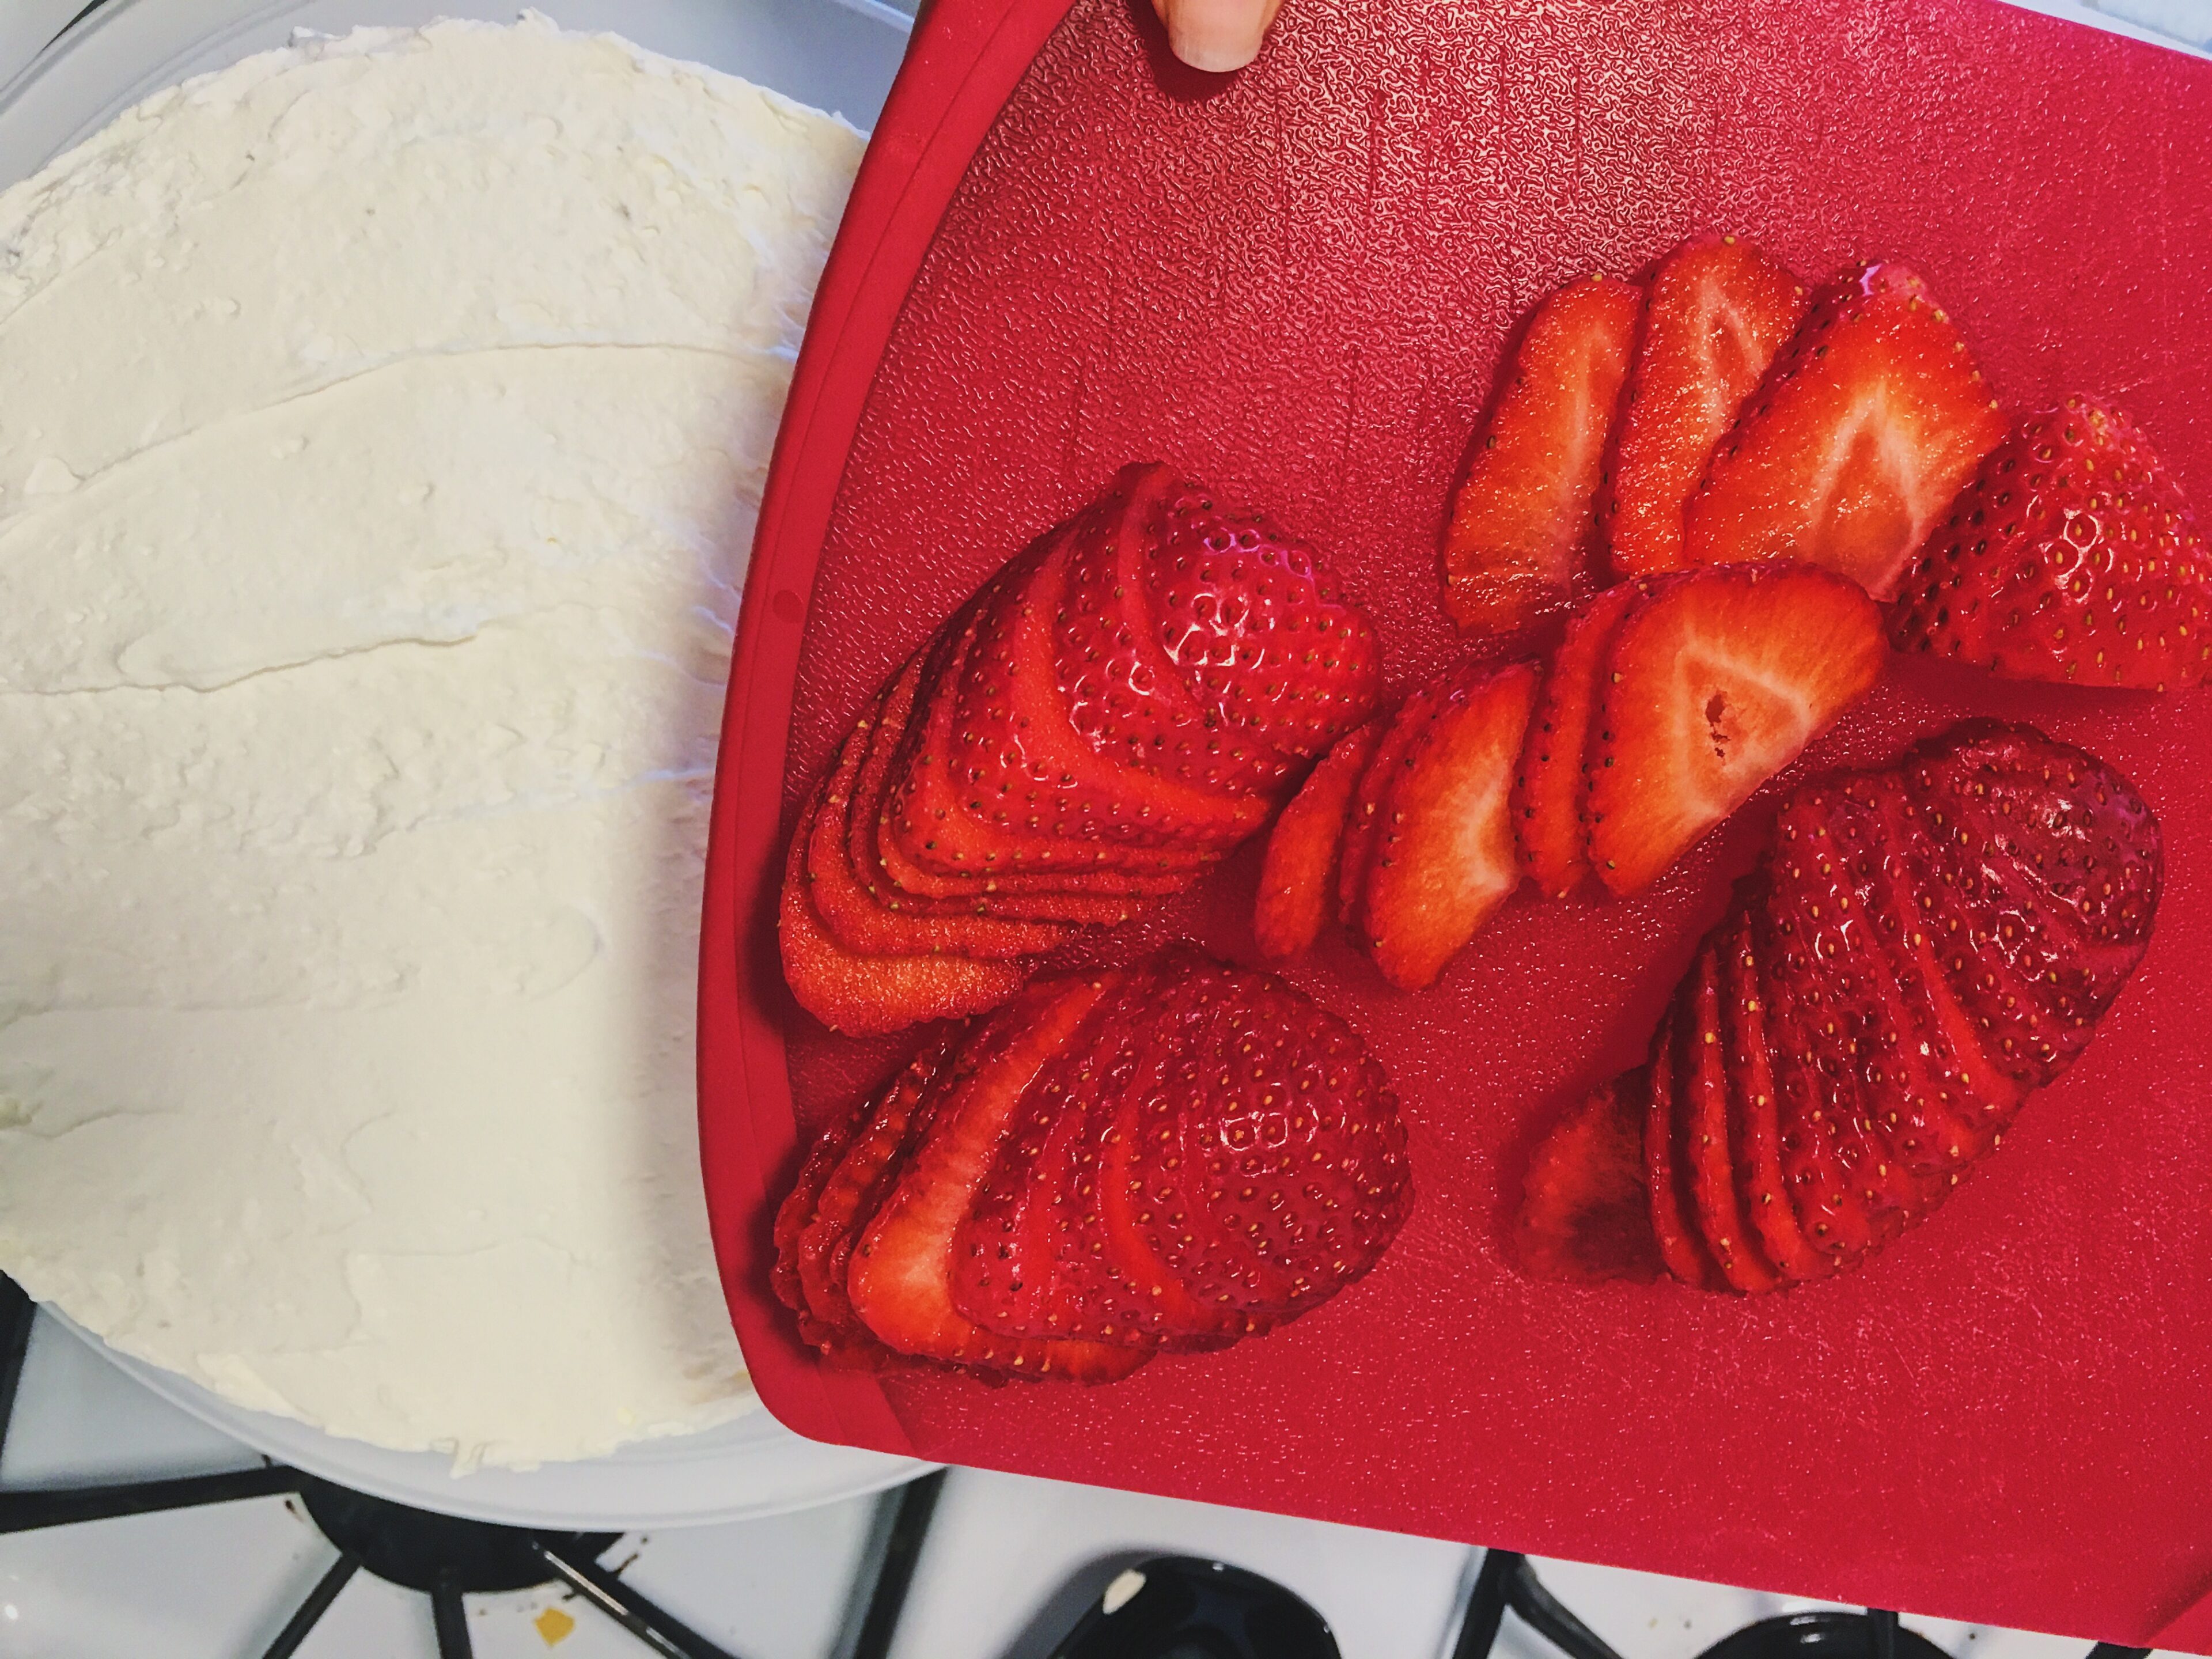
(Very Important Step) Before cutting any of the berries, set aside the biggest and prettiest blueberries and strawberries to decorate the top of the cake. Leave the decorative blueberries whole, and cut the strawberries into thin slices. (Refer to images) For the berry filling, cut the strawberries into small chunks and cut the blueberries in half. Cut roughly 2-2.5 cups worth of the berry mixture, and stir in 1 tablespoon of sugar. Stir the sugar and berries until a berry syrup begins to form in the bowl with the berries. Set in refrigerator for 30 minutes to an hour.
4. (Very Important Step) When the cakes are done baking, remove from oven and set aside to cool COMPLETELY.
Do not attempt to put this cake together until the cakes are completely cooled.
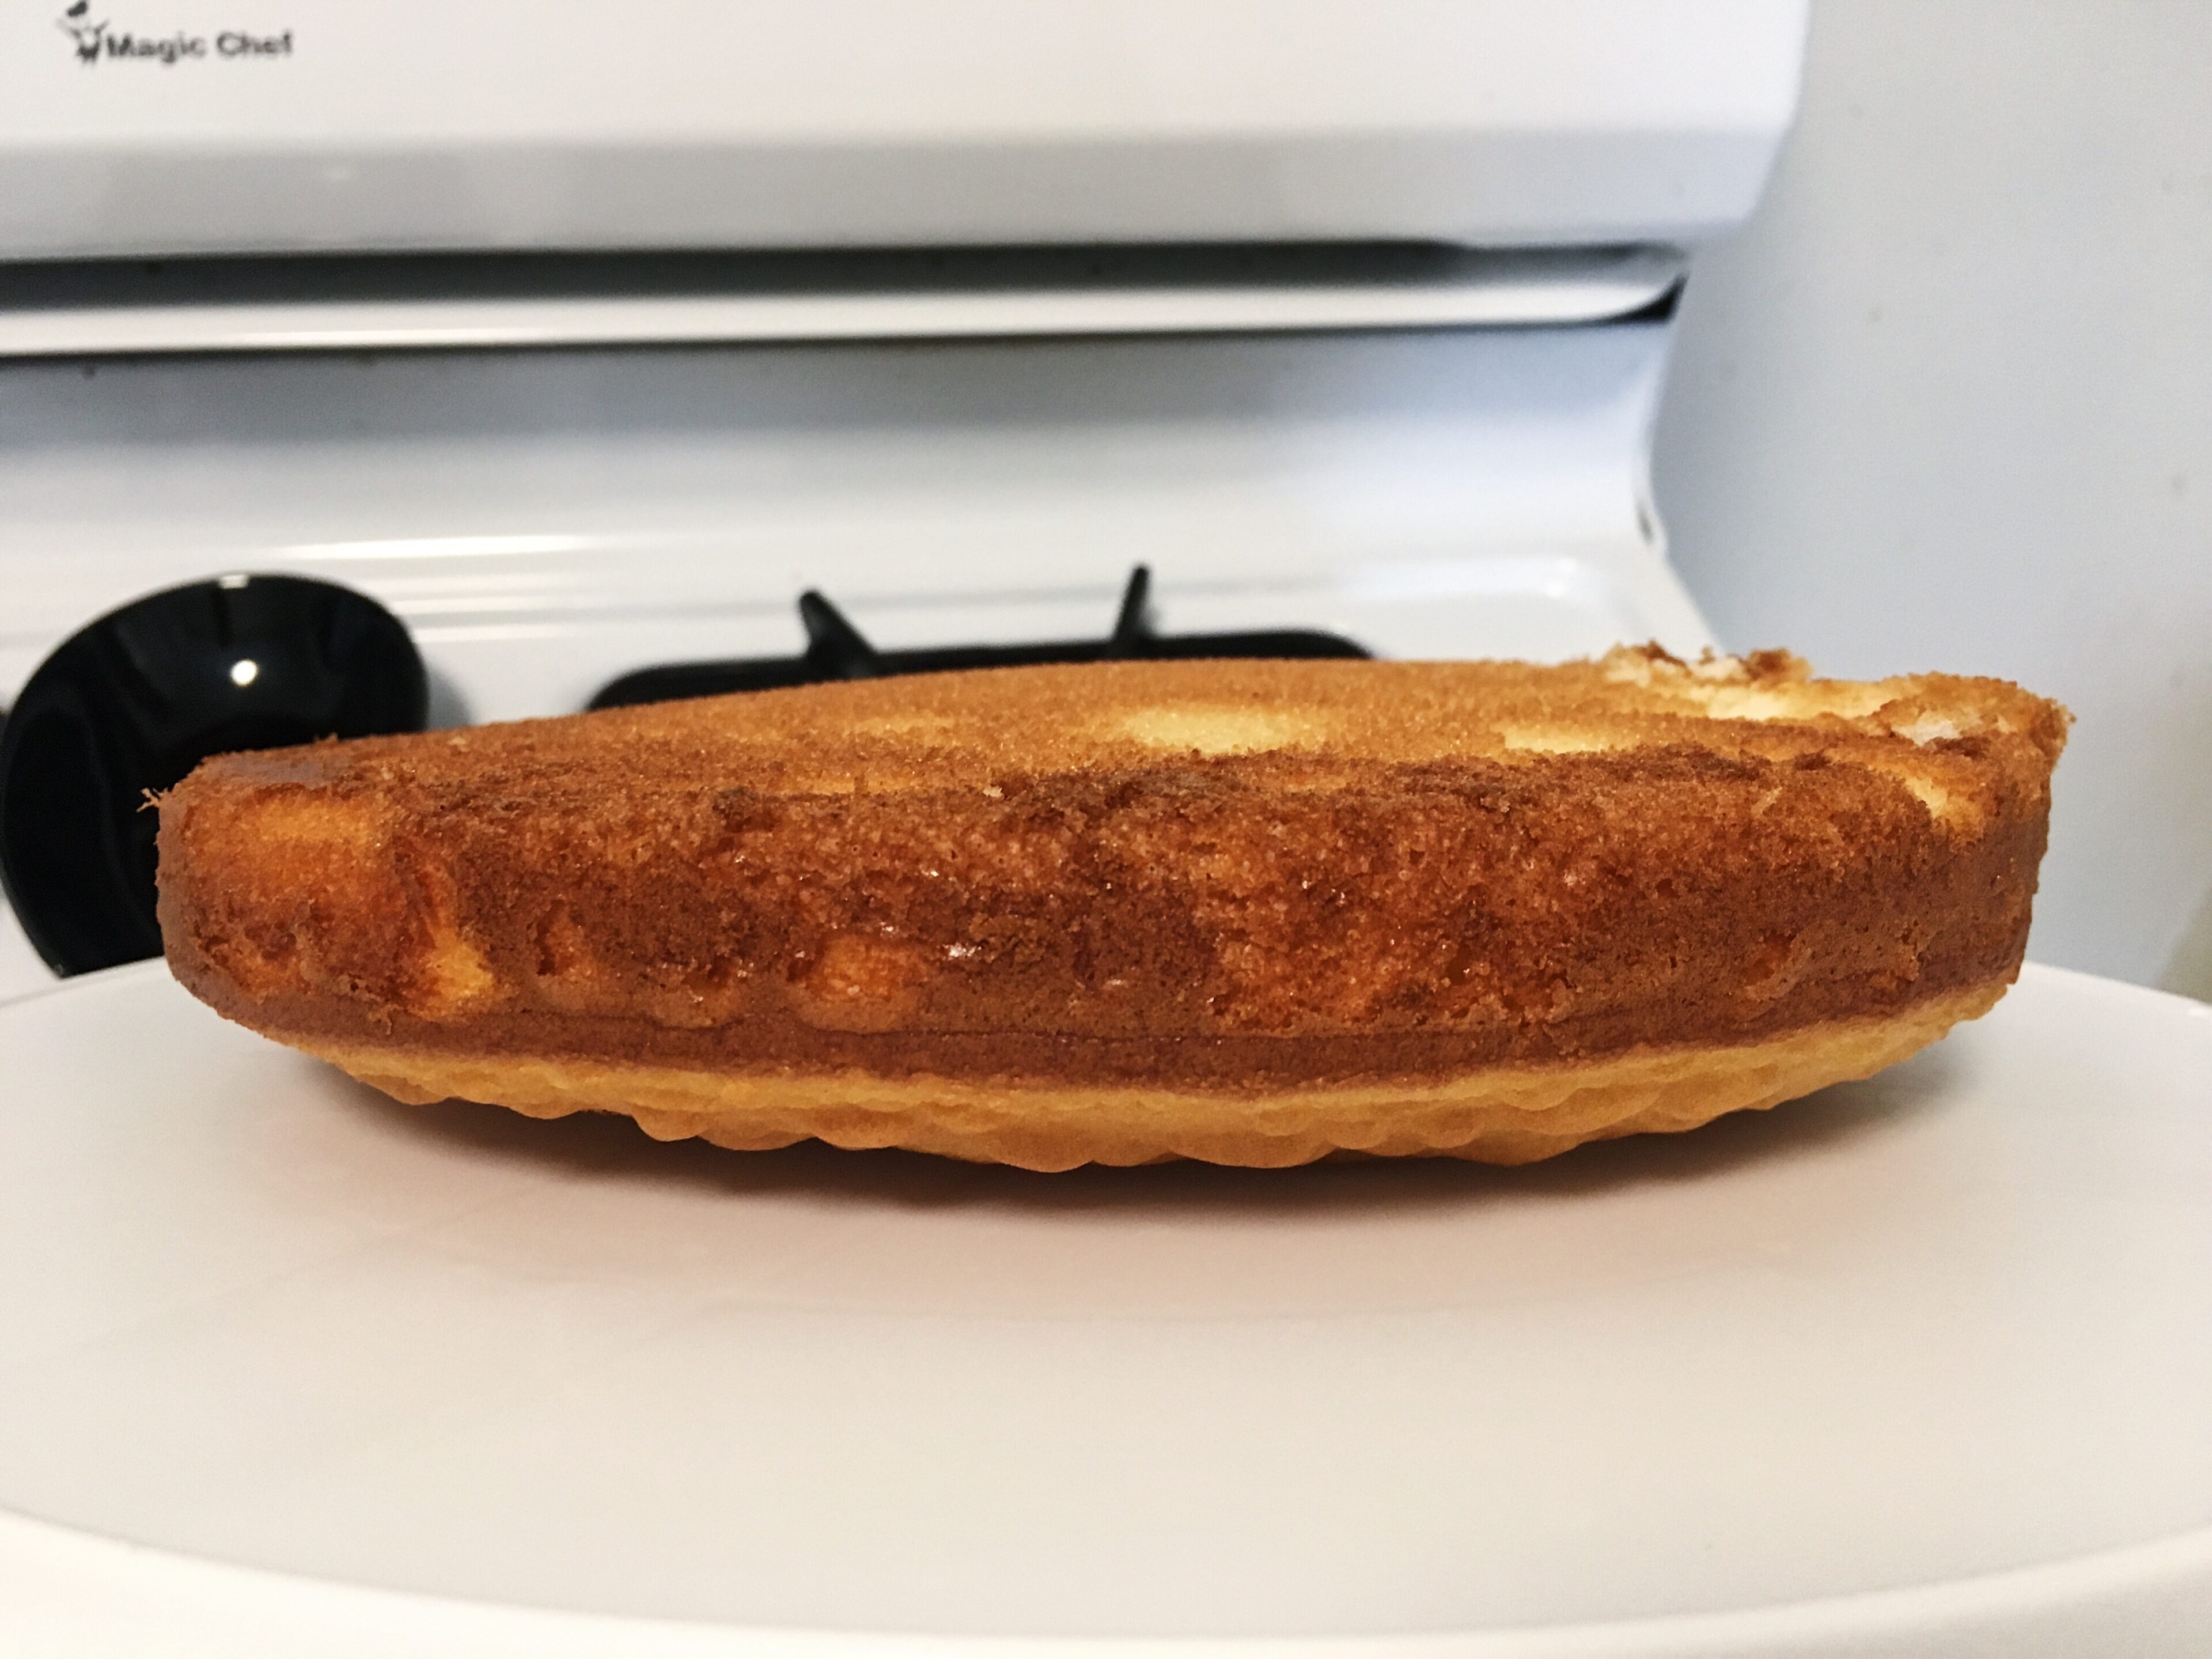
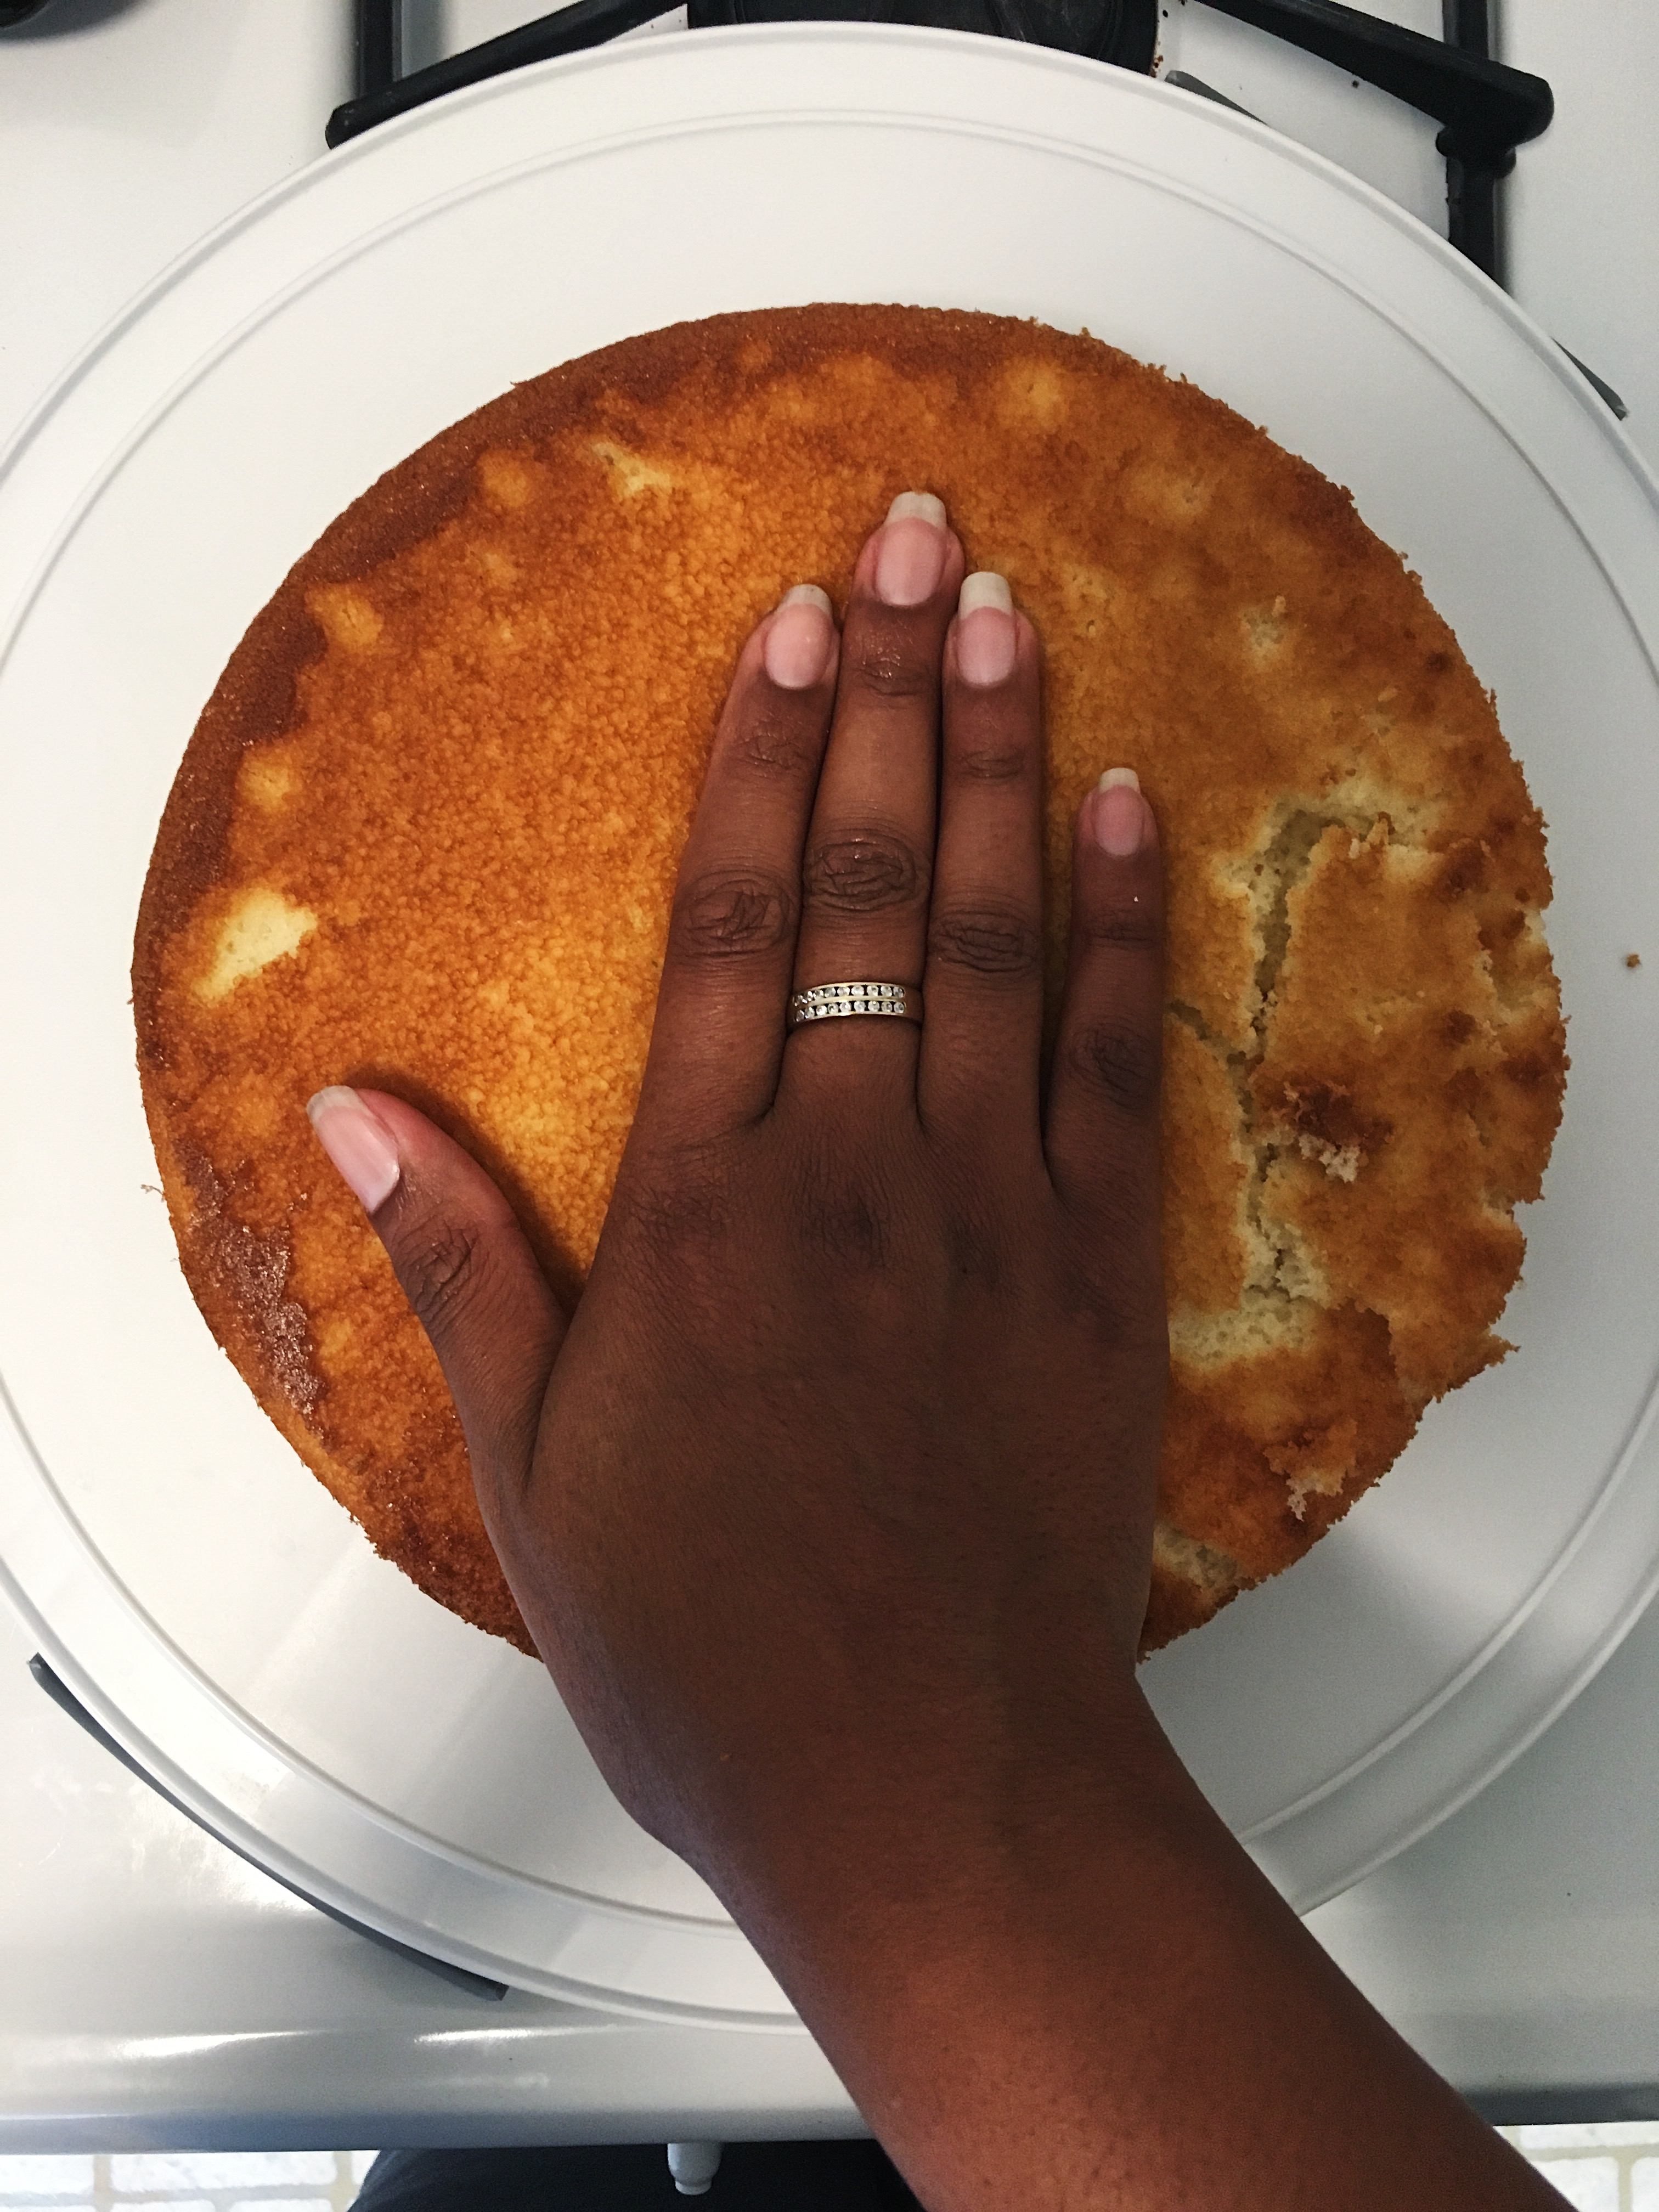
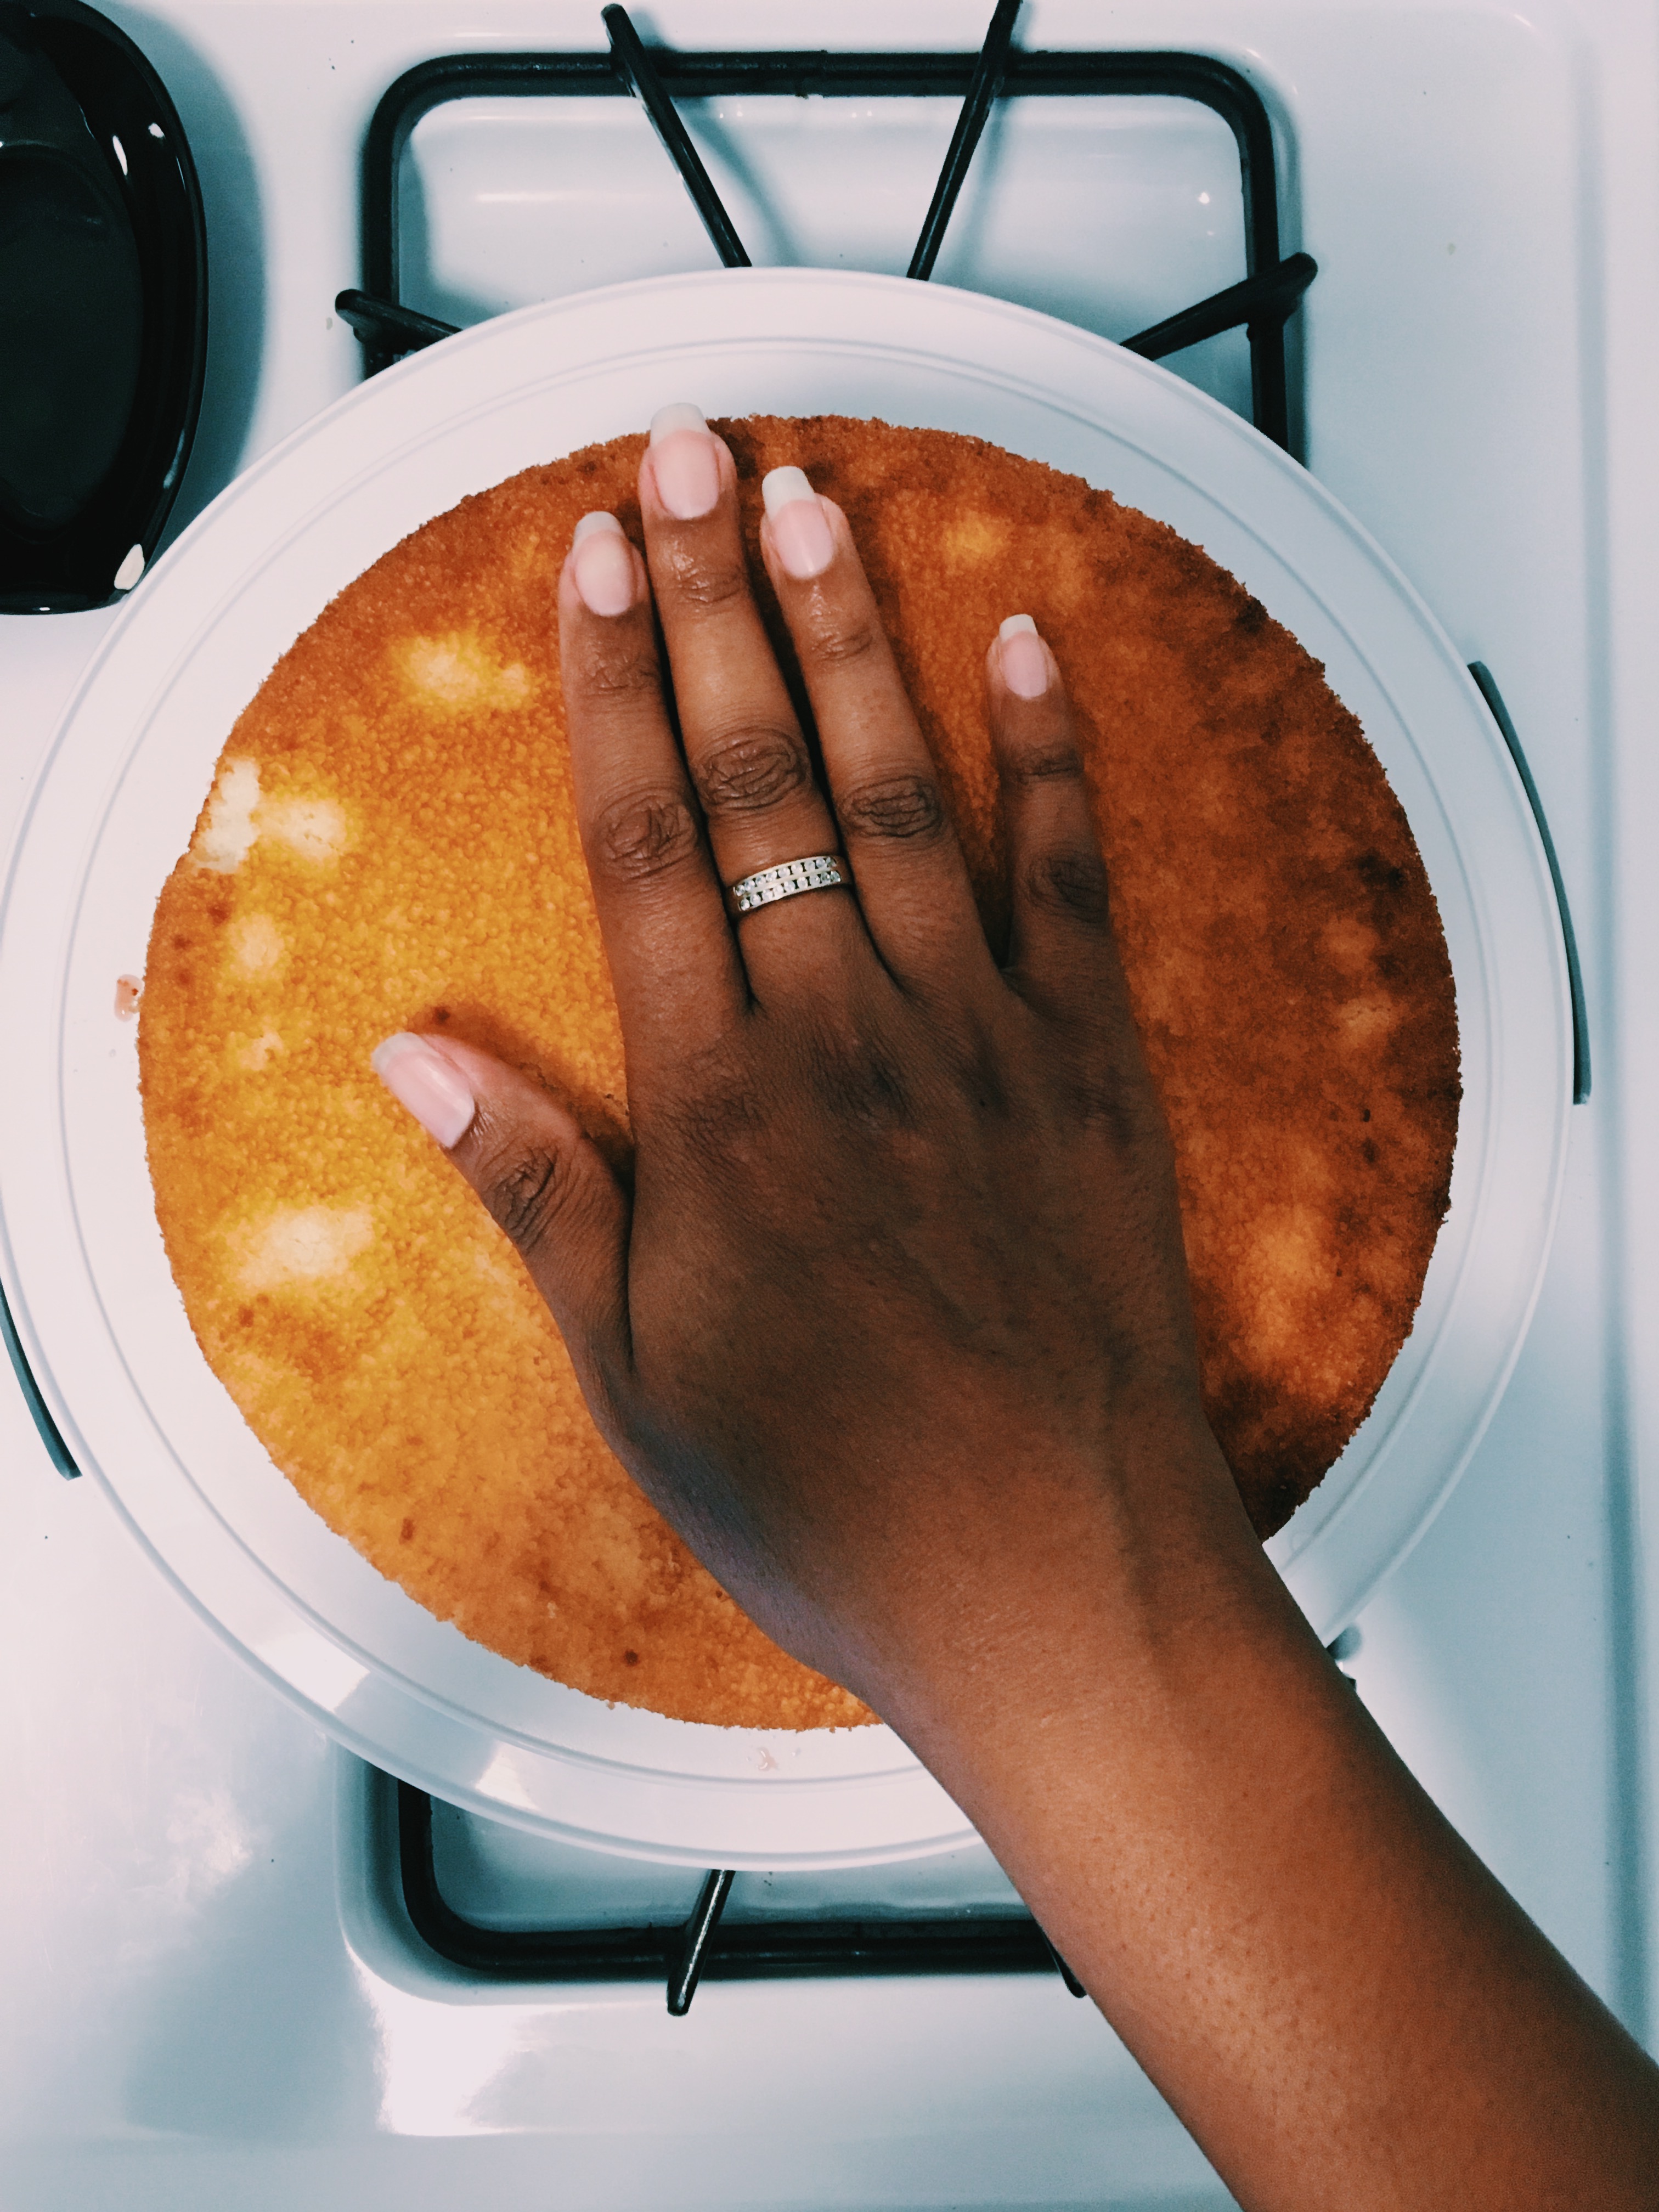
5. Once cakes are cooled, use a butter knife gently around the sides of the cake to help loosen the cake from the sides of the pan.
(Very Important Step) Once loose, place the TOP of the cake face down onto the surface you plan to serve the cake on. Press down on the cake gently to flatten the surface as much as possible before adding the filling on top.
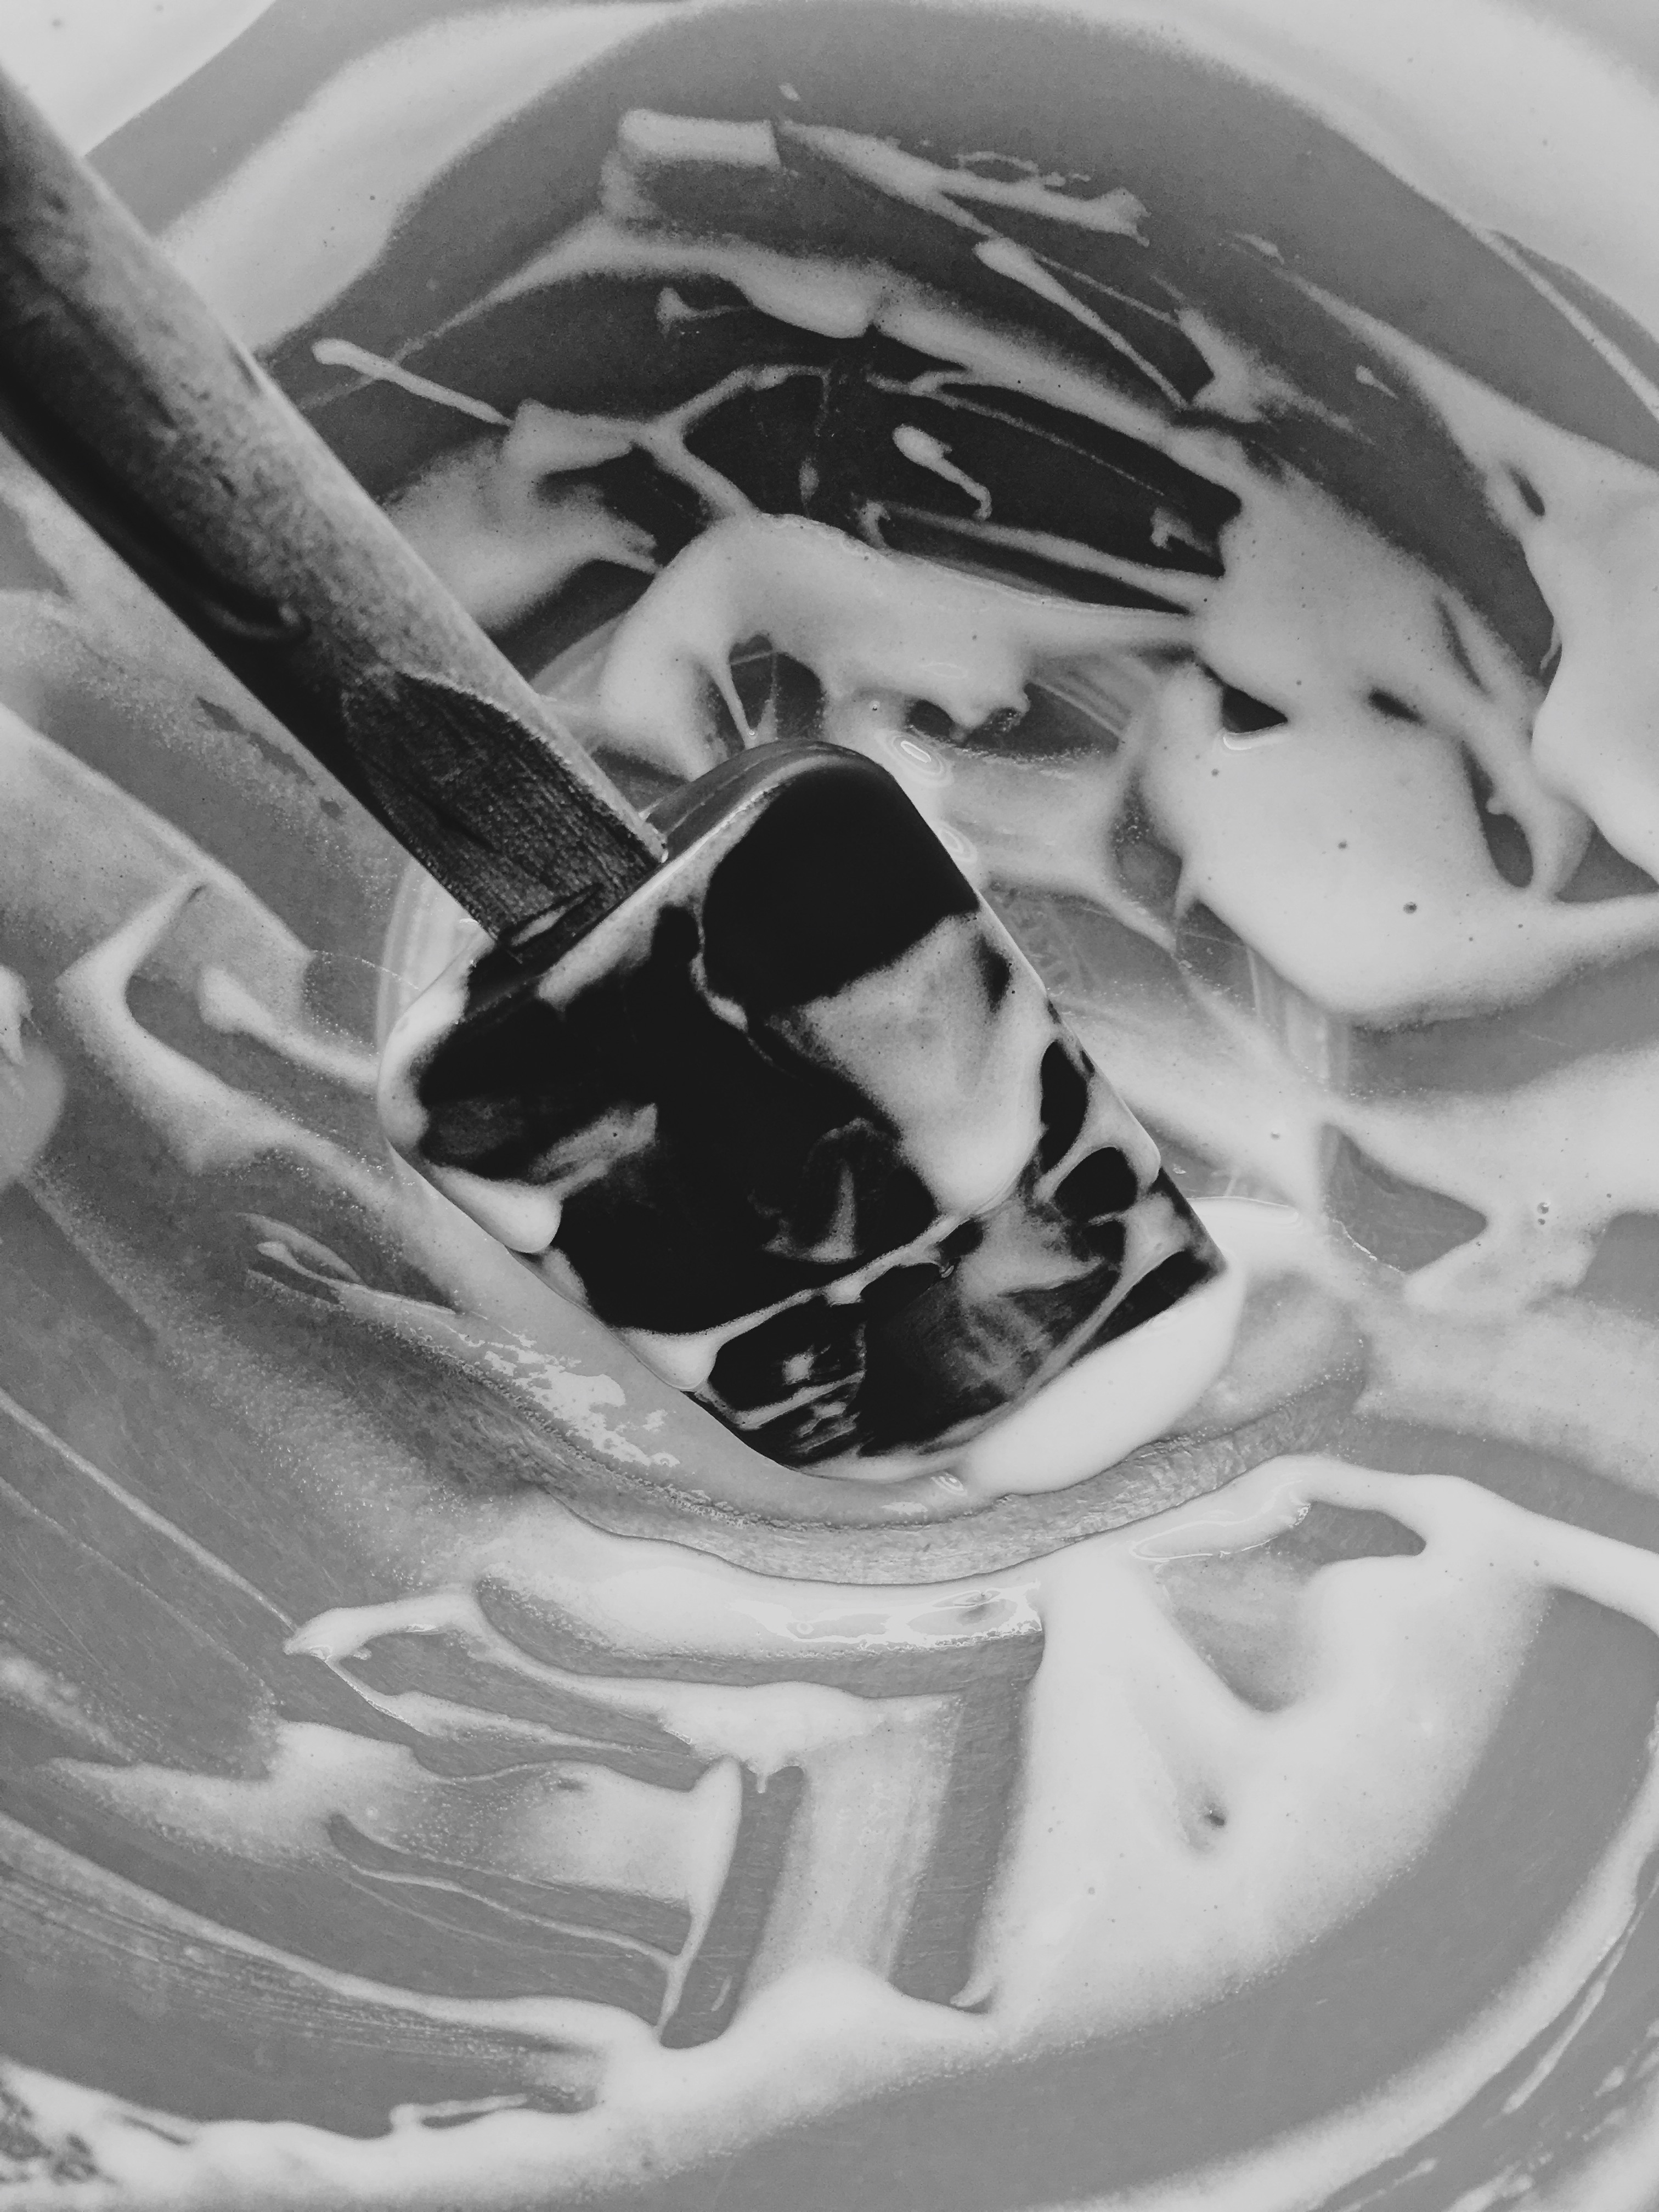
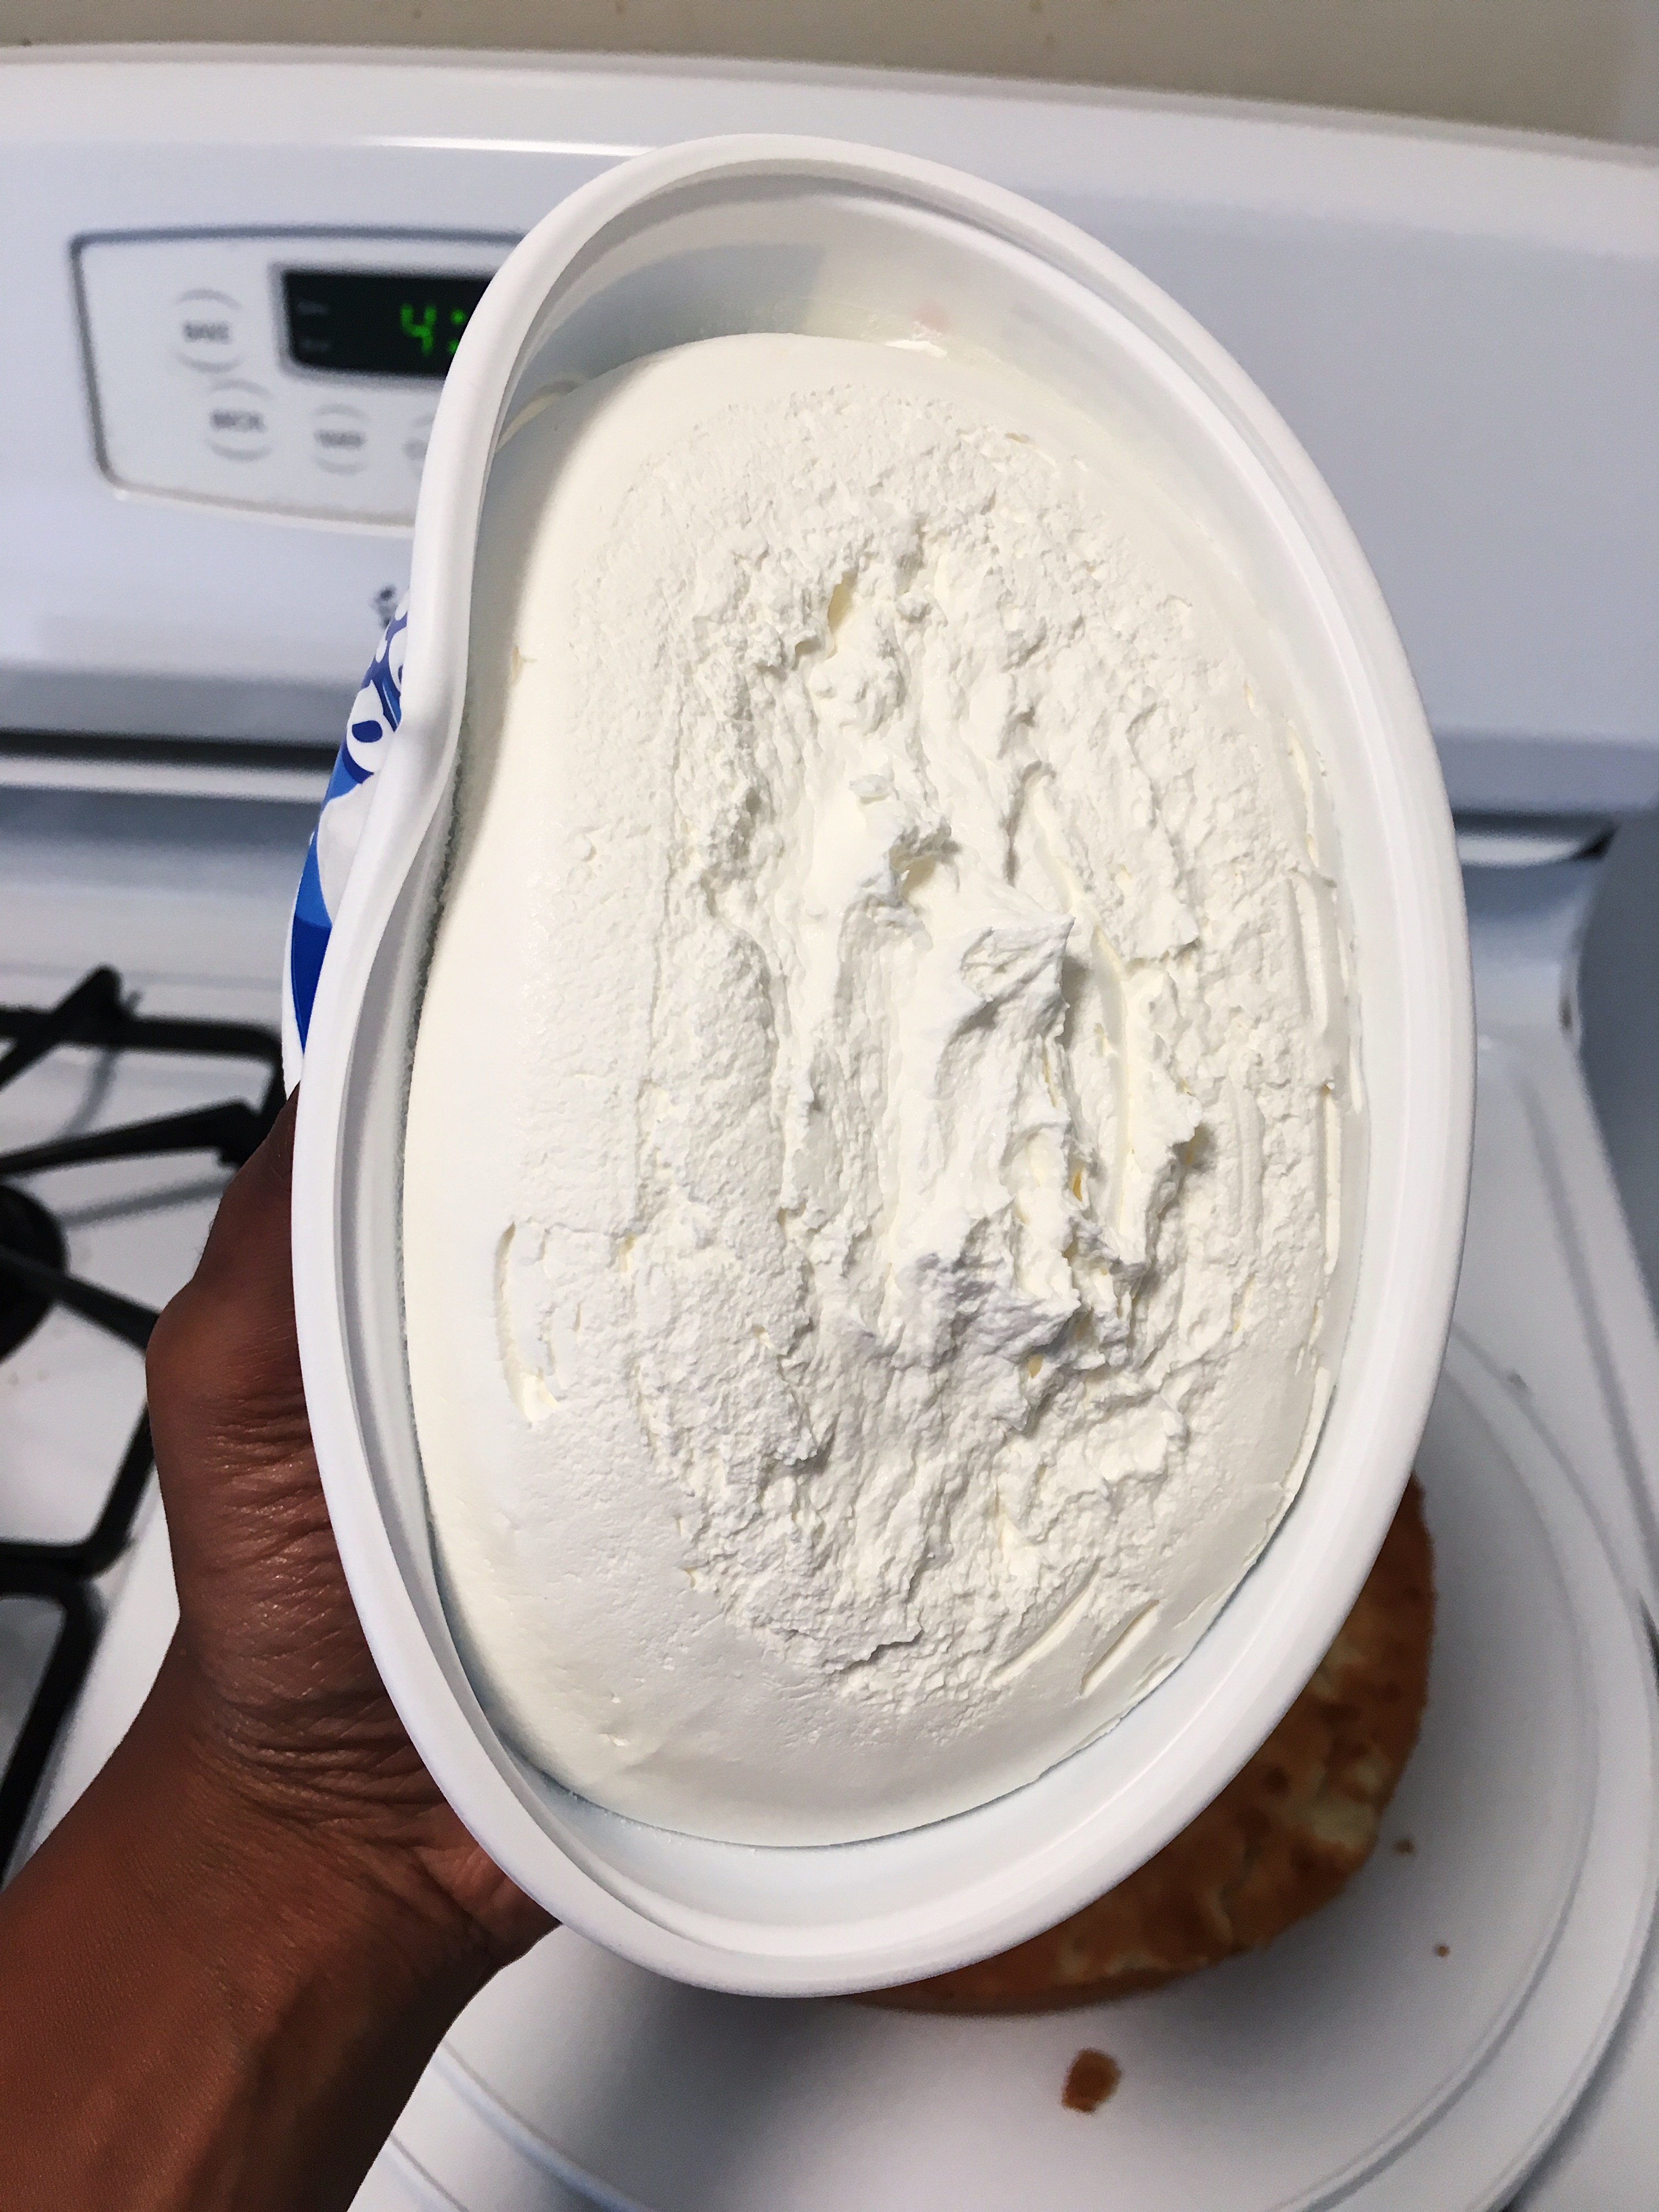
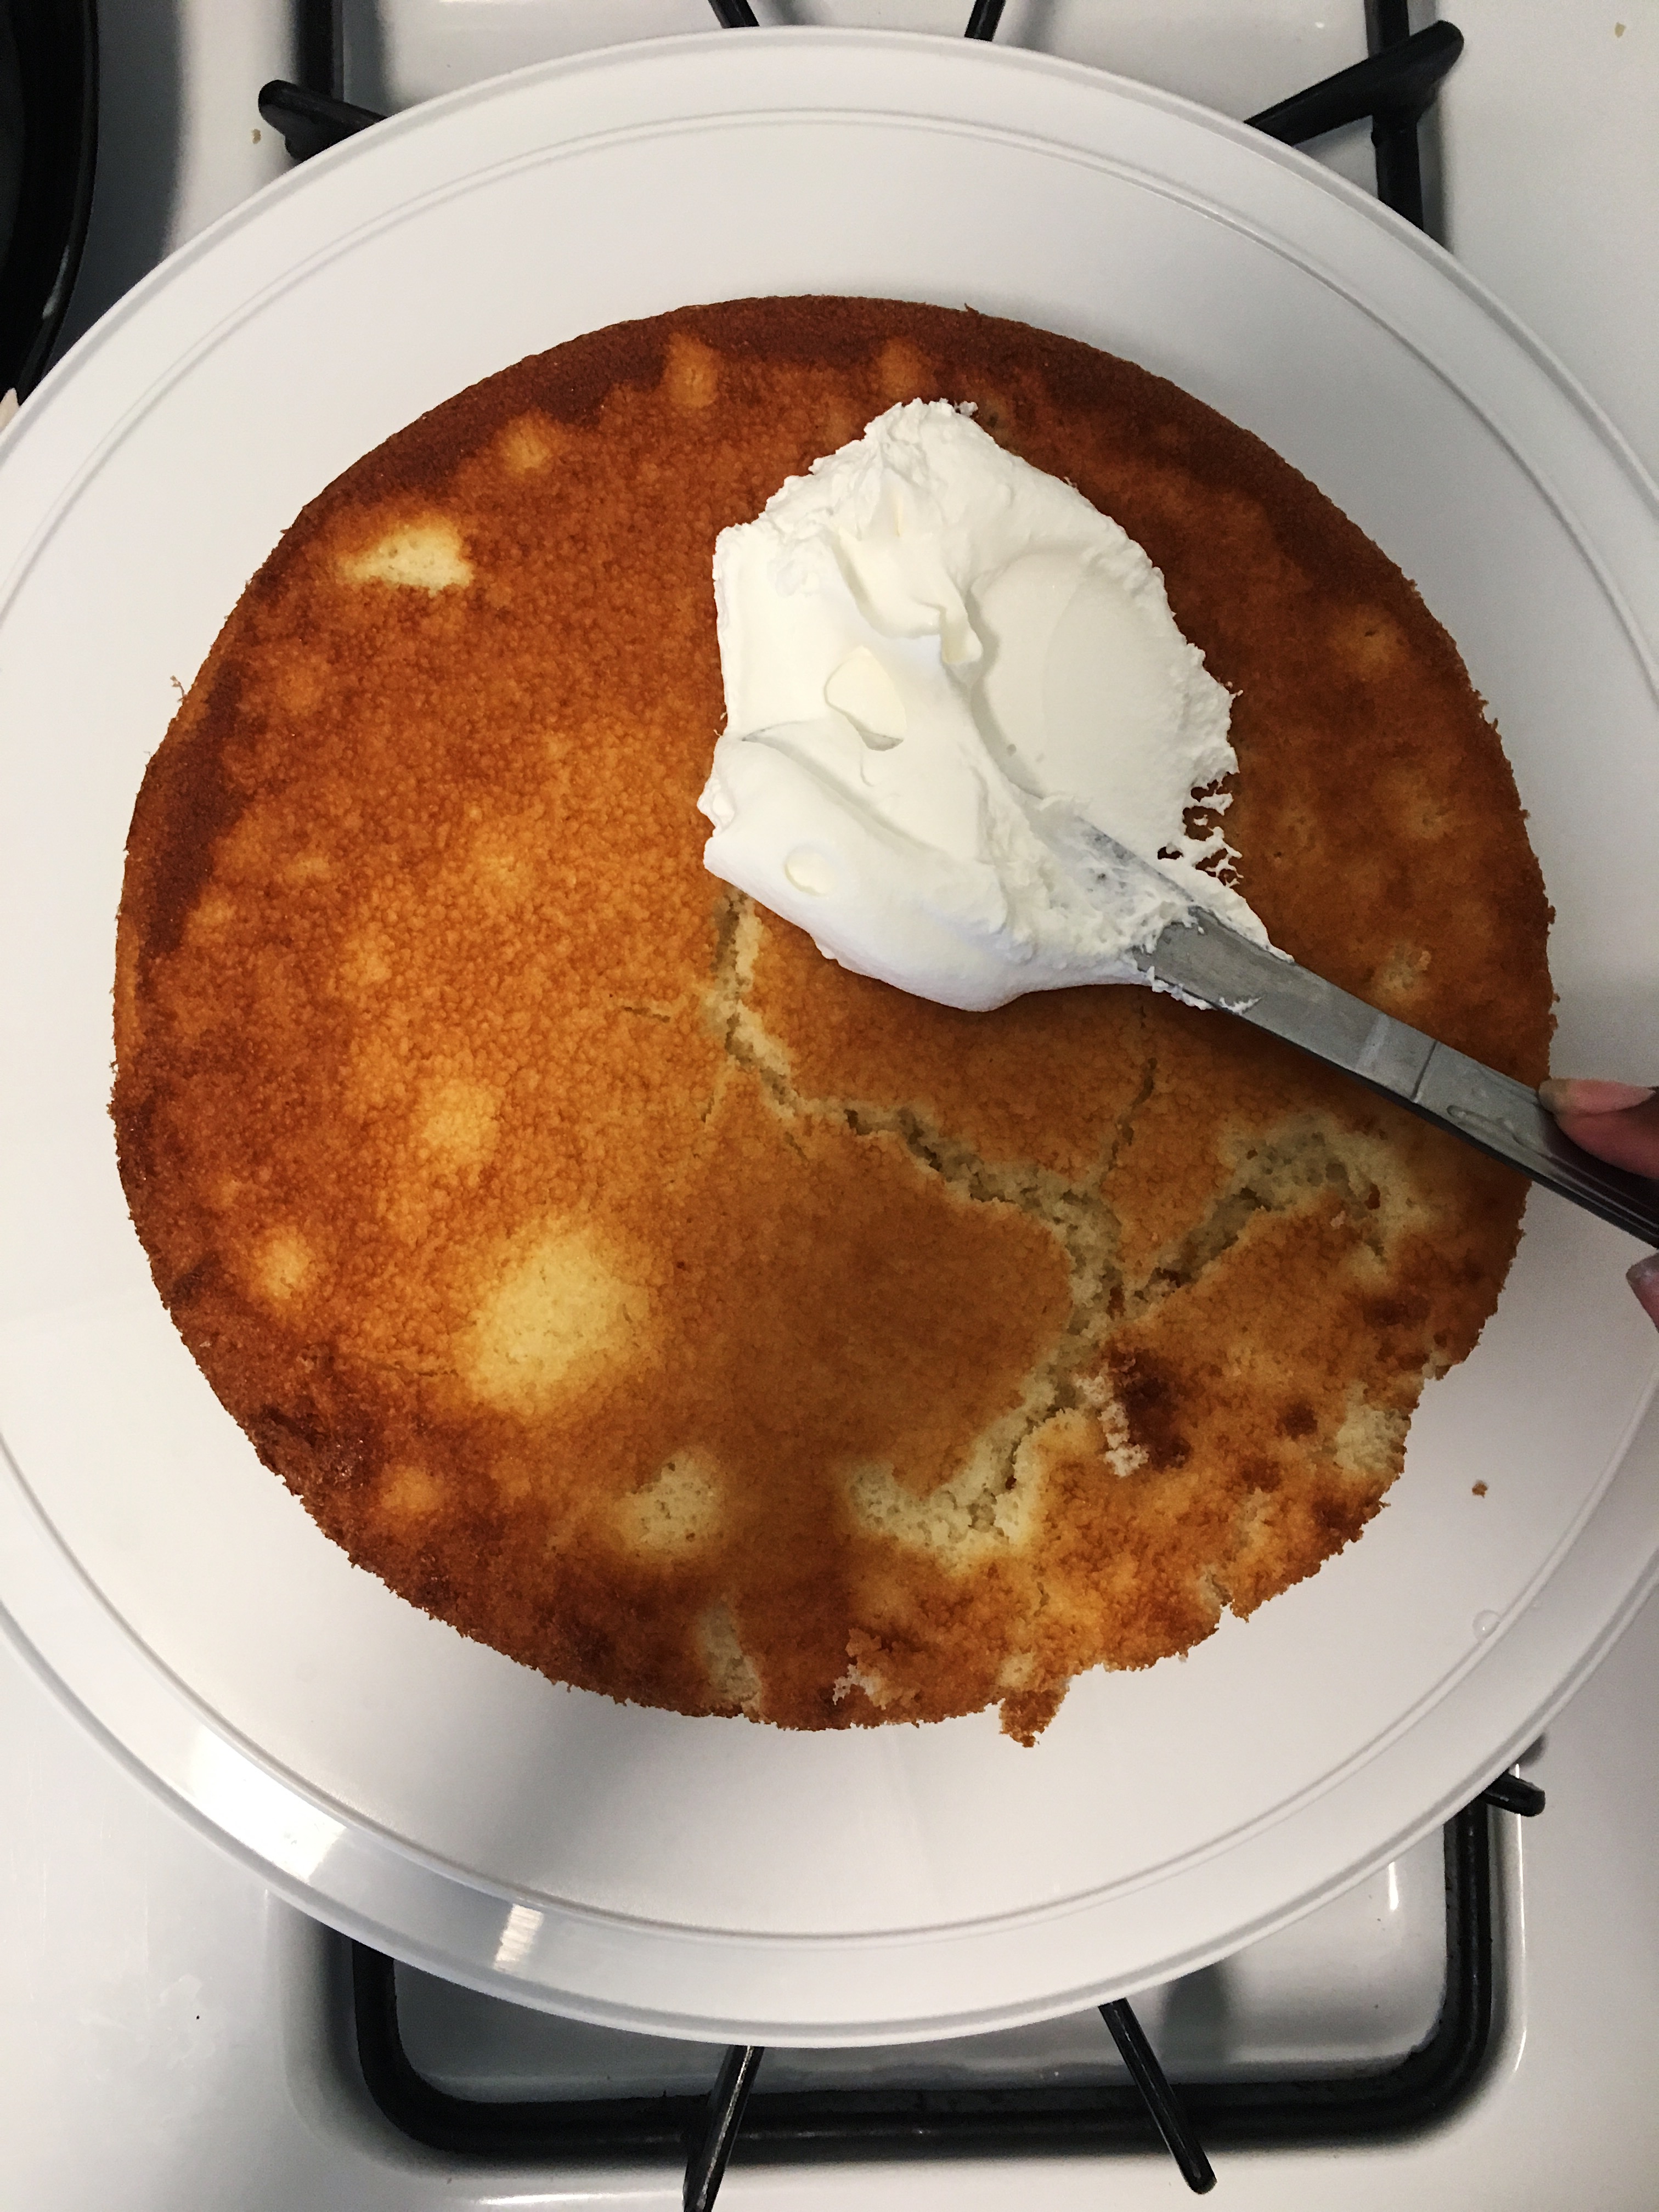
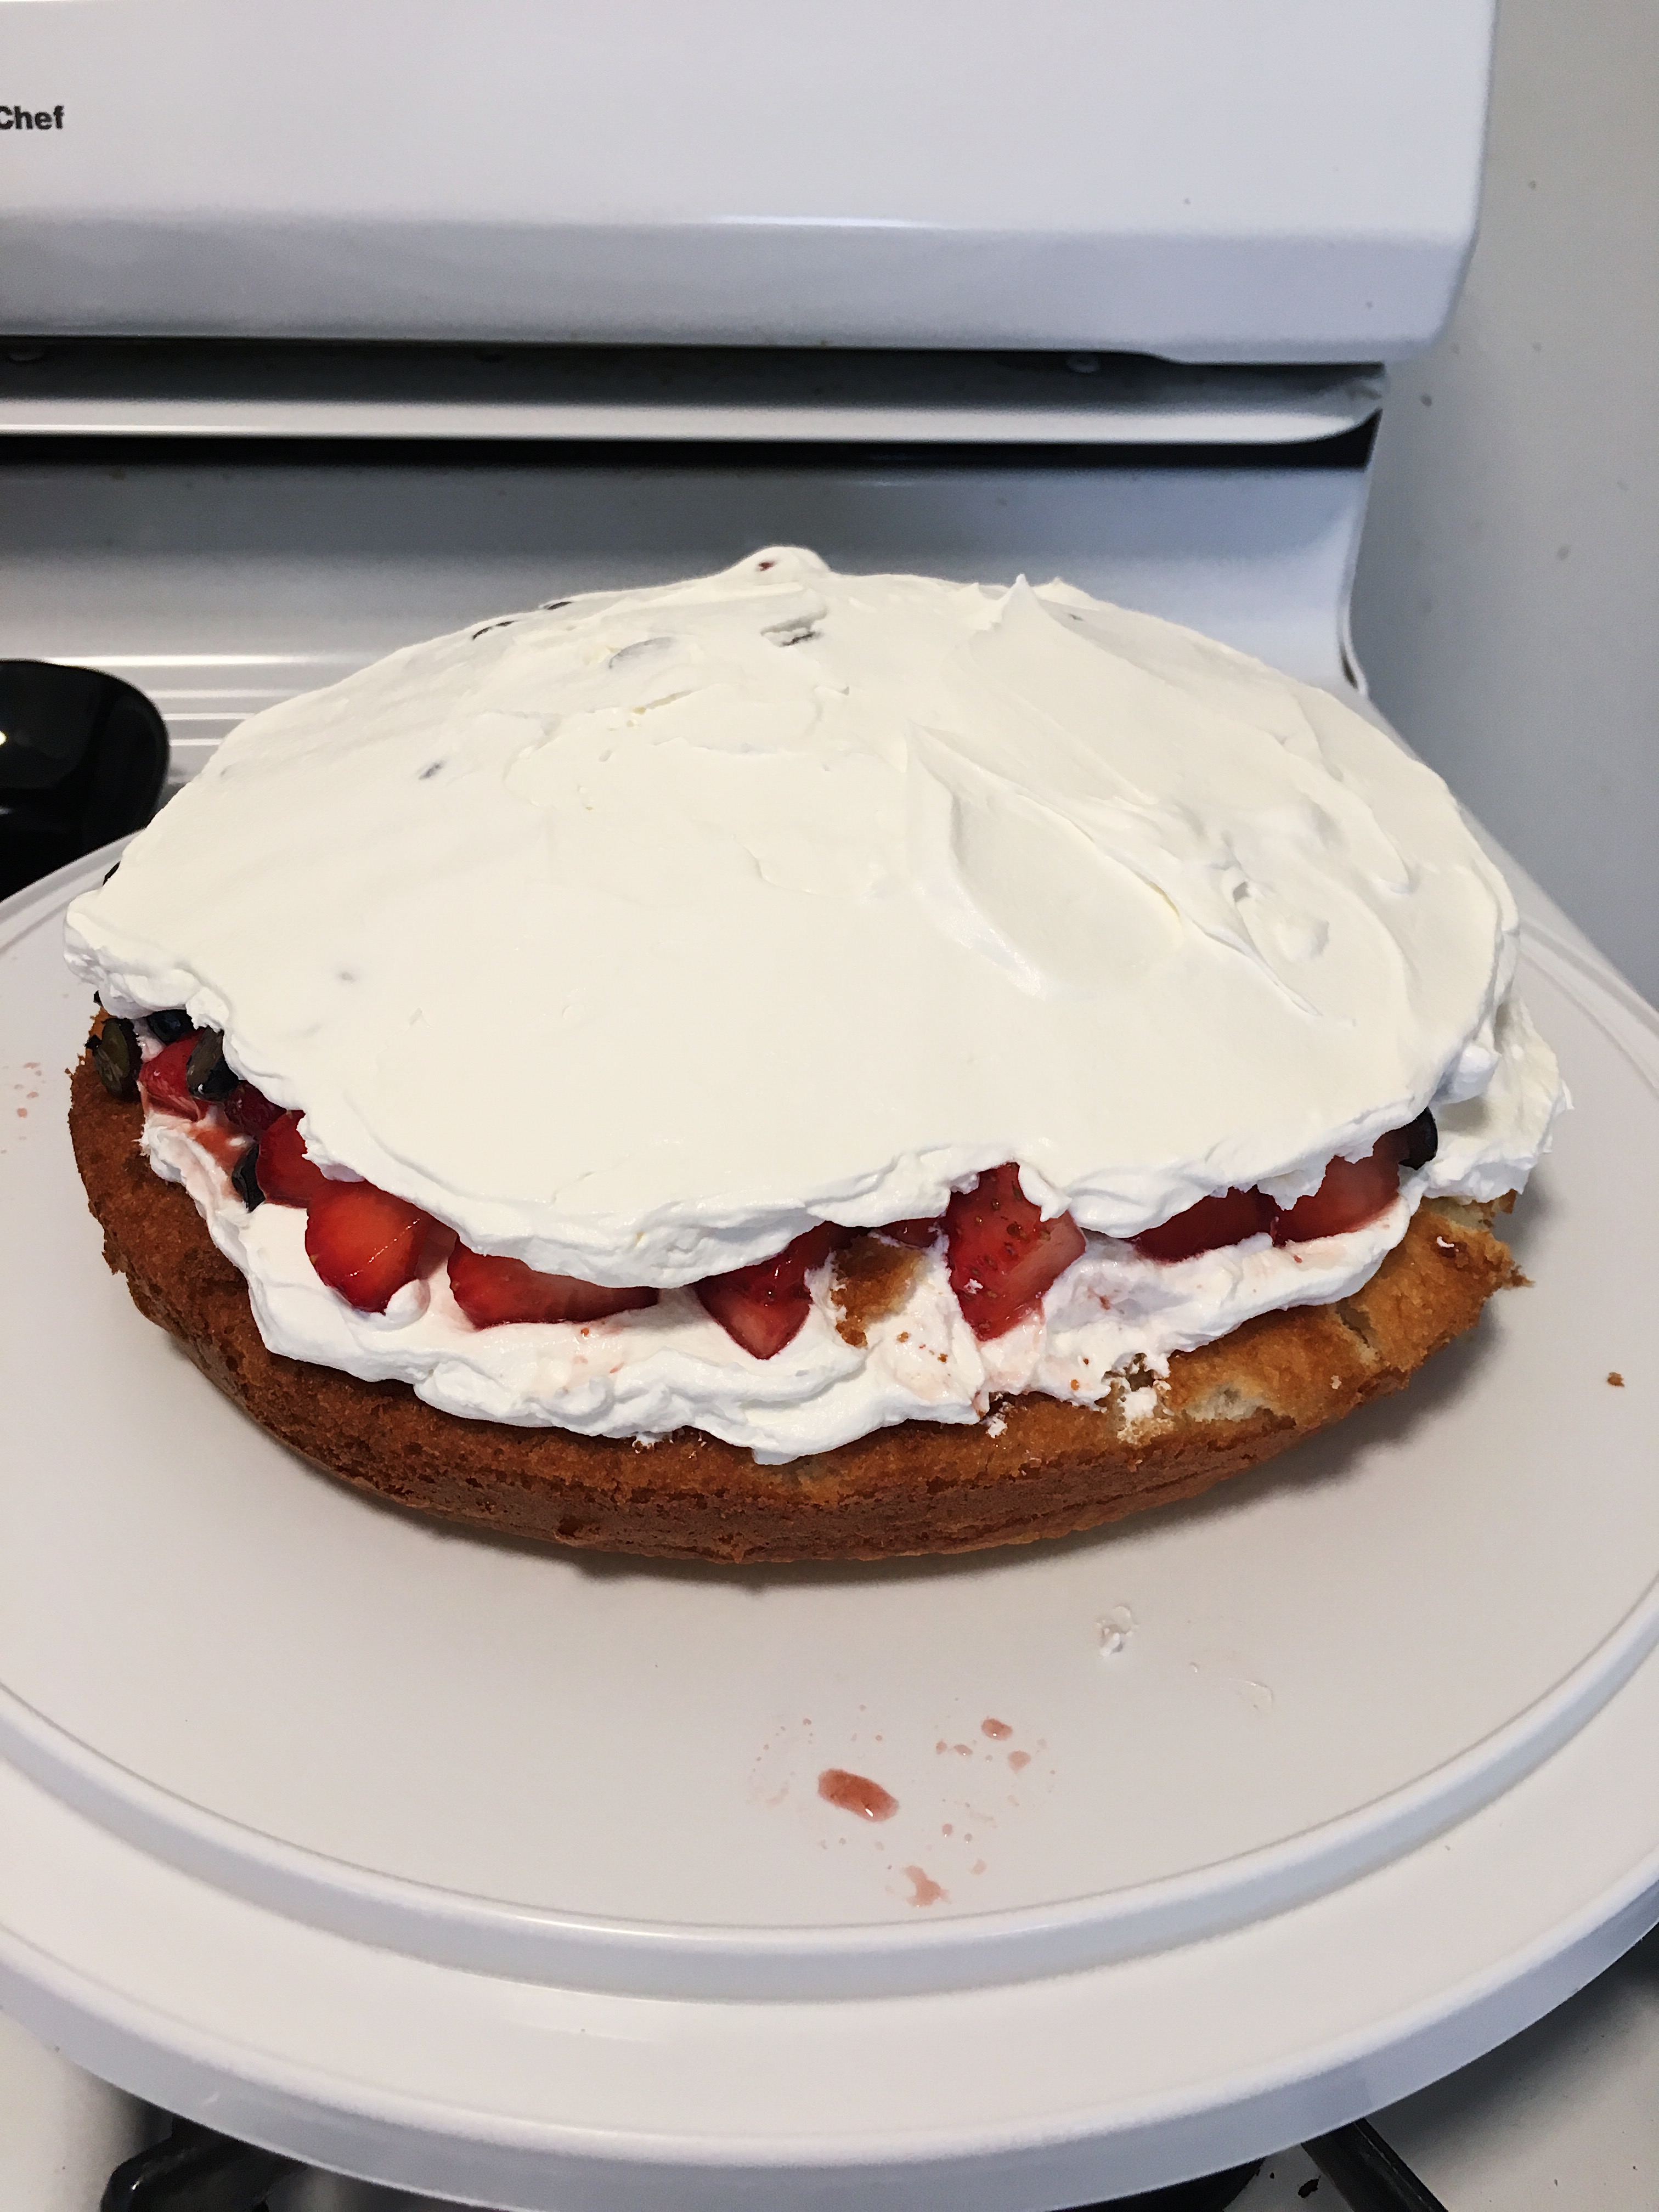
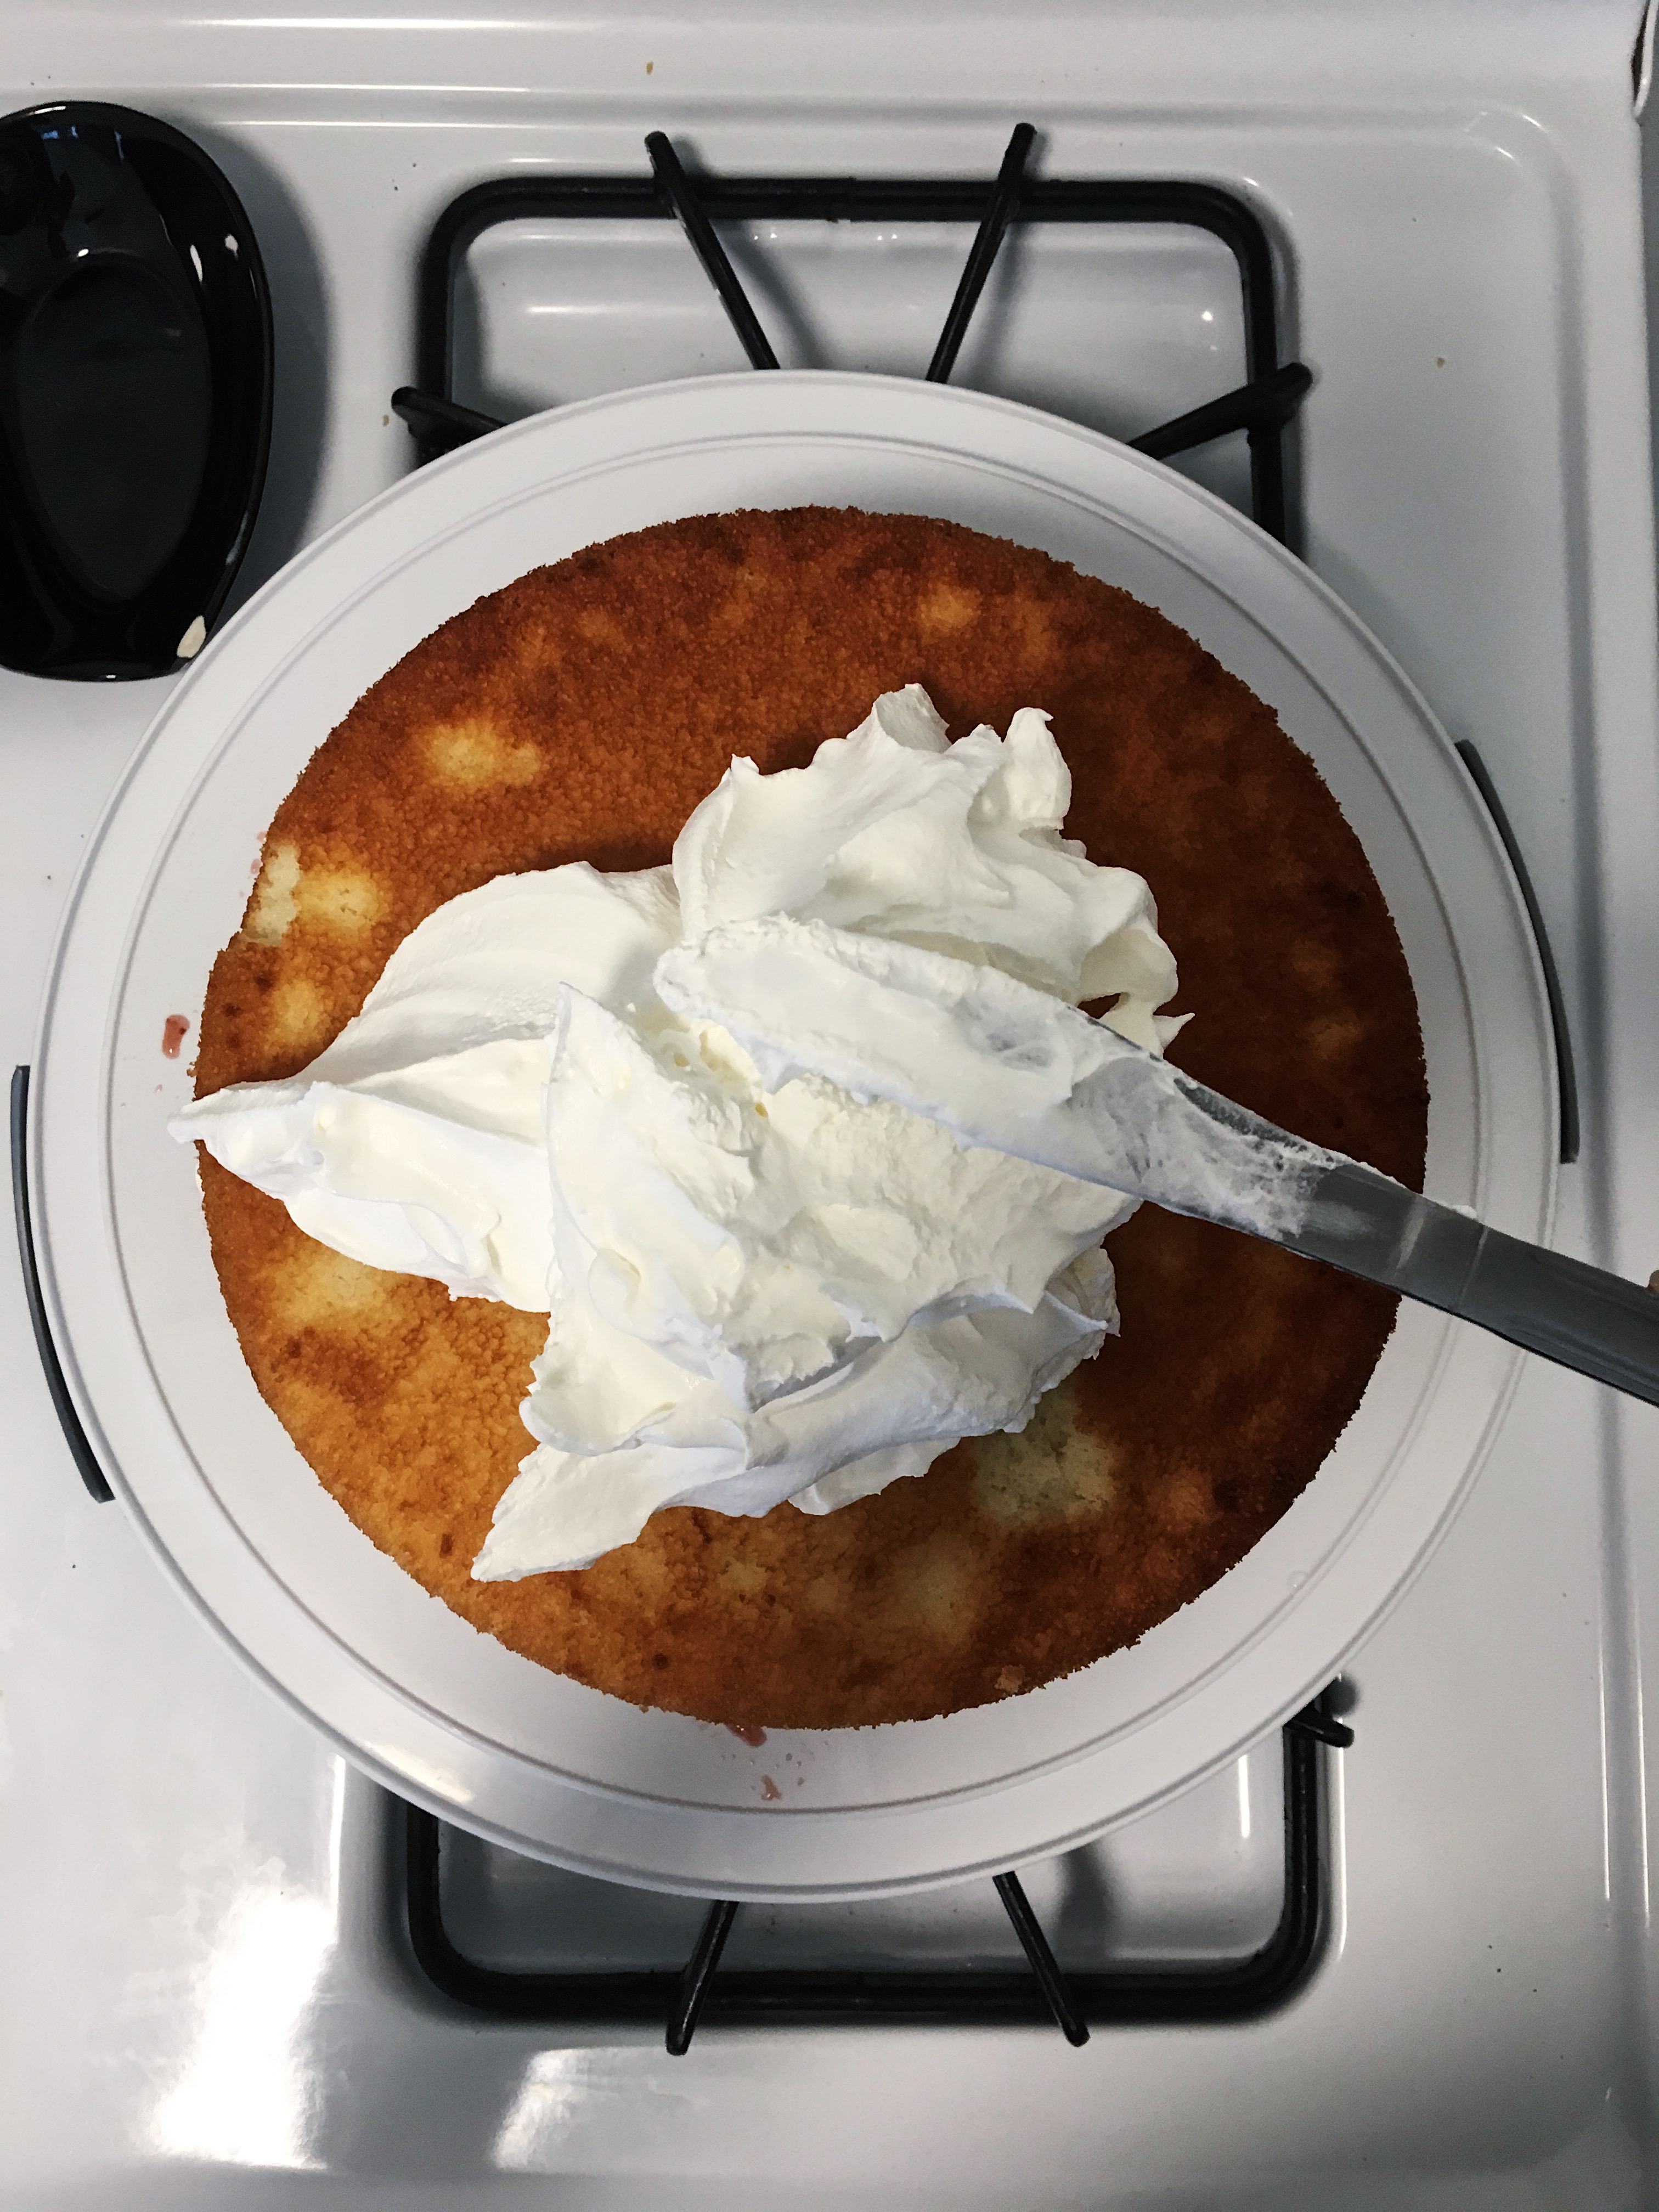
6. Take the first container of Cool Whip and smooth a fairly thick layer onto the cake.
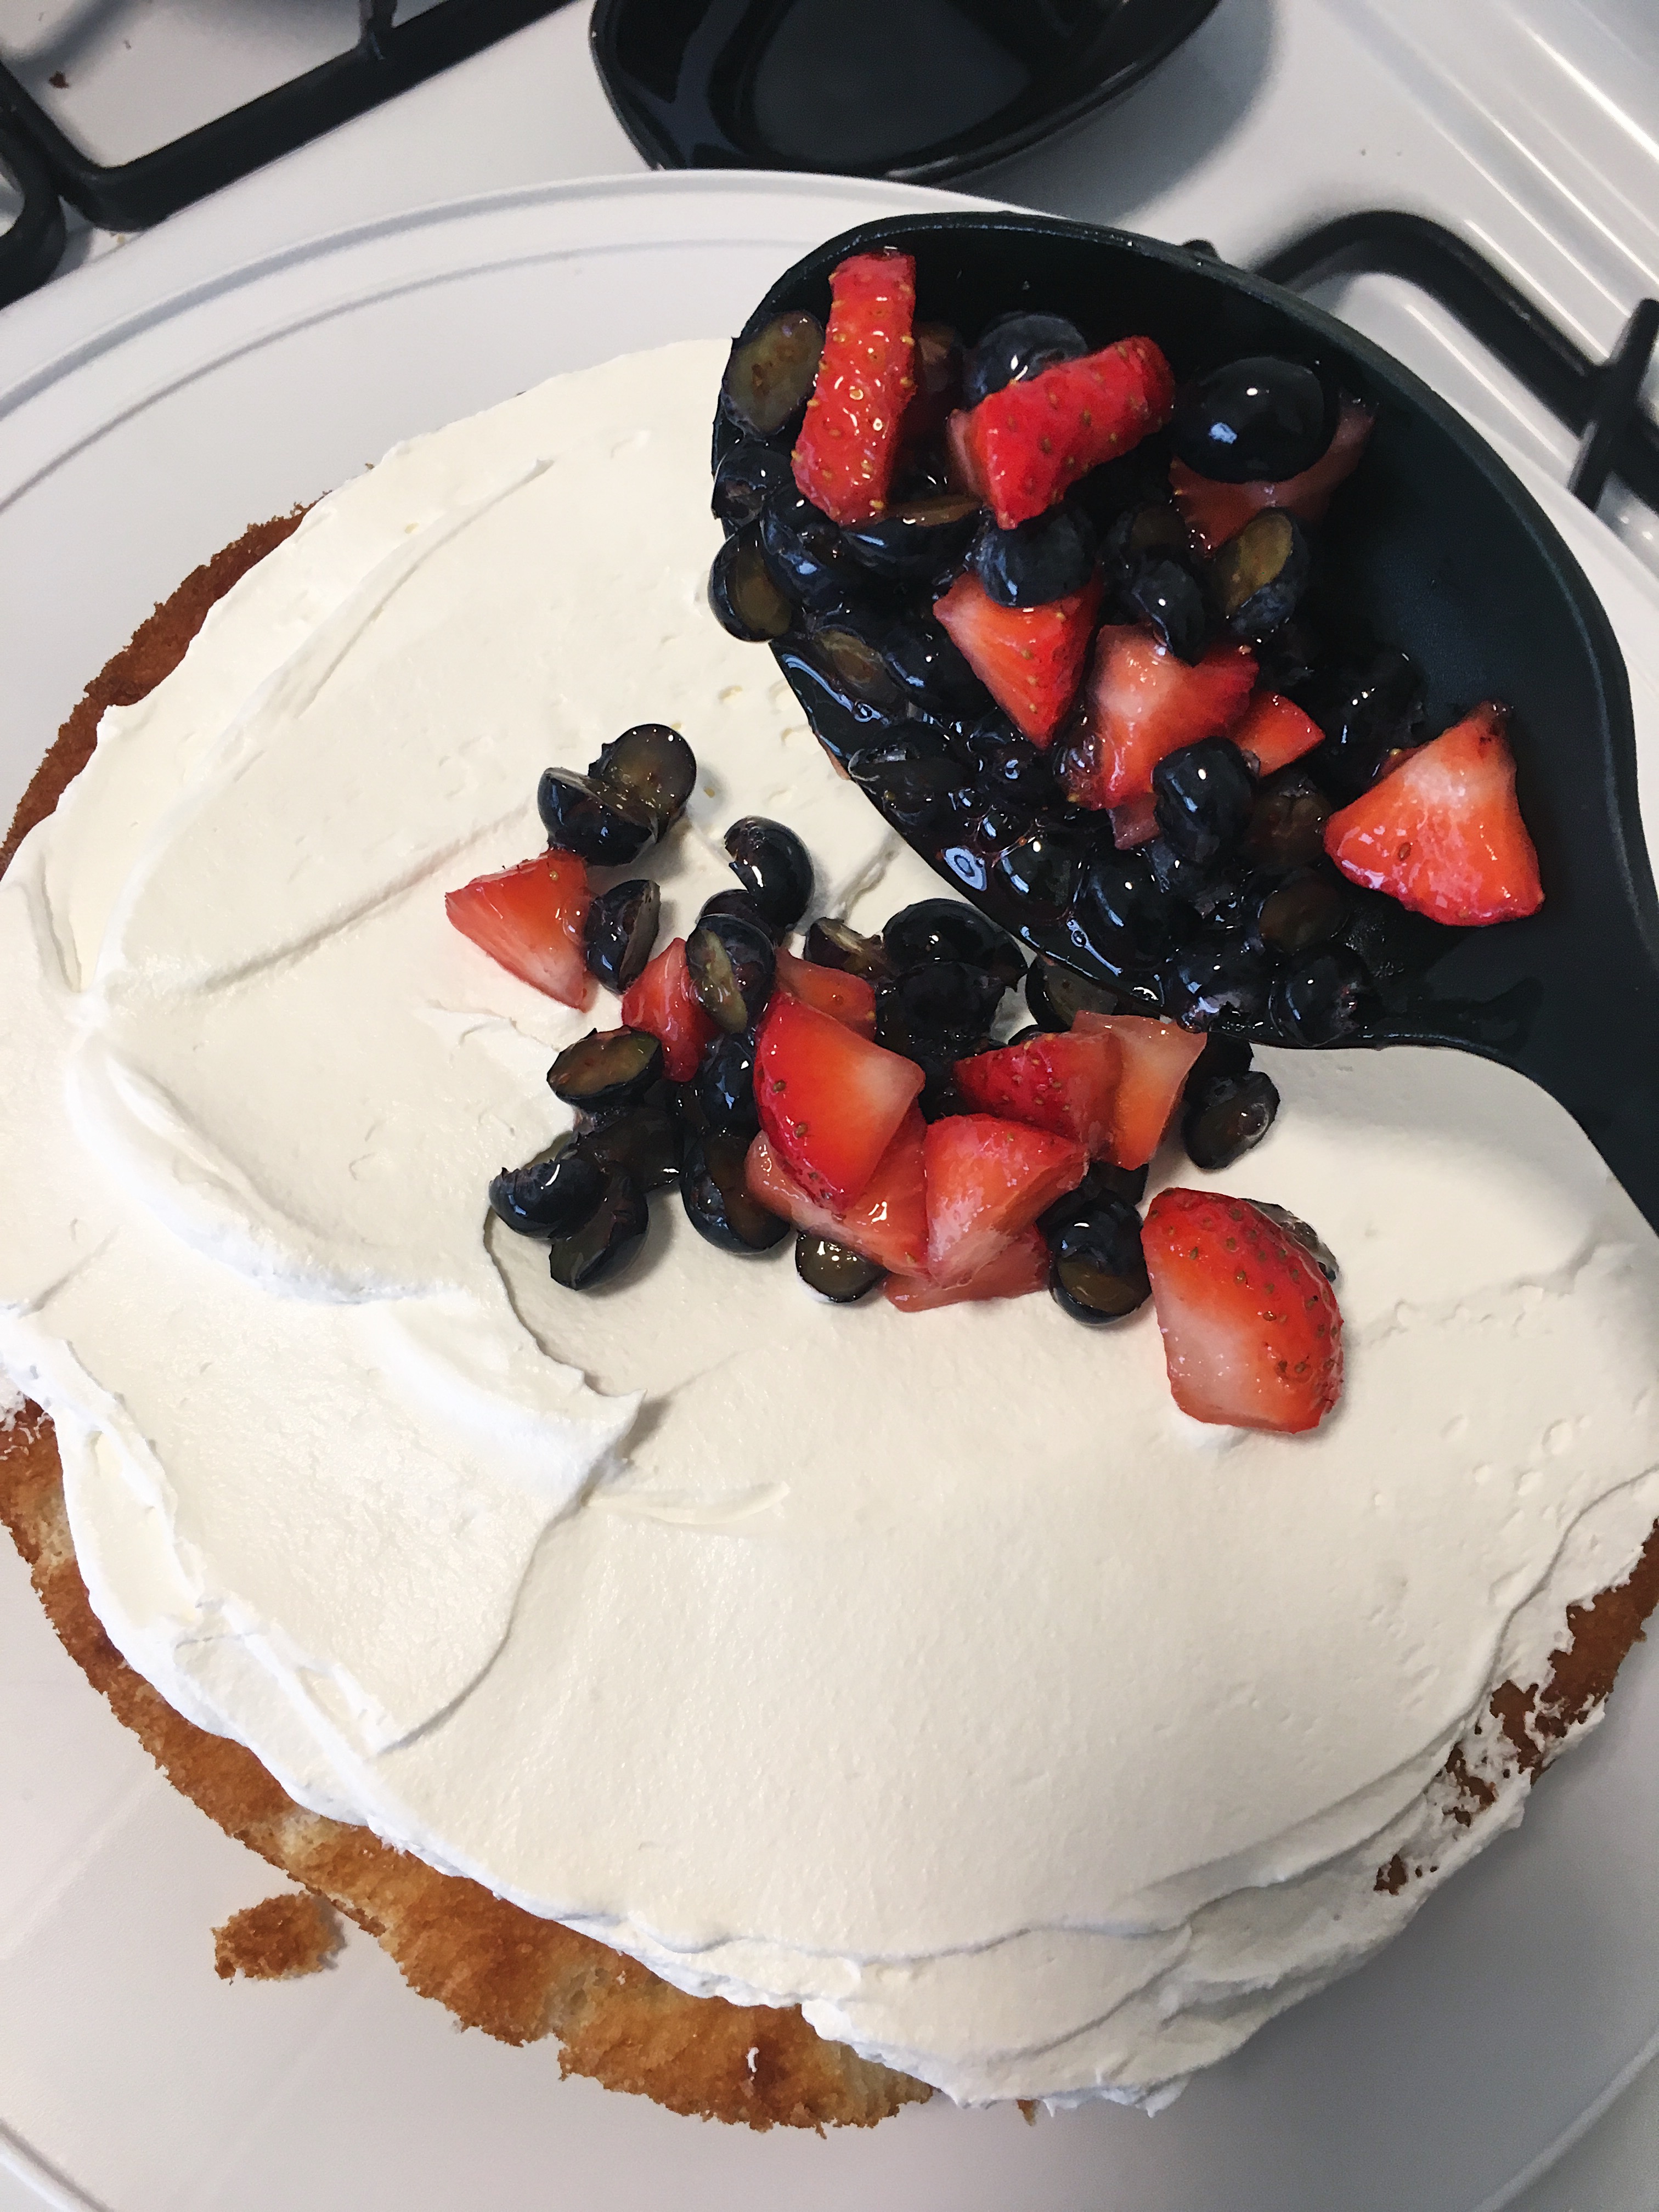
7. Spoon the refrigerated berry mixture slowly on top of the Cool Whip layer.
This may be challenging to keep all the berries piled onto the cake, but if you have enough Cool Whip underneath the berries it will help keep them in place. Refer to photos. (Very Important Step) Make sure all the berry syrup is poured with the berries onto the cake. The berry syrup makes the cake moist and delicious.
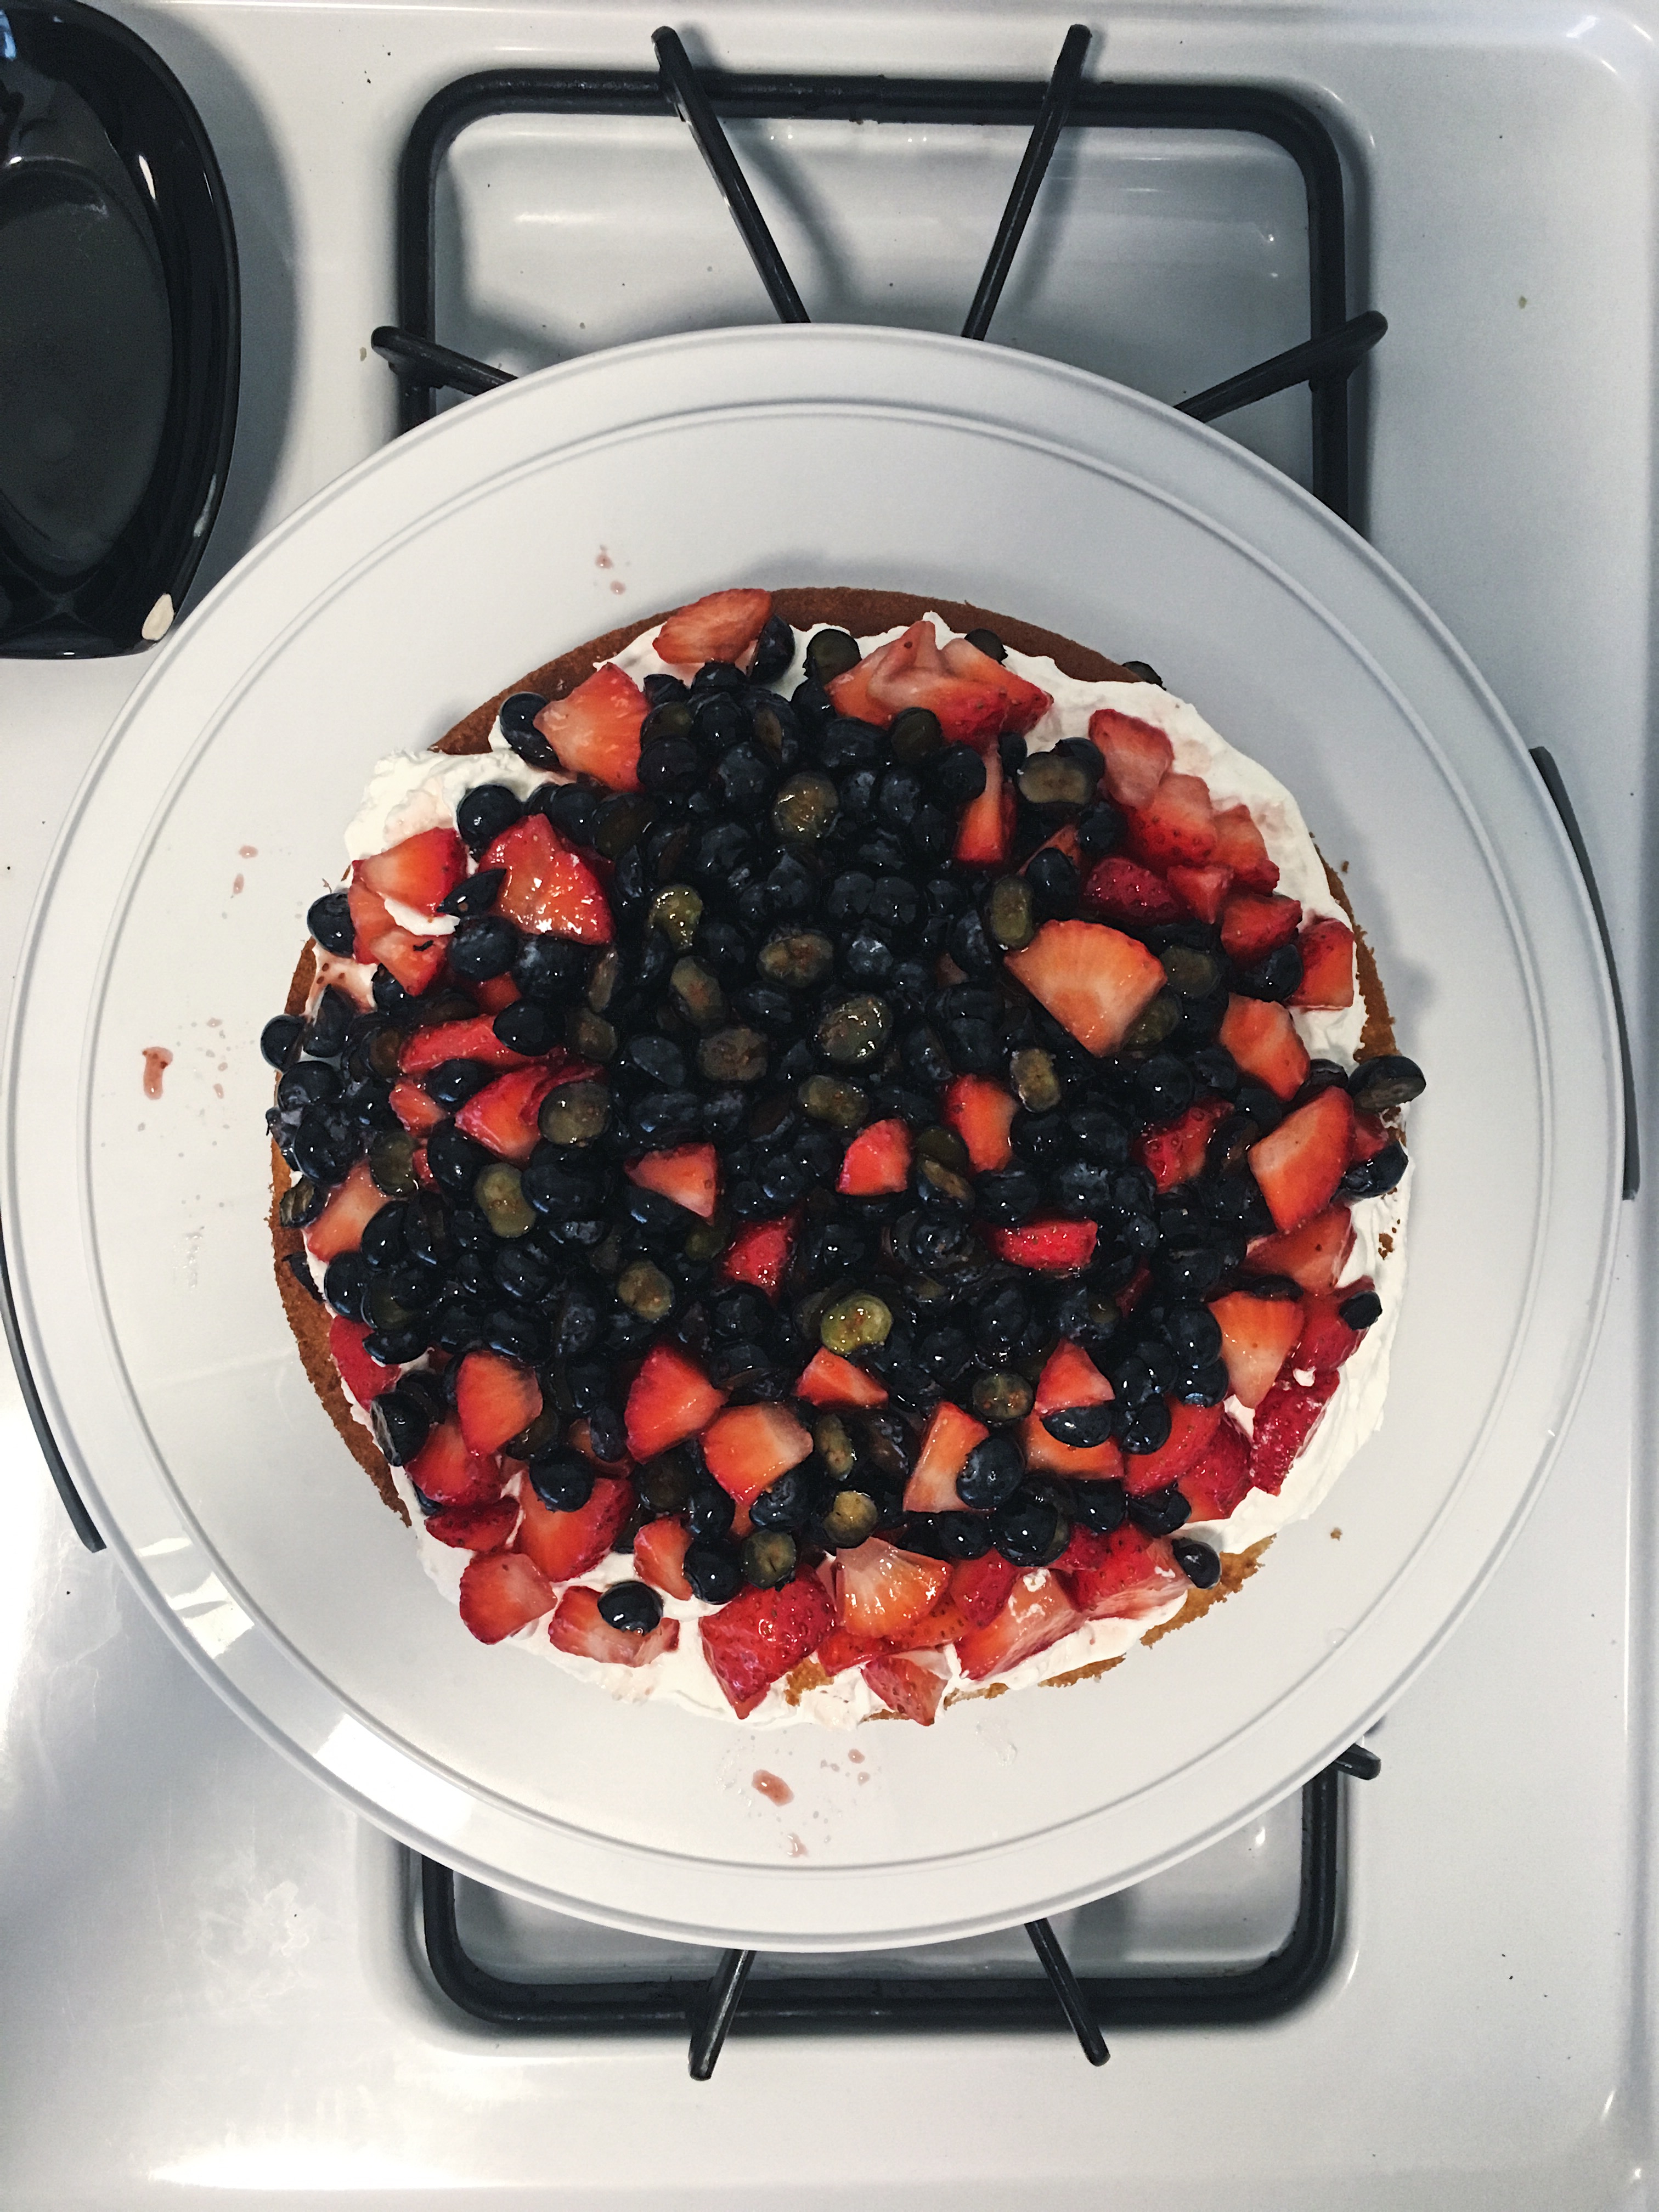
8. Once all berries are piled onto the cake, take most of the remaining Cool whip from the first container and spread (as neatly as possible) on top of the berries.
This will be like the glue for the 2nd cake to sit on top of.
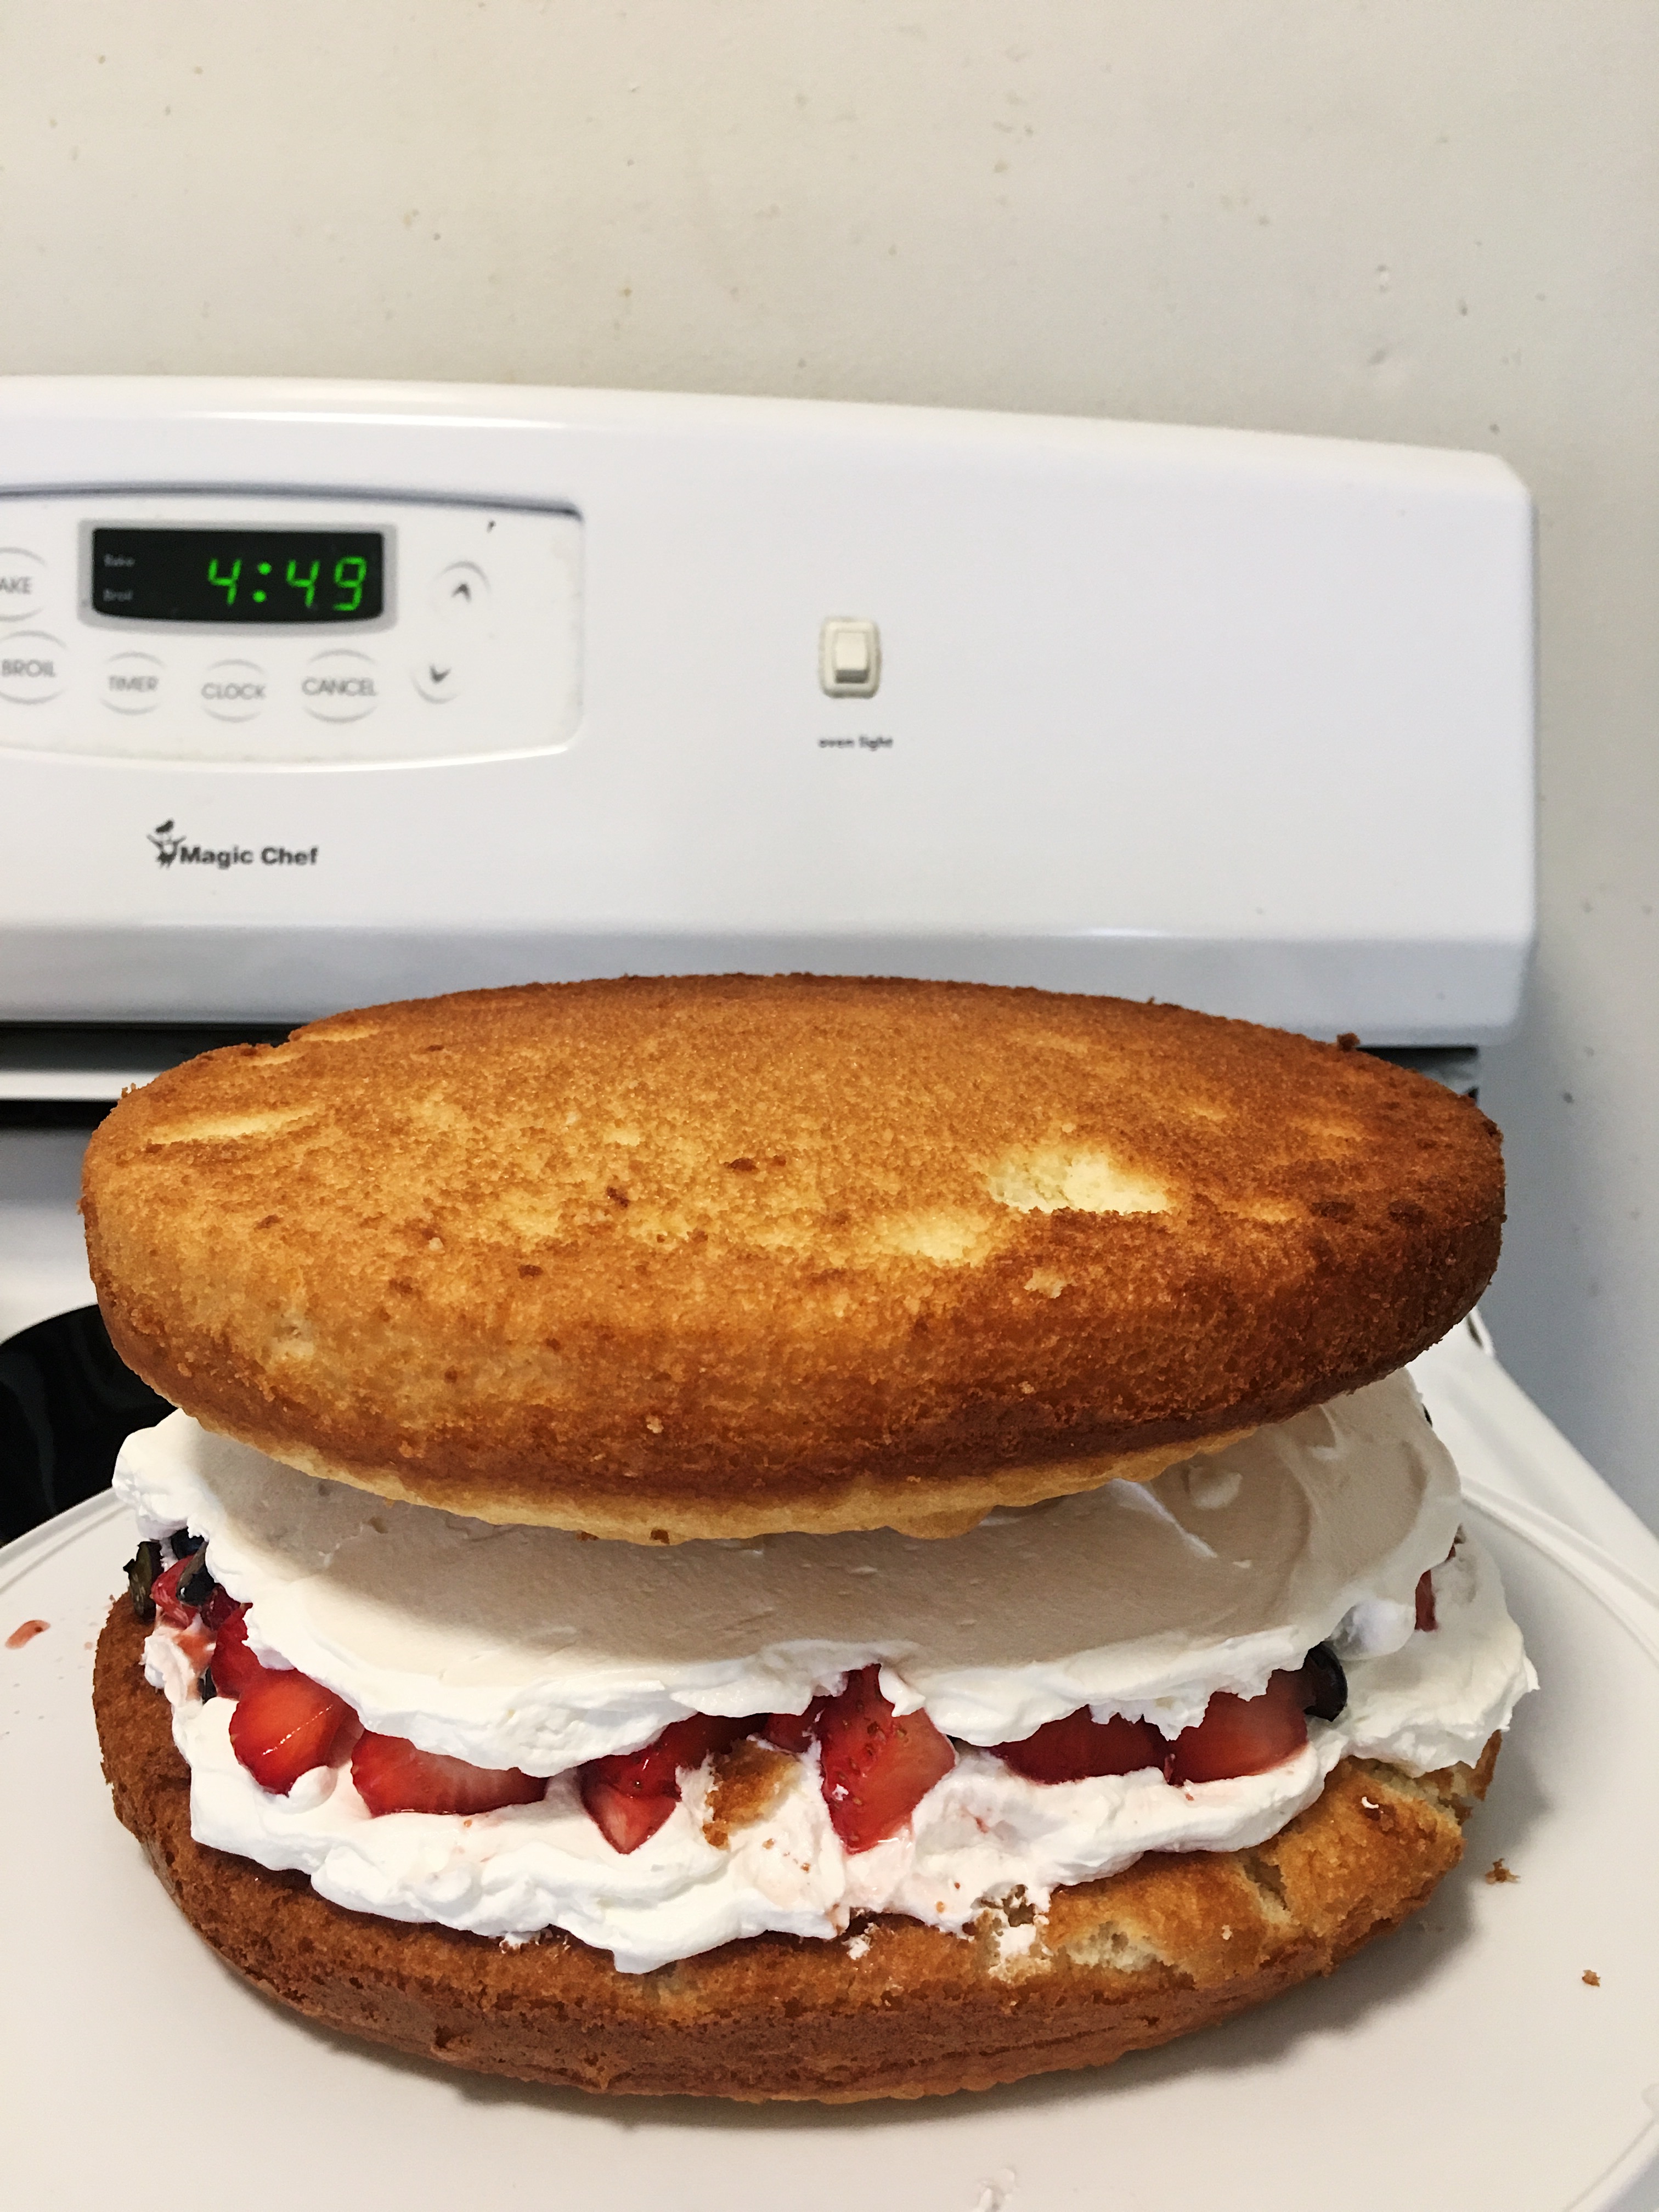
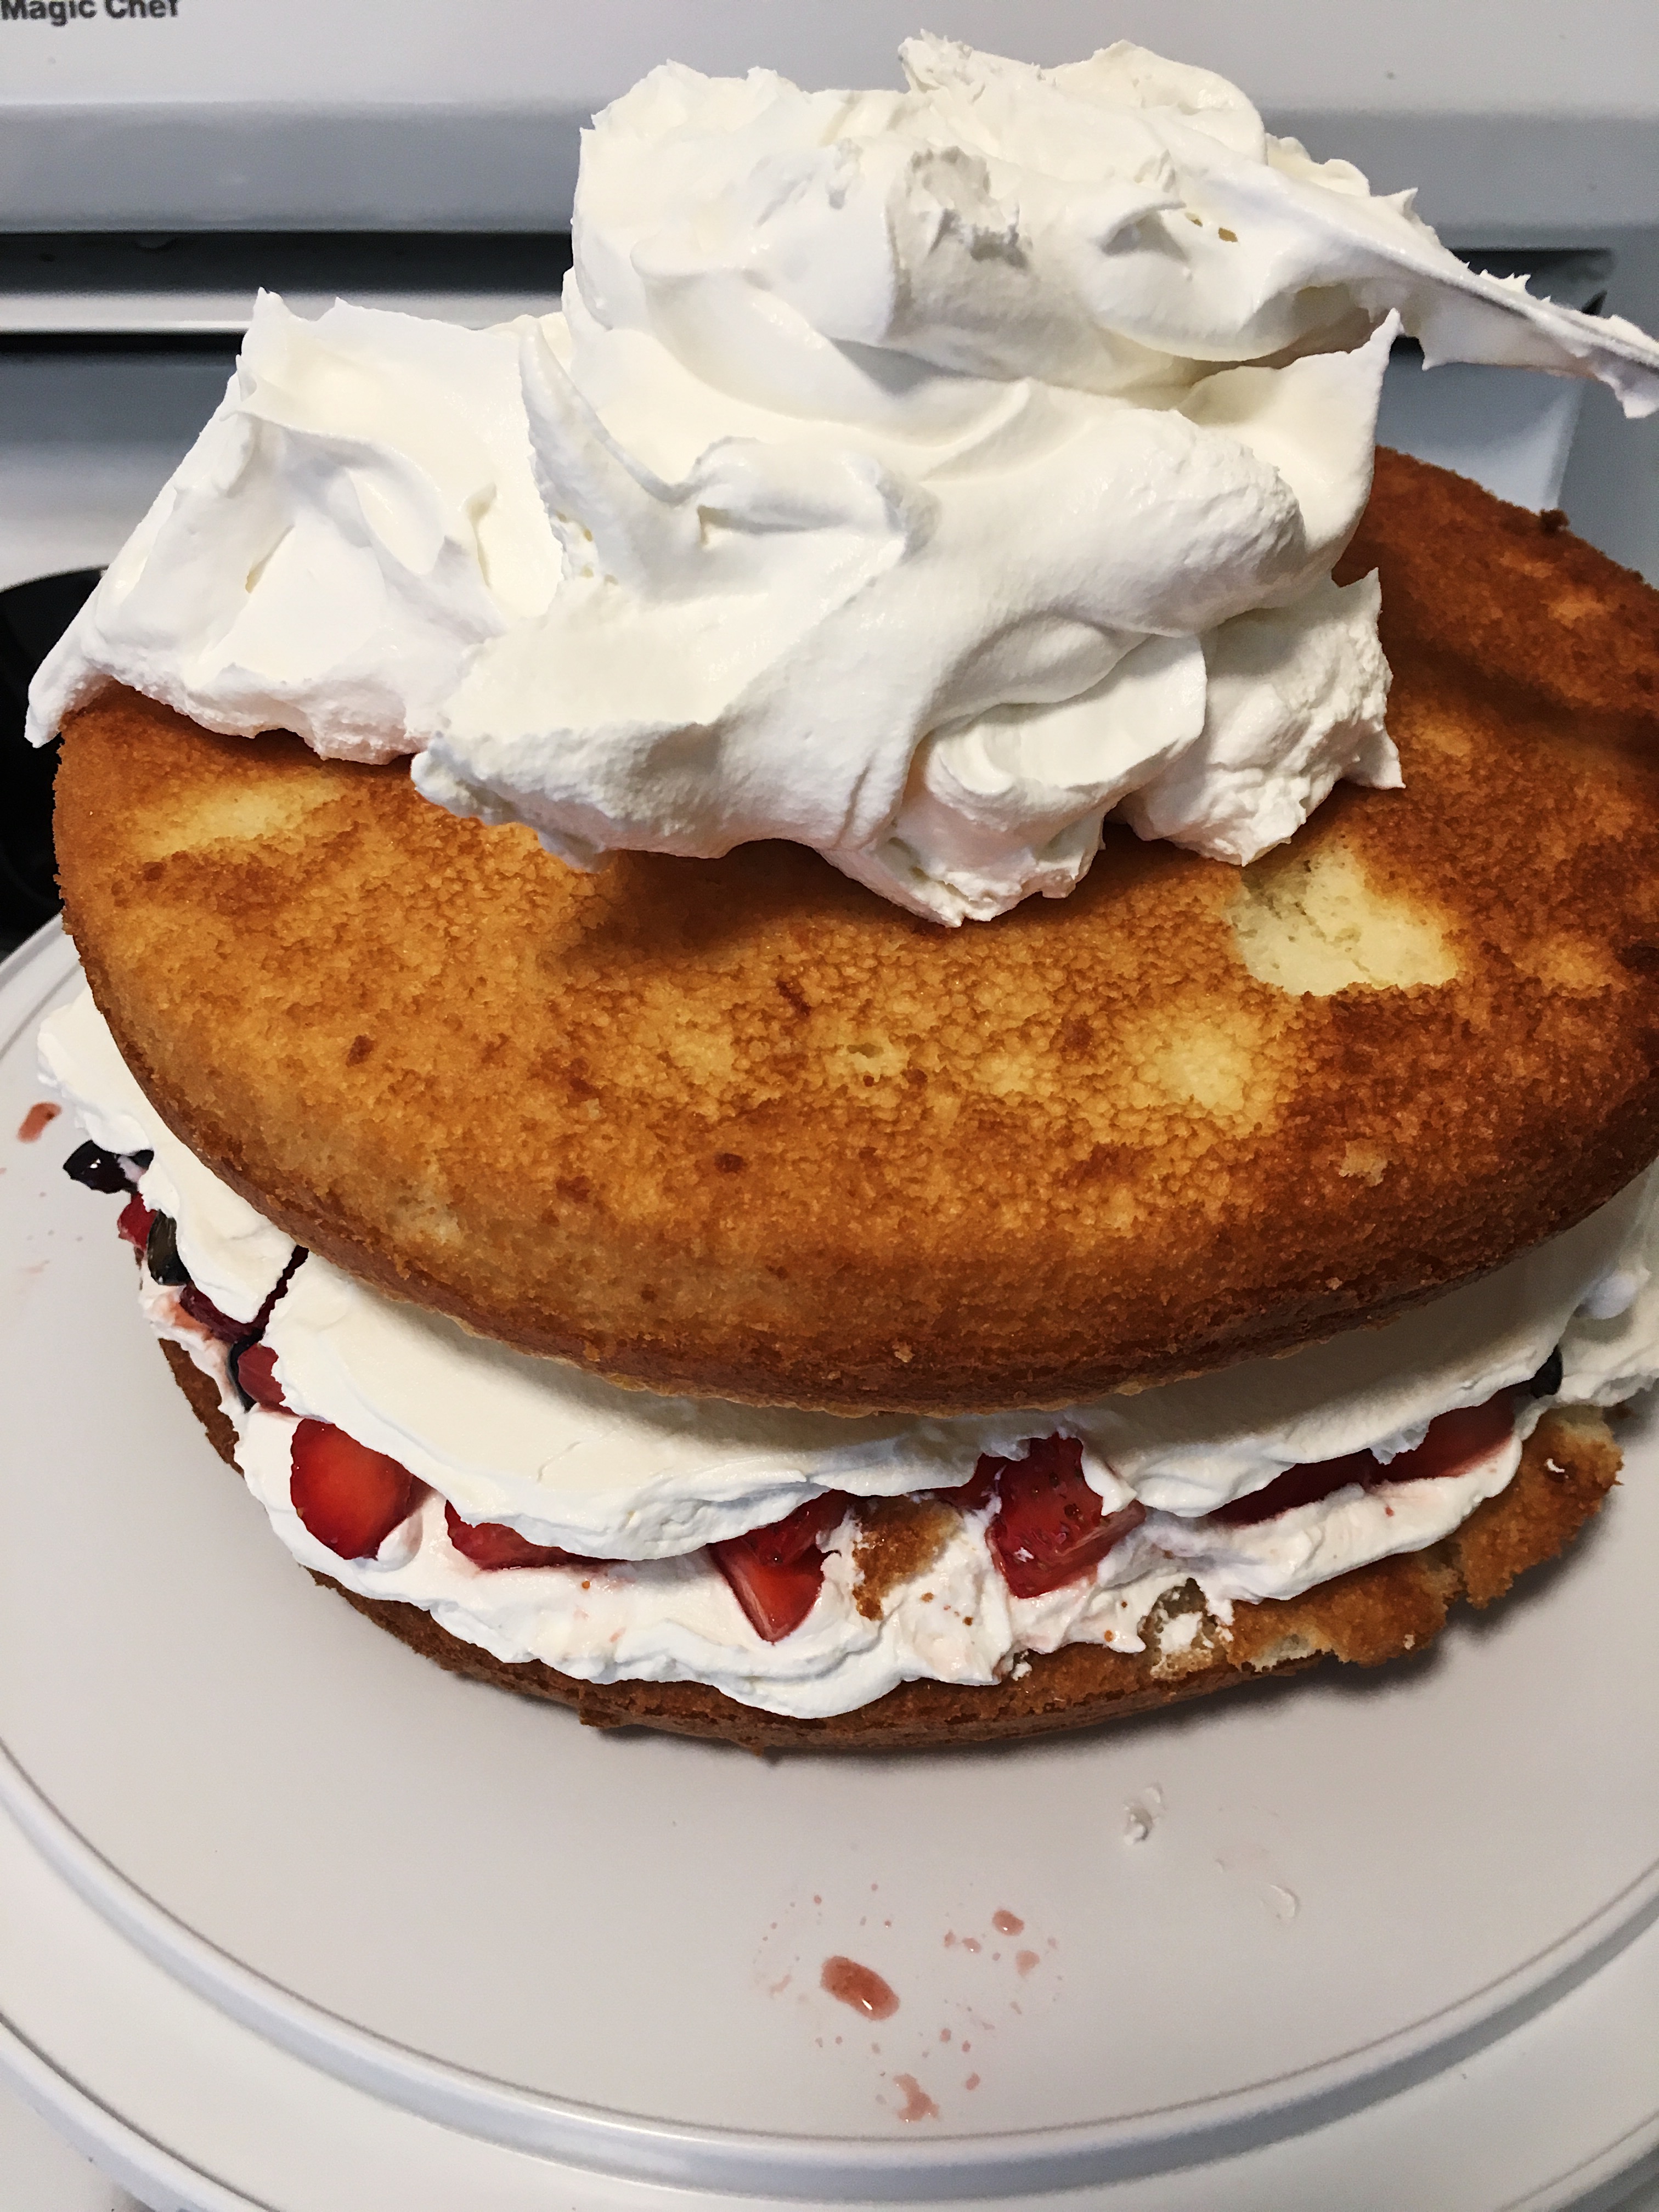
9. Place the 2nd cake, top down (like the first cake) on top of the Cool Whip layer and press down slightly to flatten like a sandwich.
You want to make the top of the cake as flat as possible.
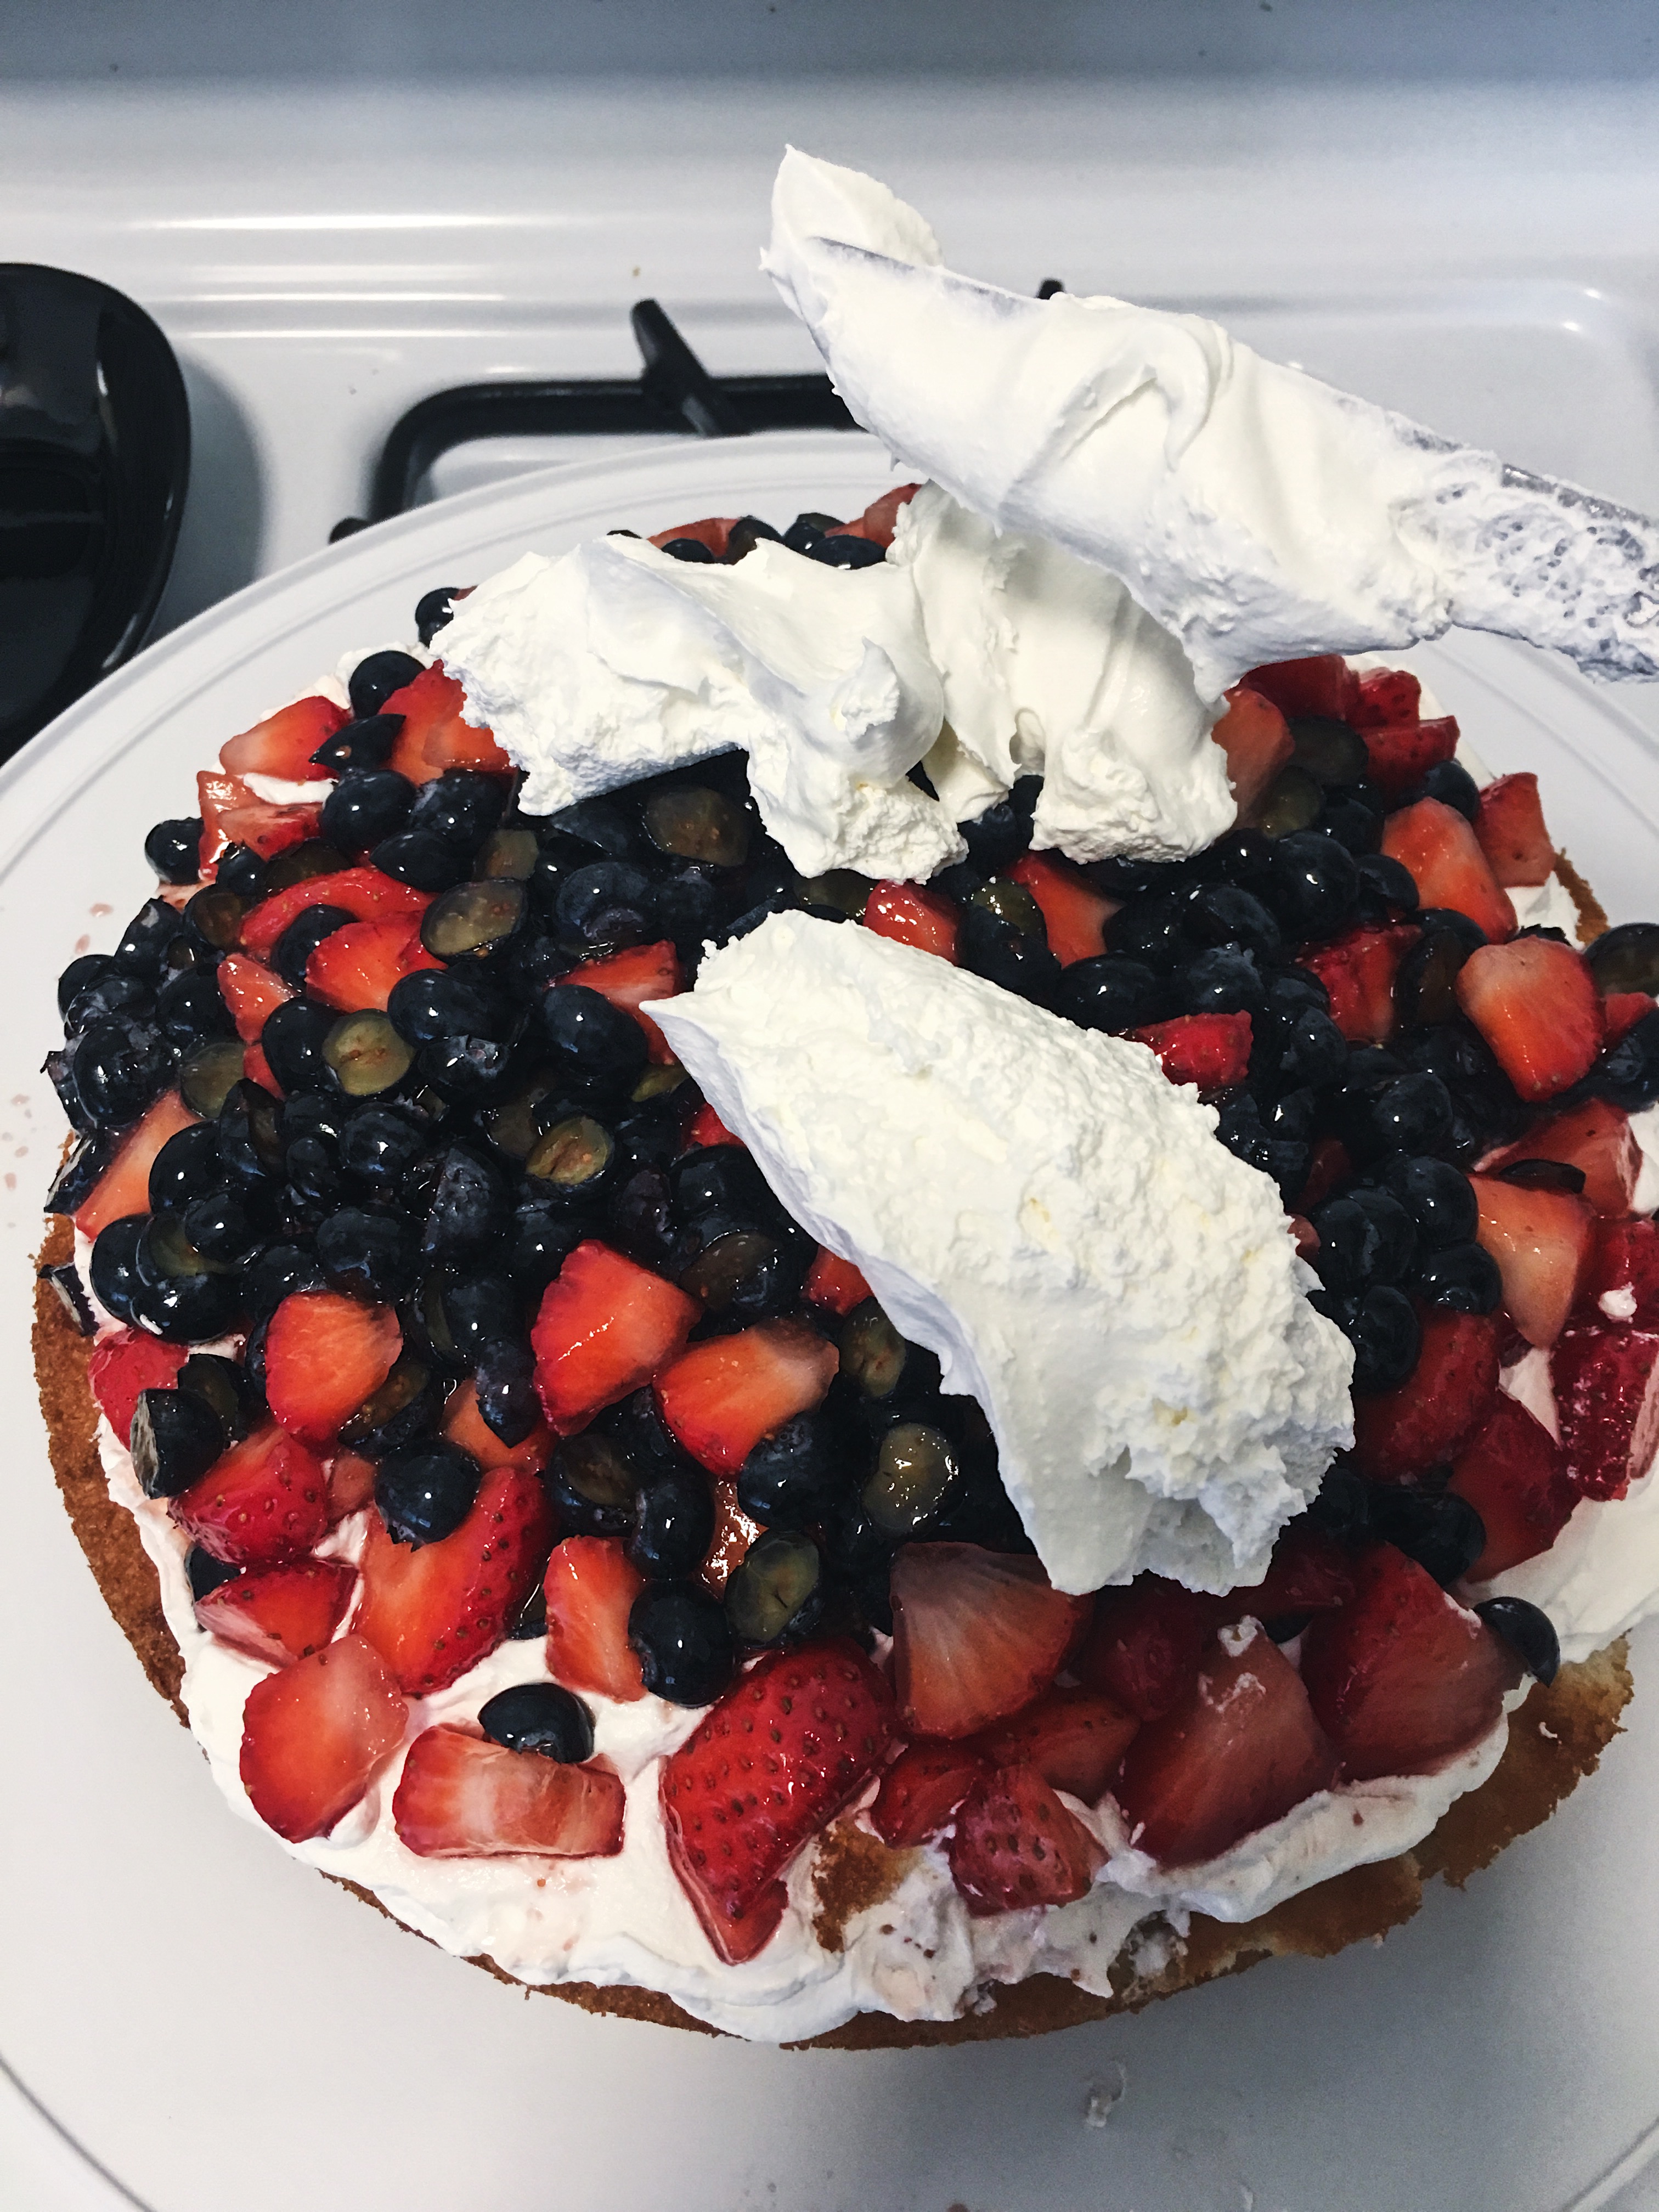
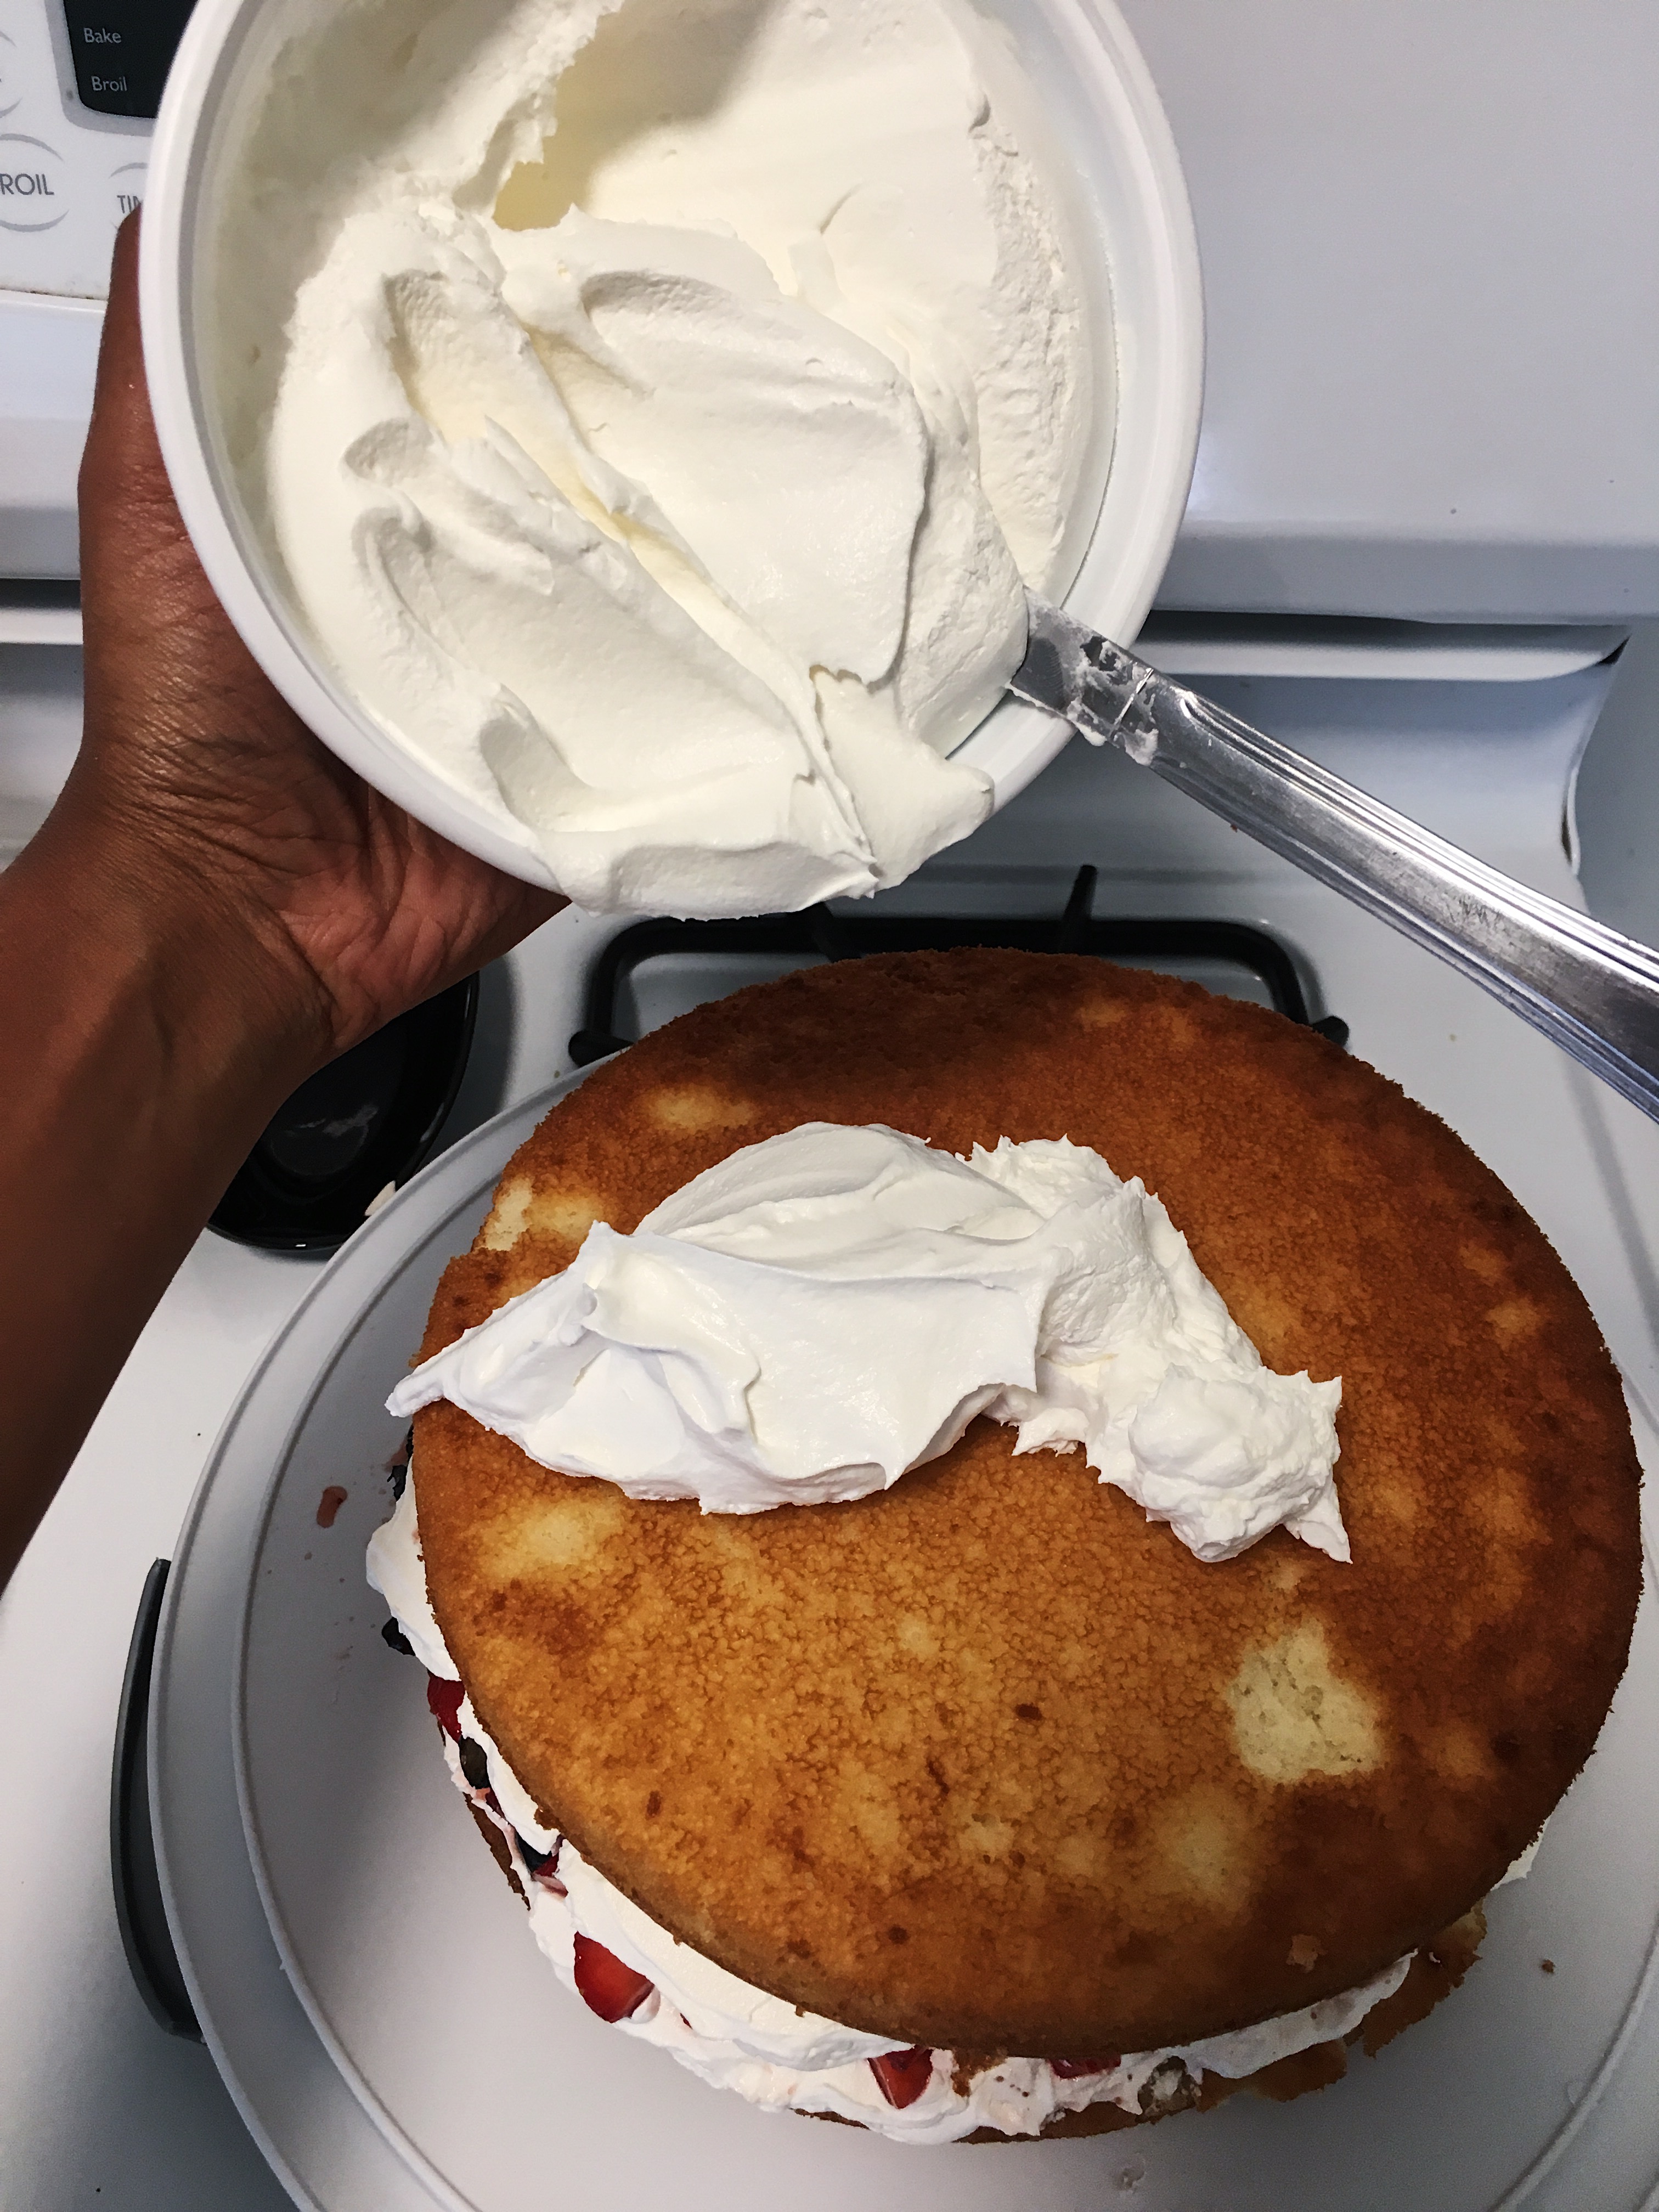
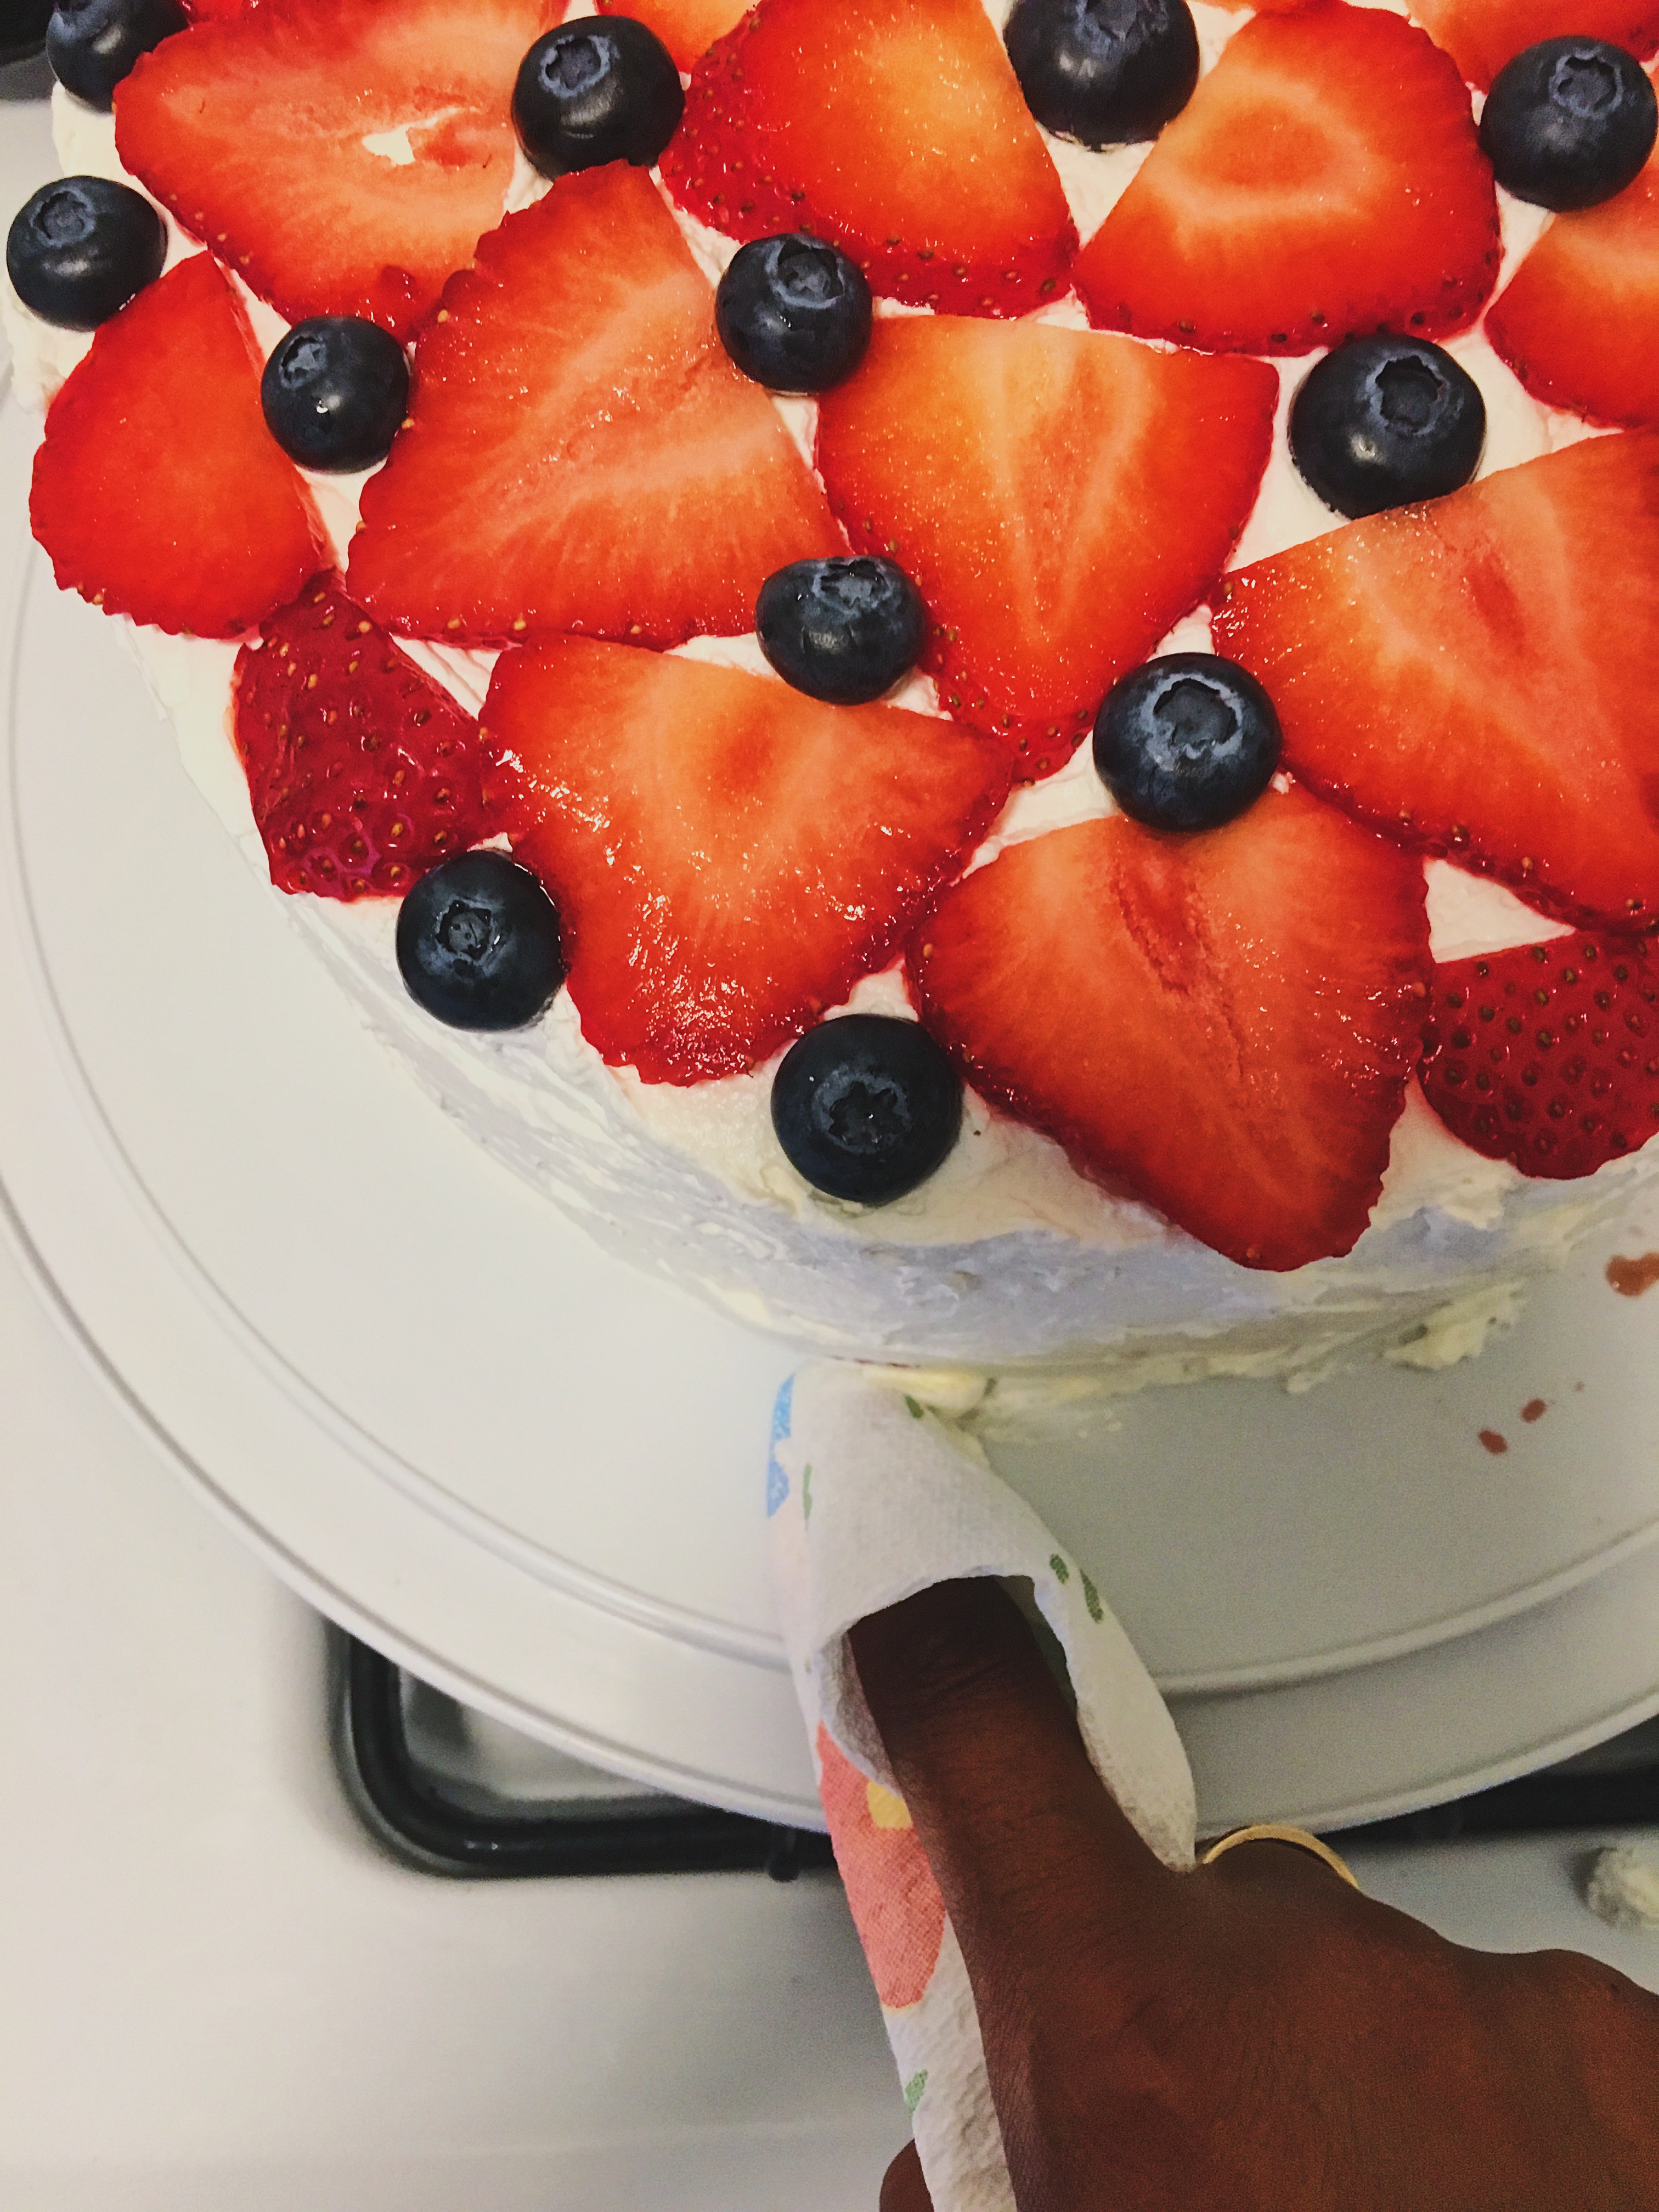
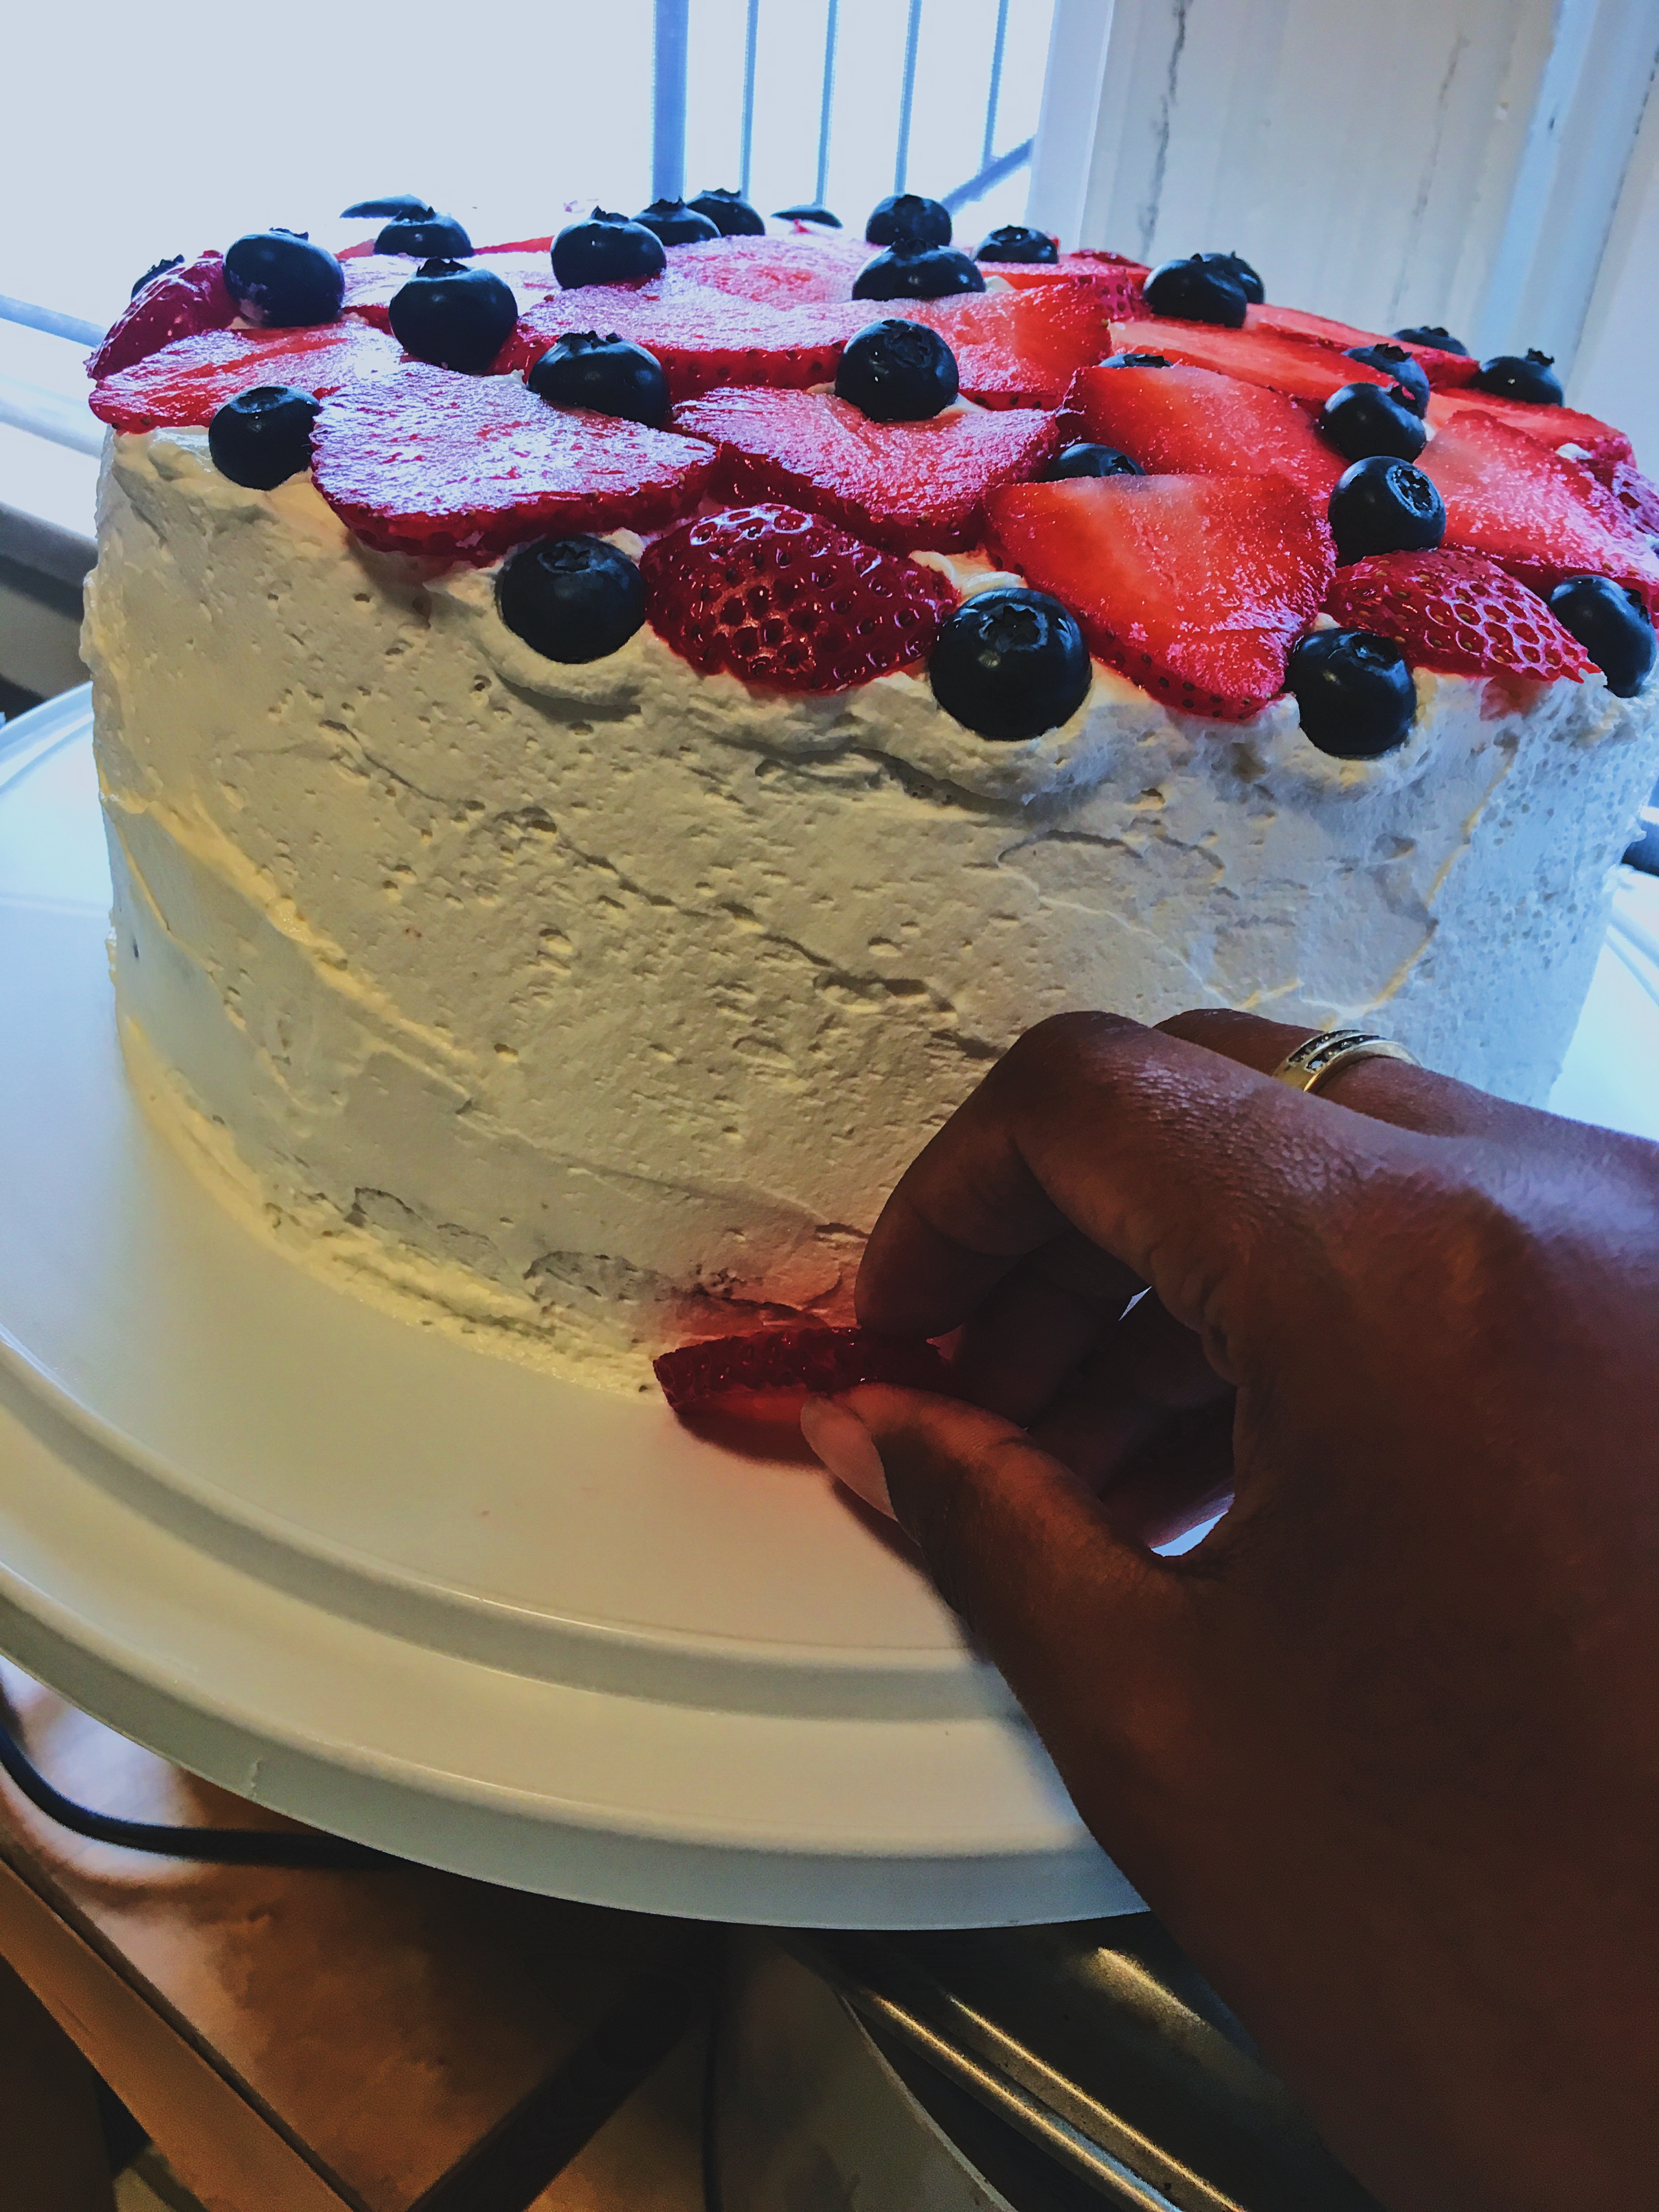
10. Take the 2nd container of Cool Whip and begin to spread over the top and onto the sides of the cake.
This may take a little work to keep the berries from falling out, but the key is to just keep adding more Cool Whip to the sides so that the berries can’t fall out. Just keep smoothing the Cool Whip as you go along… be patient it will come out great. =)
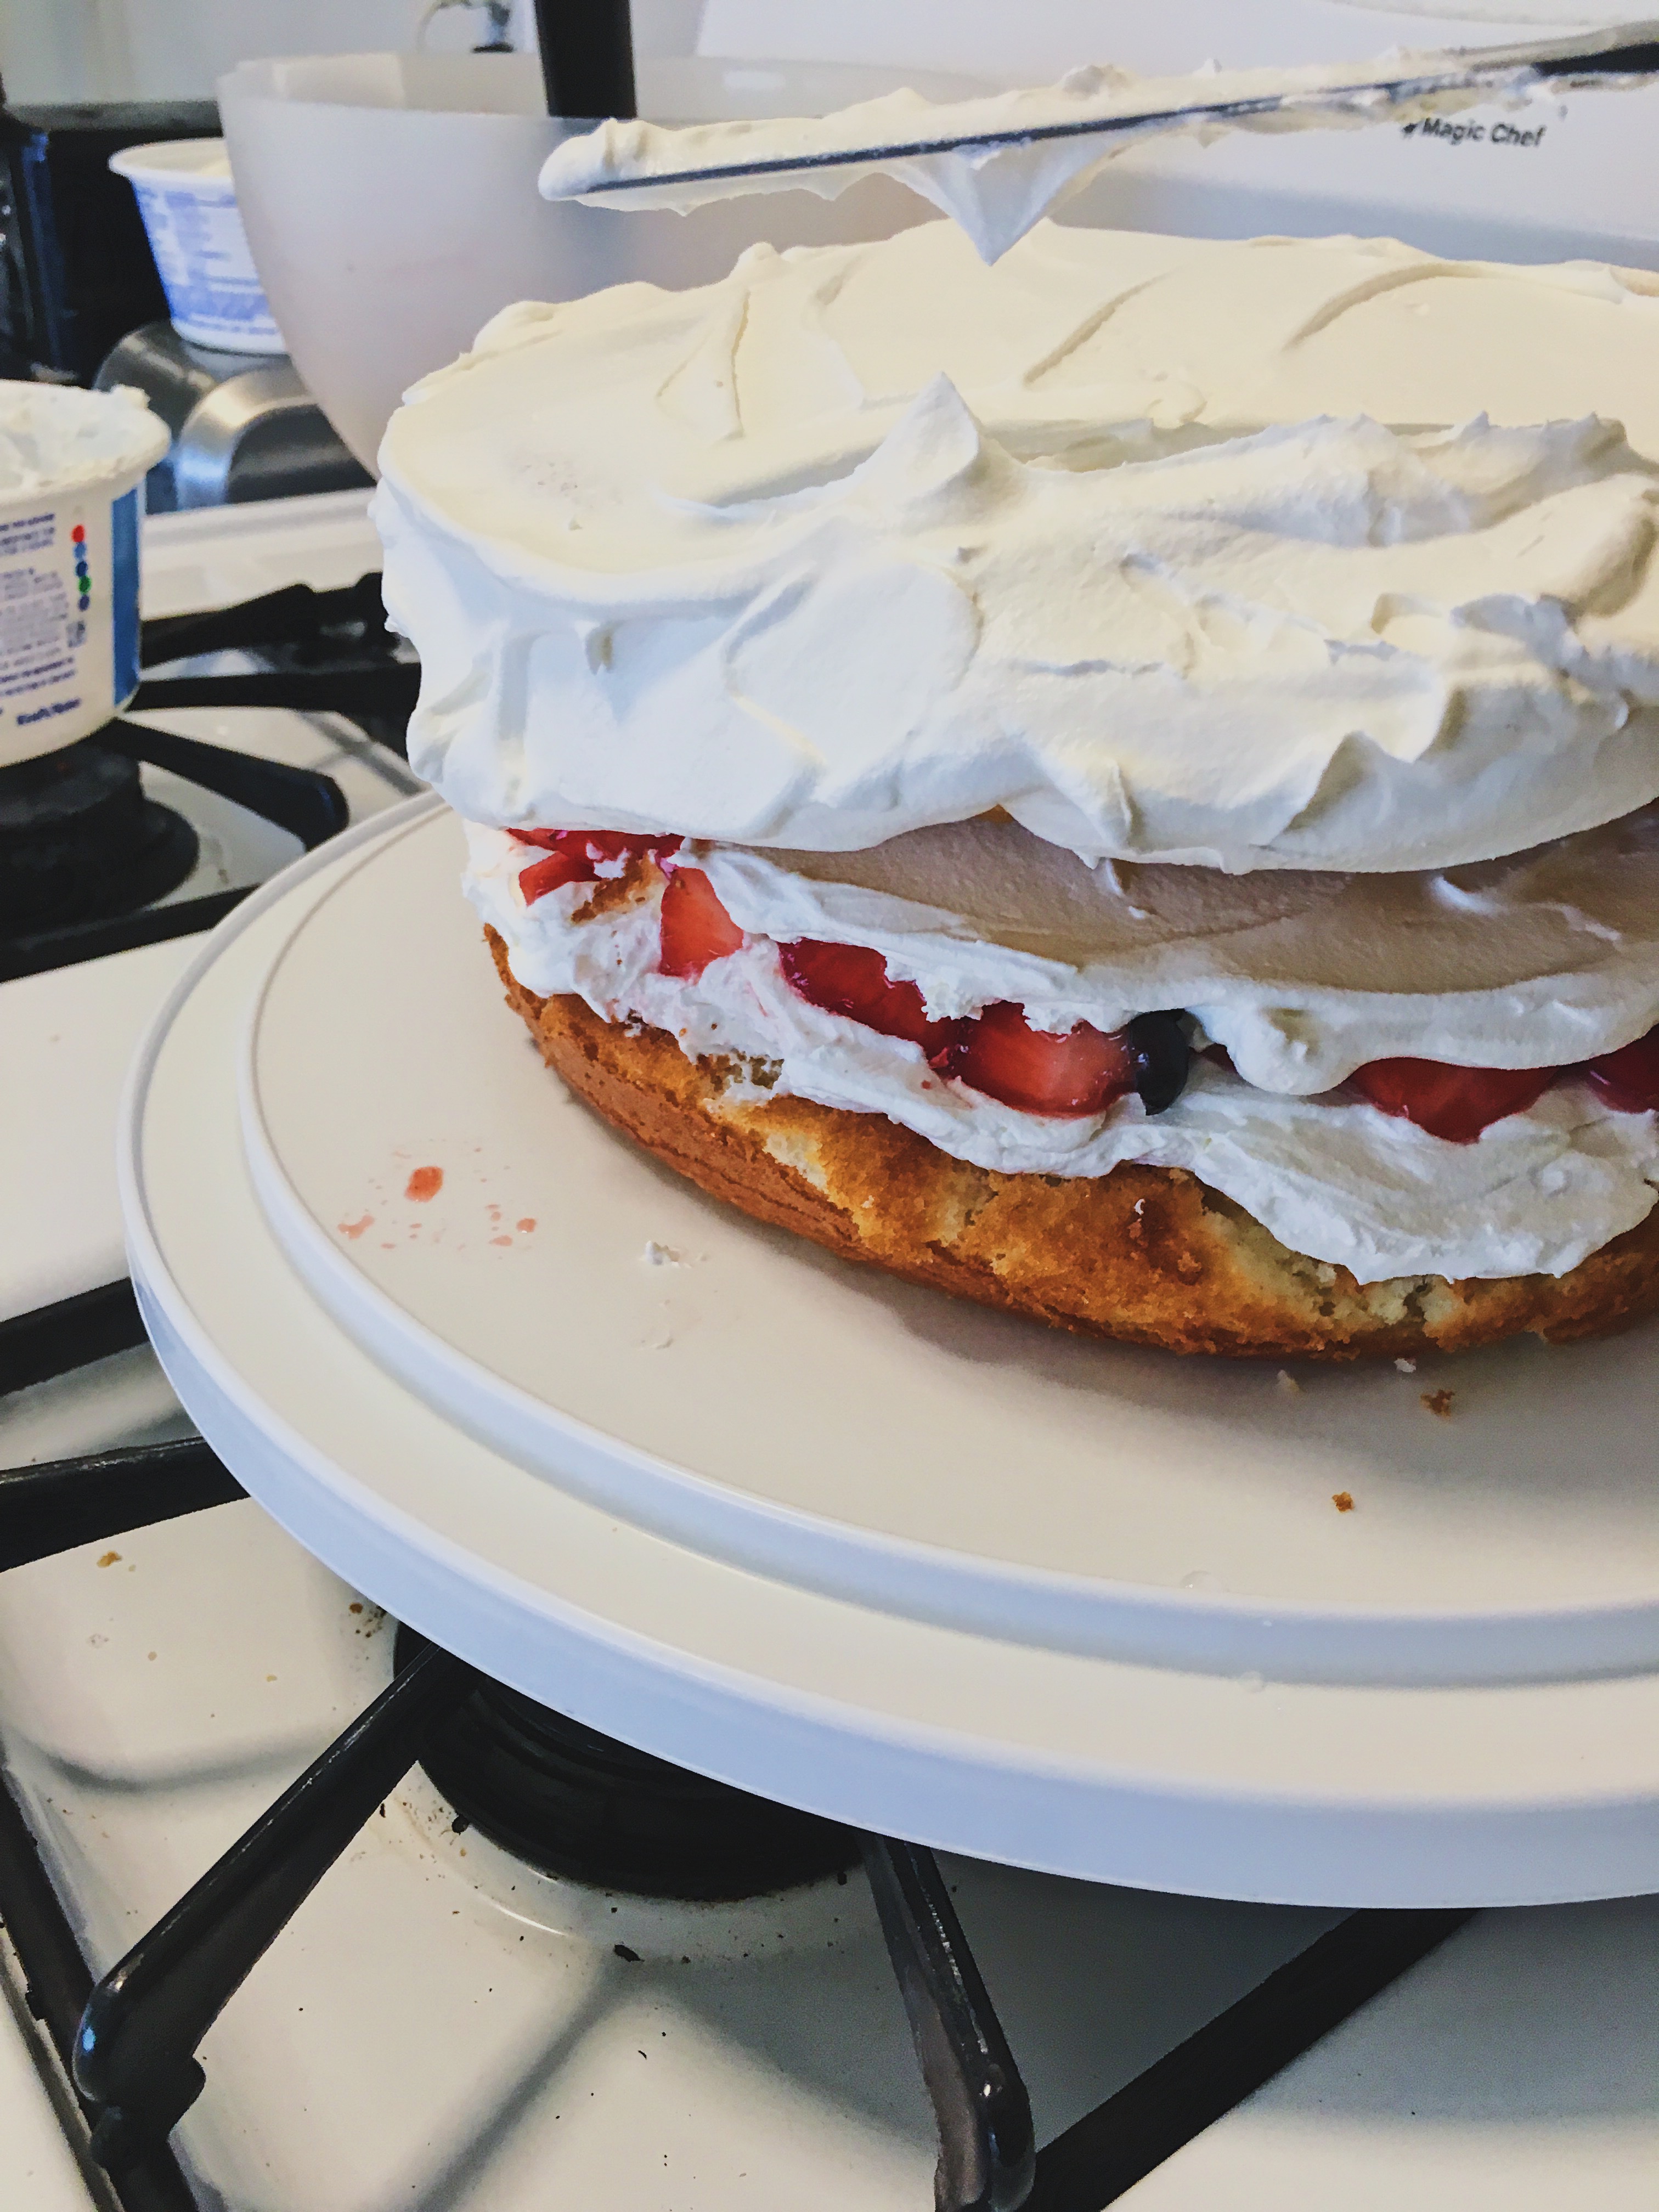
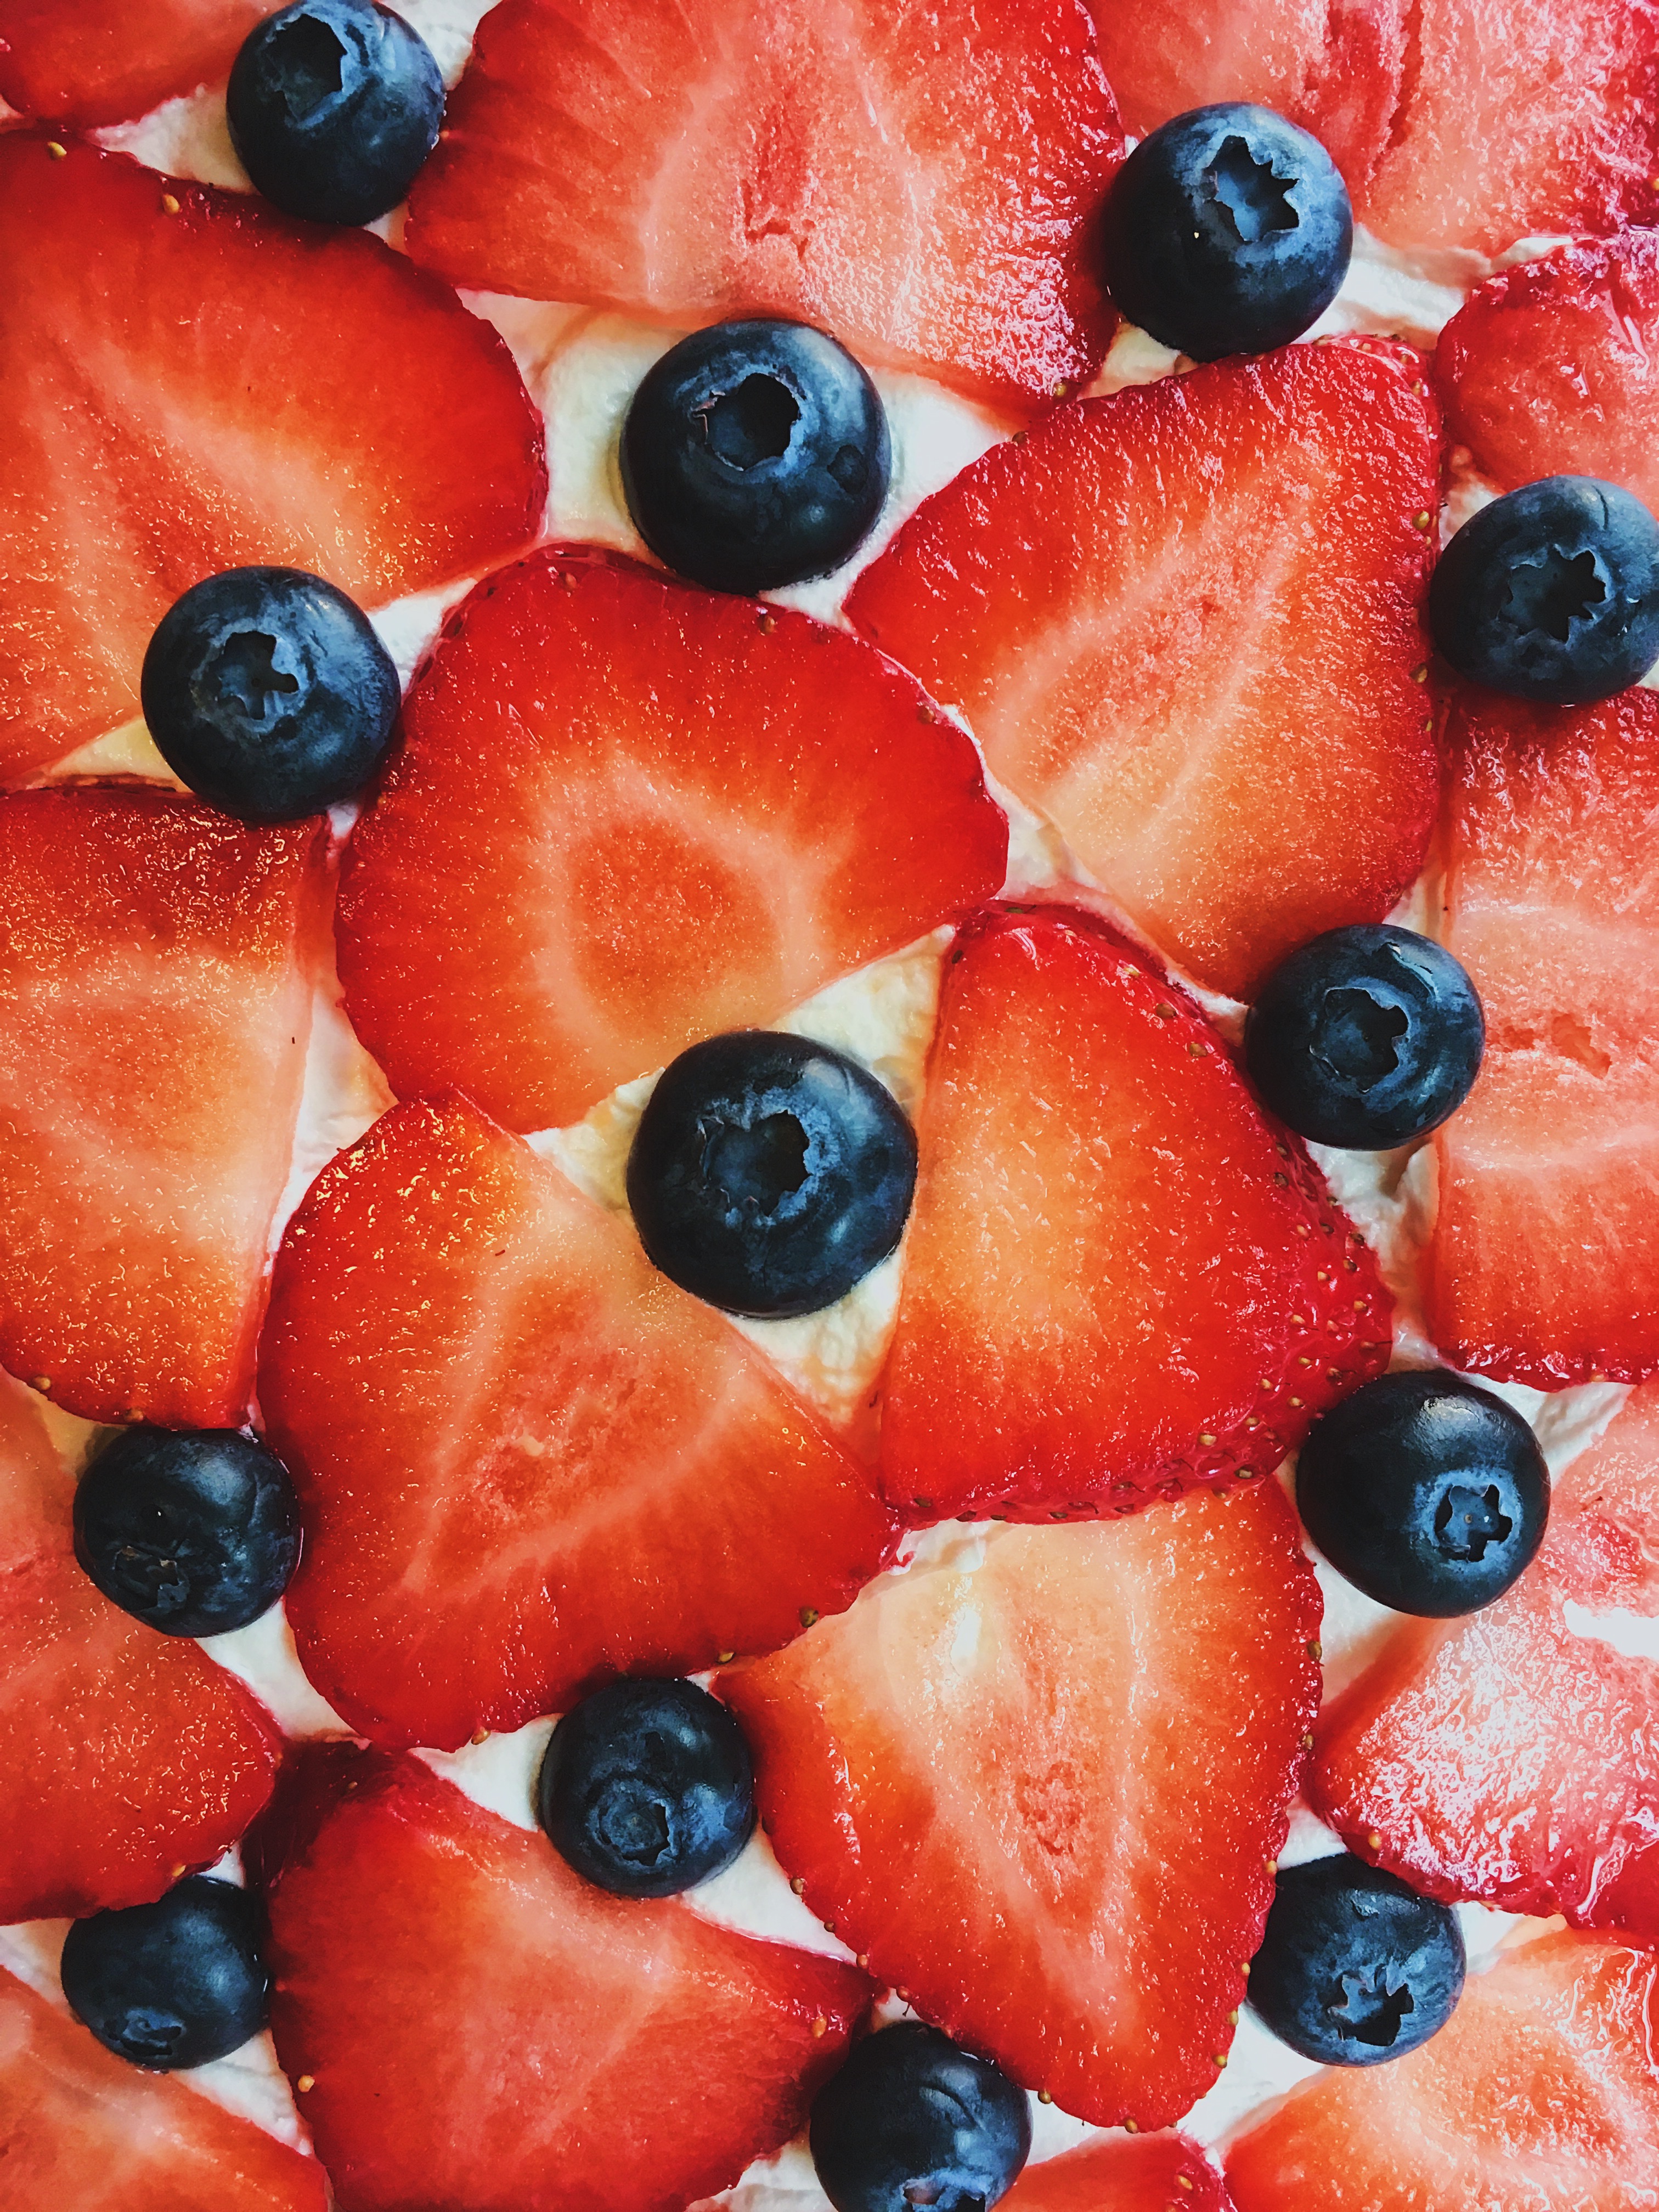
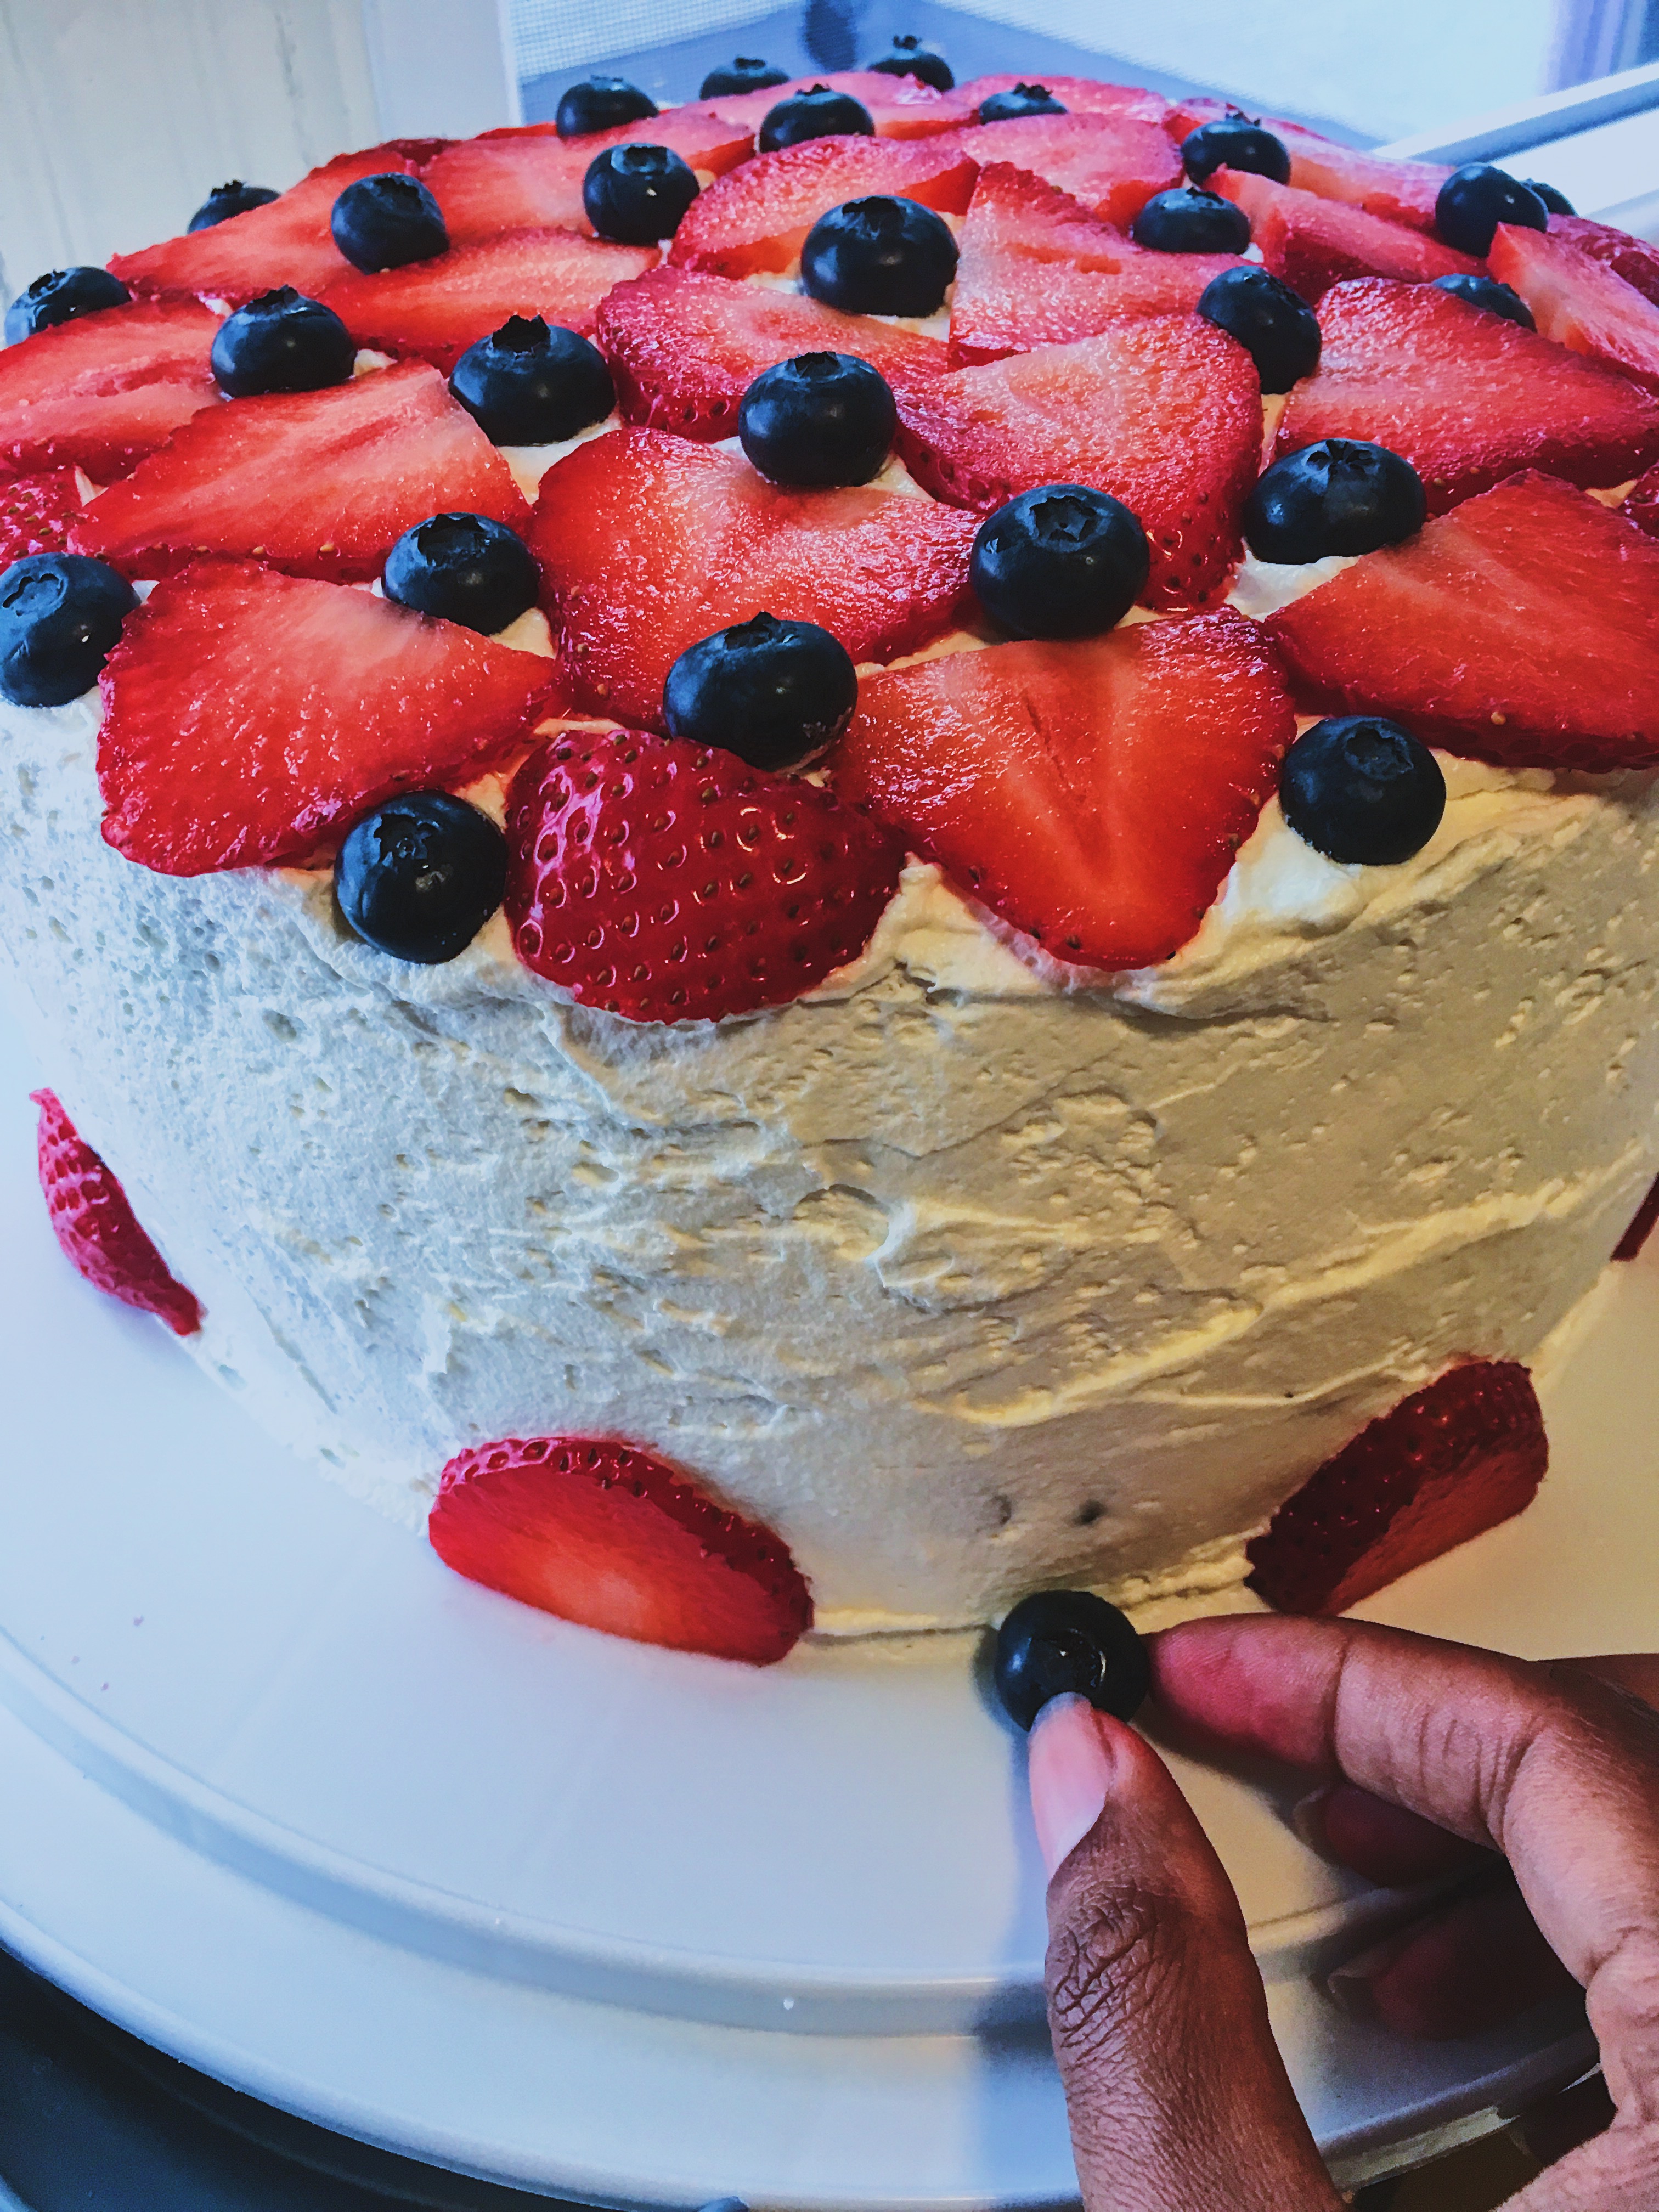
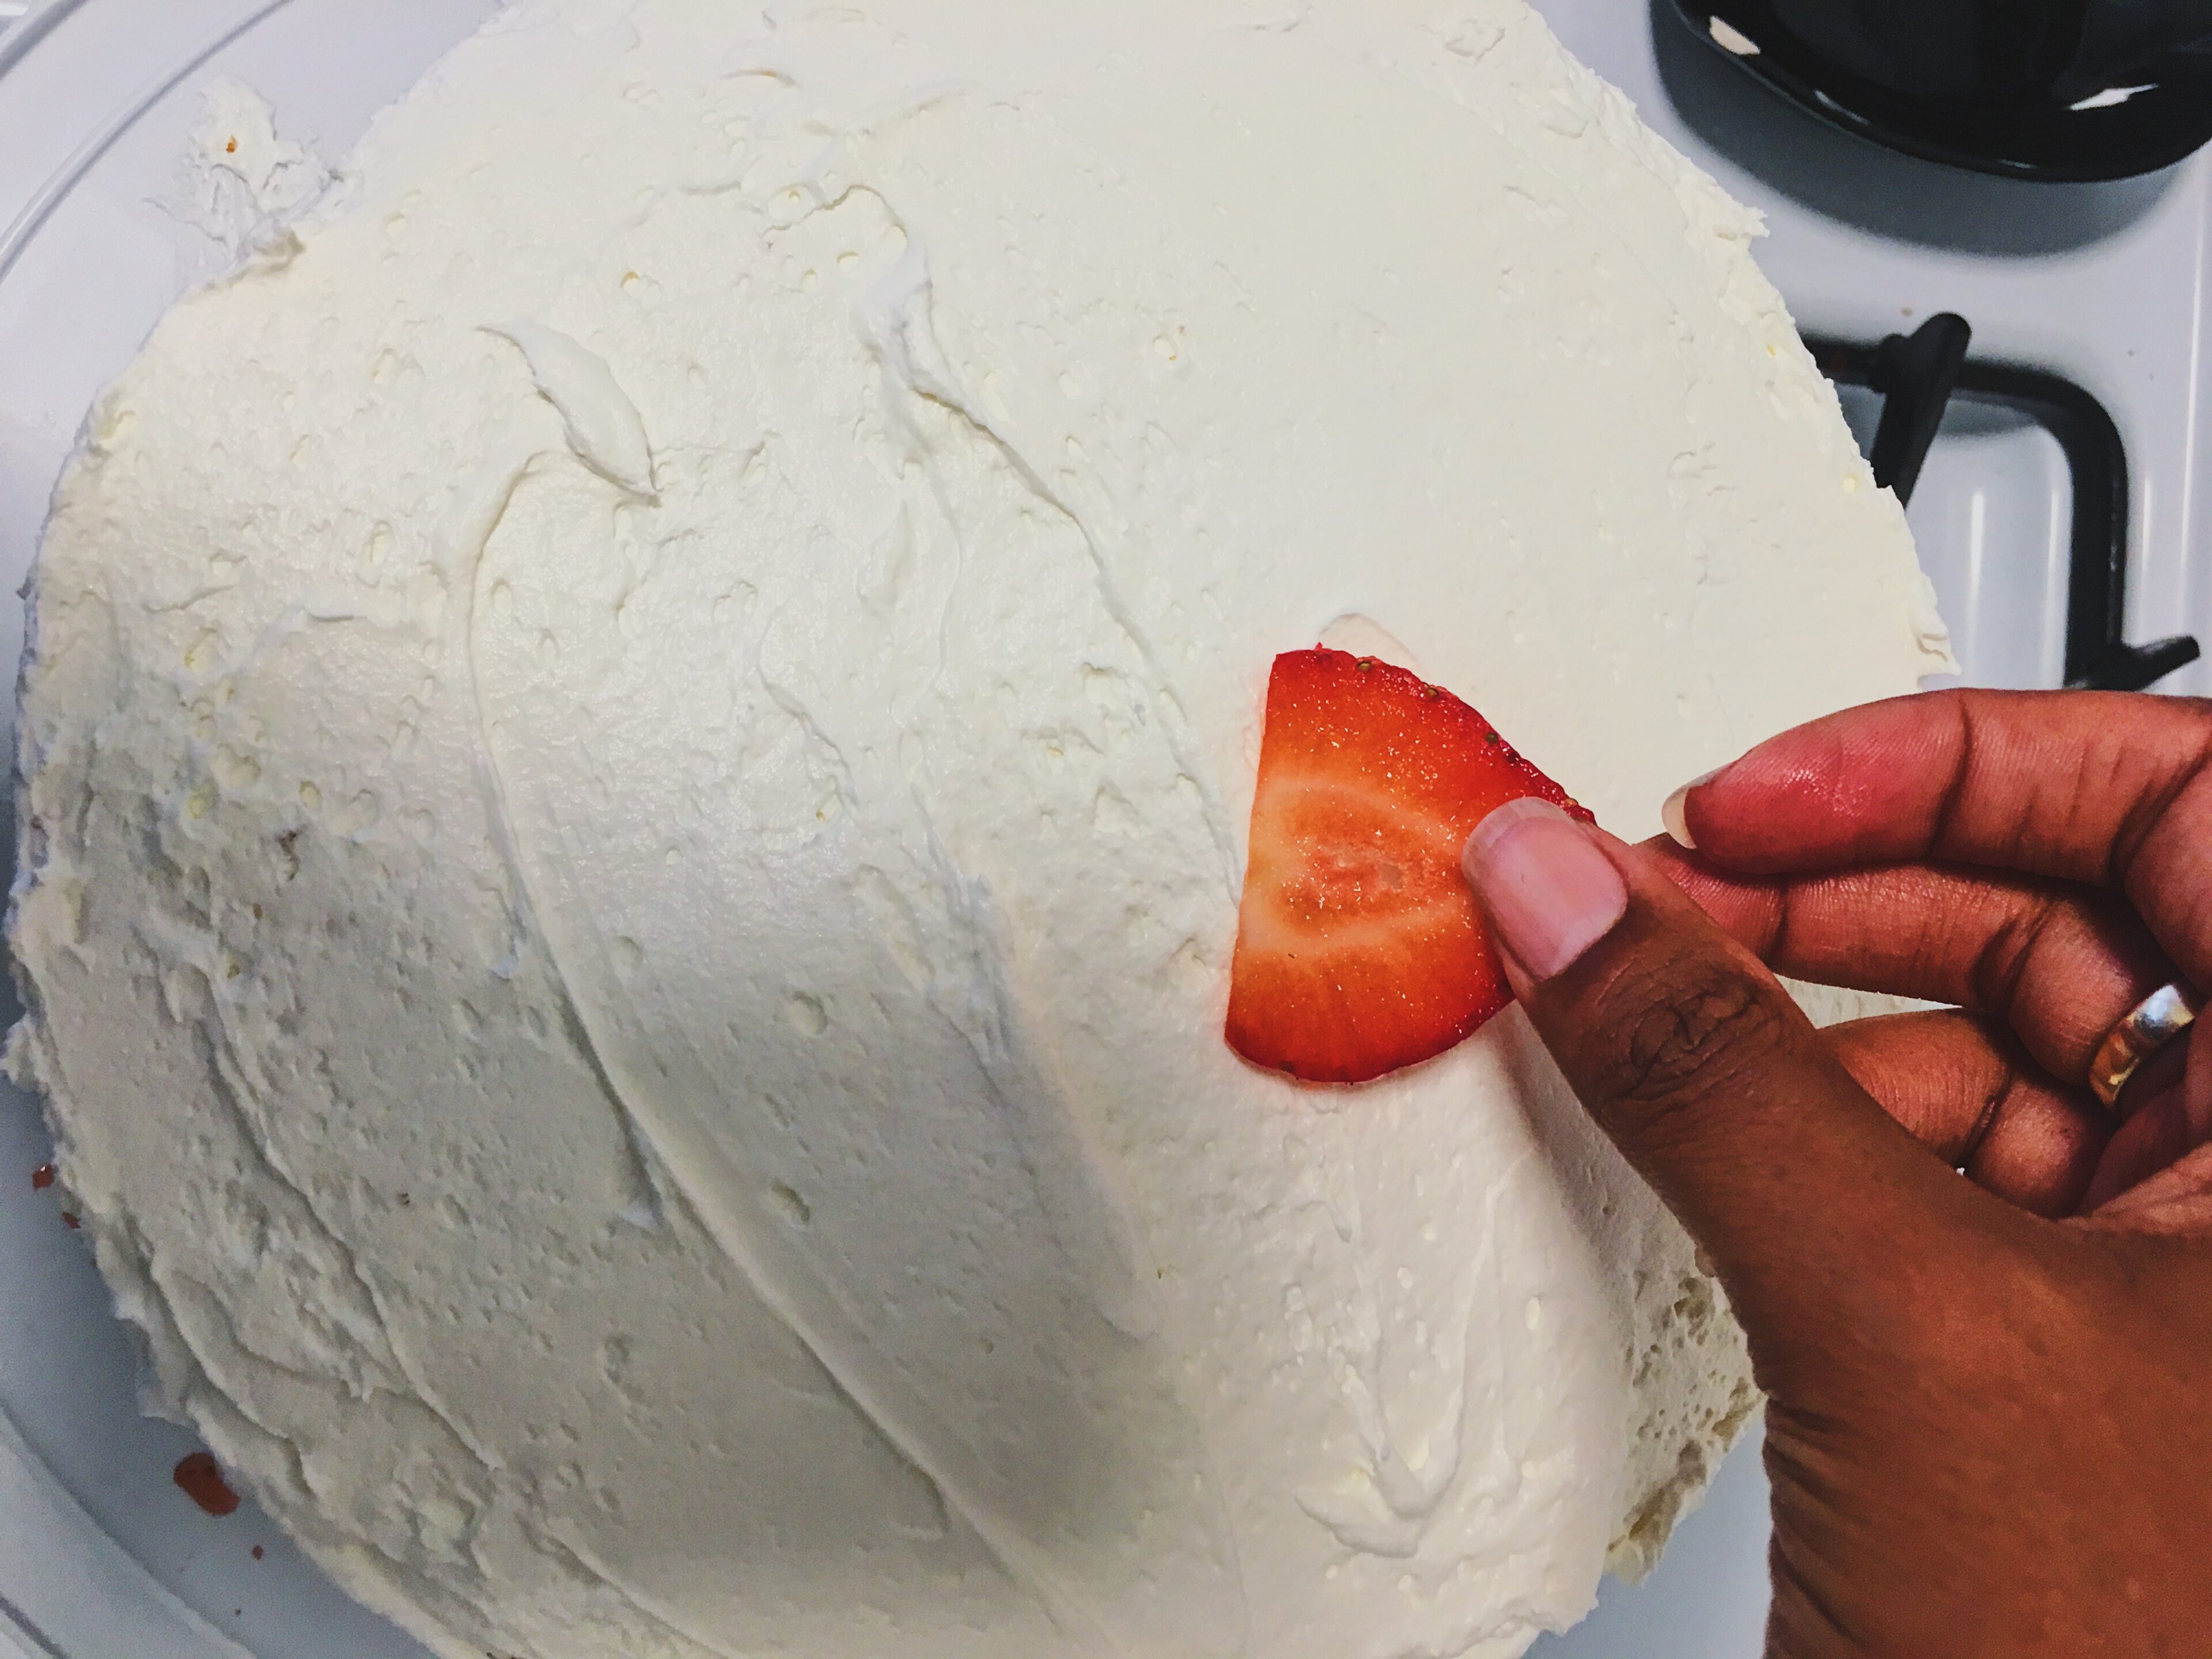
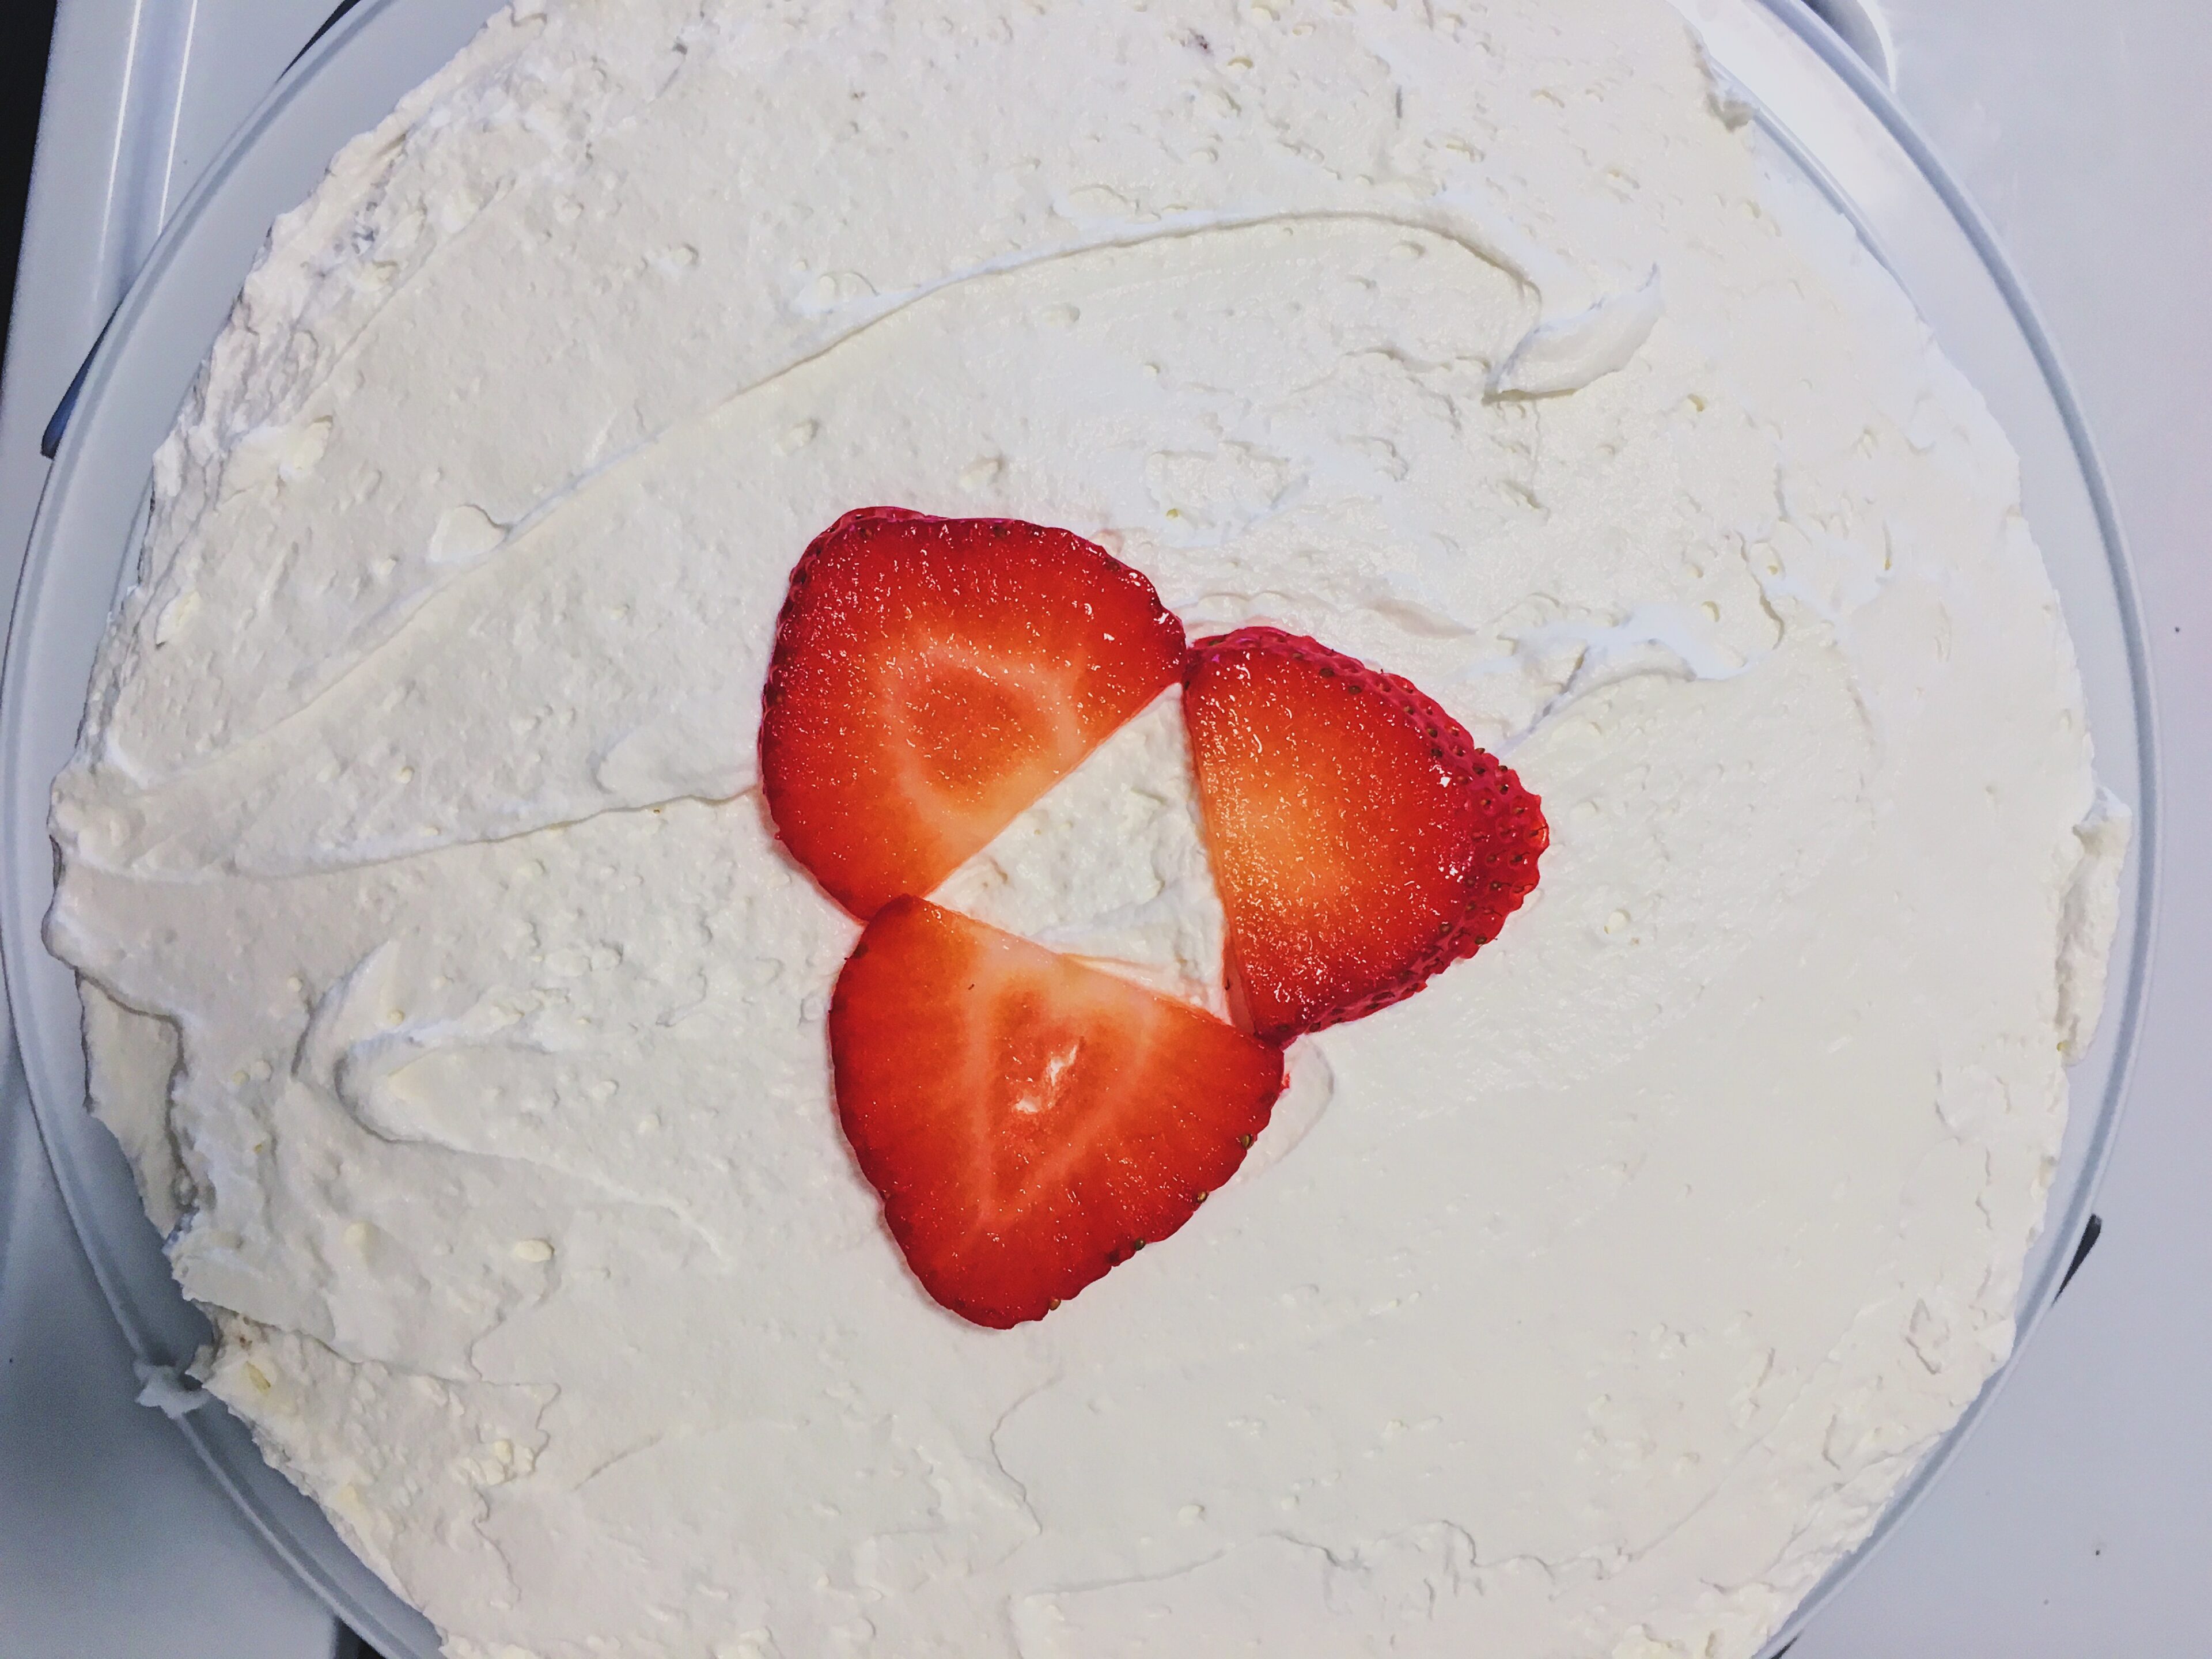
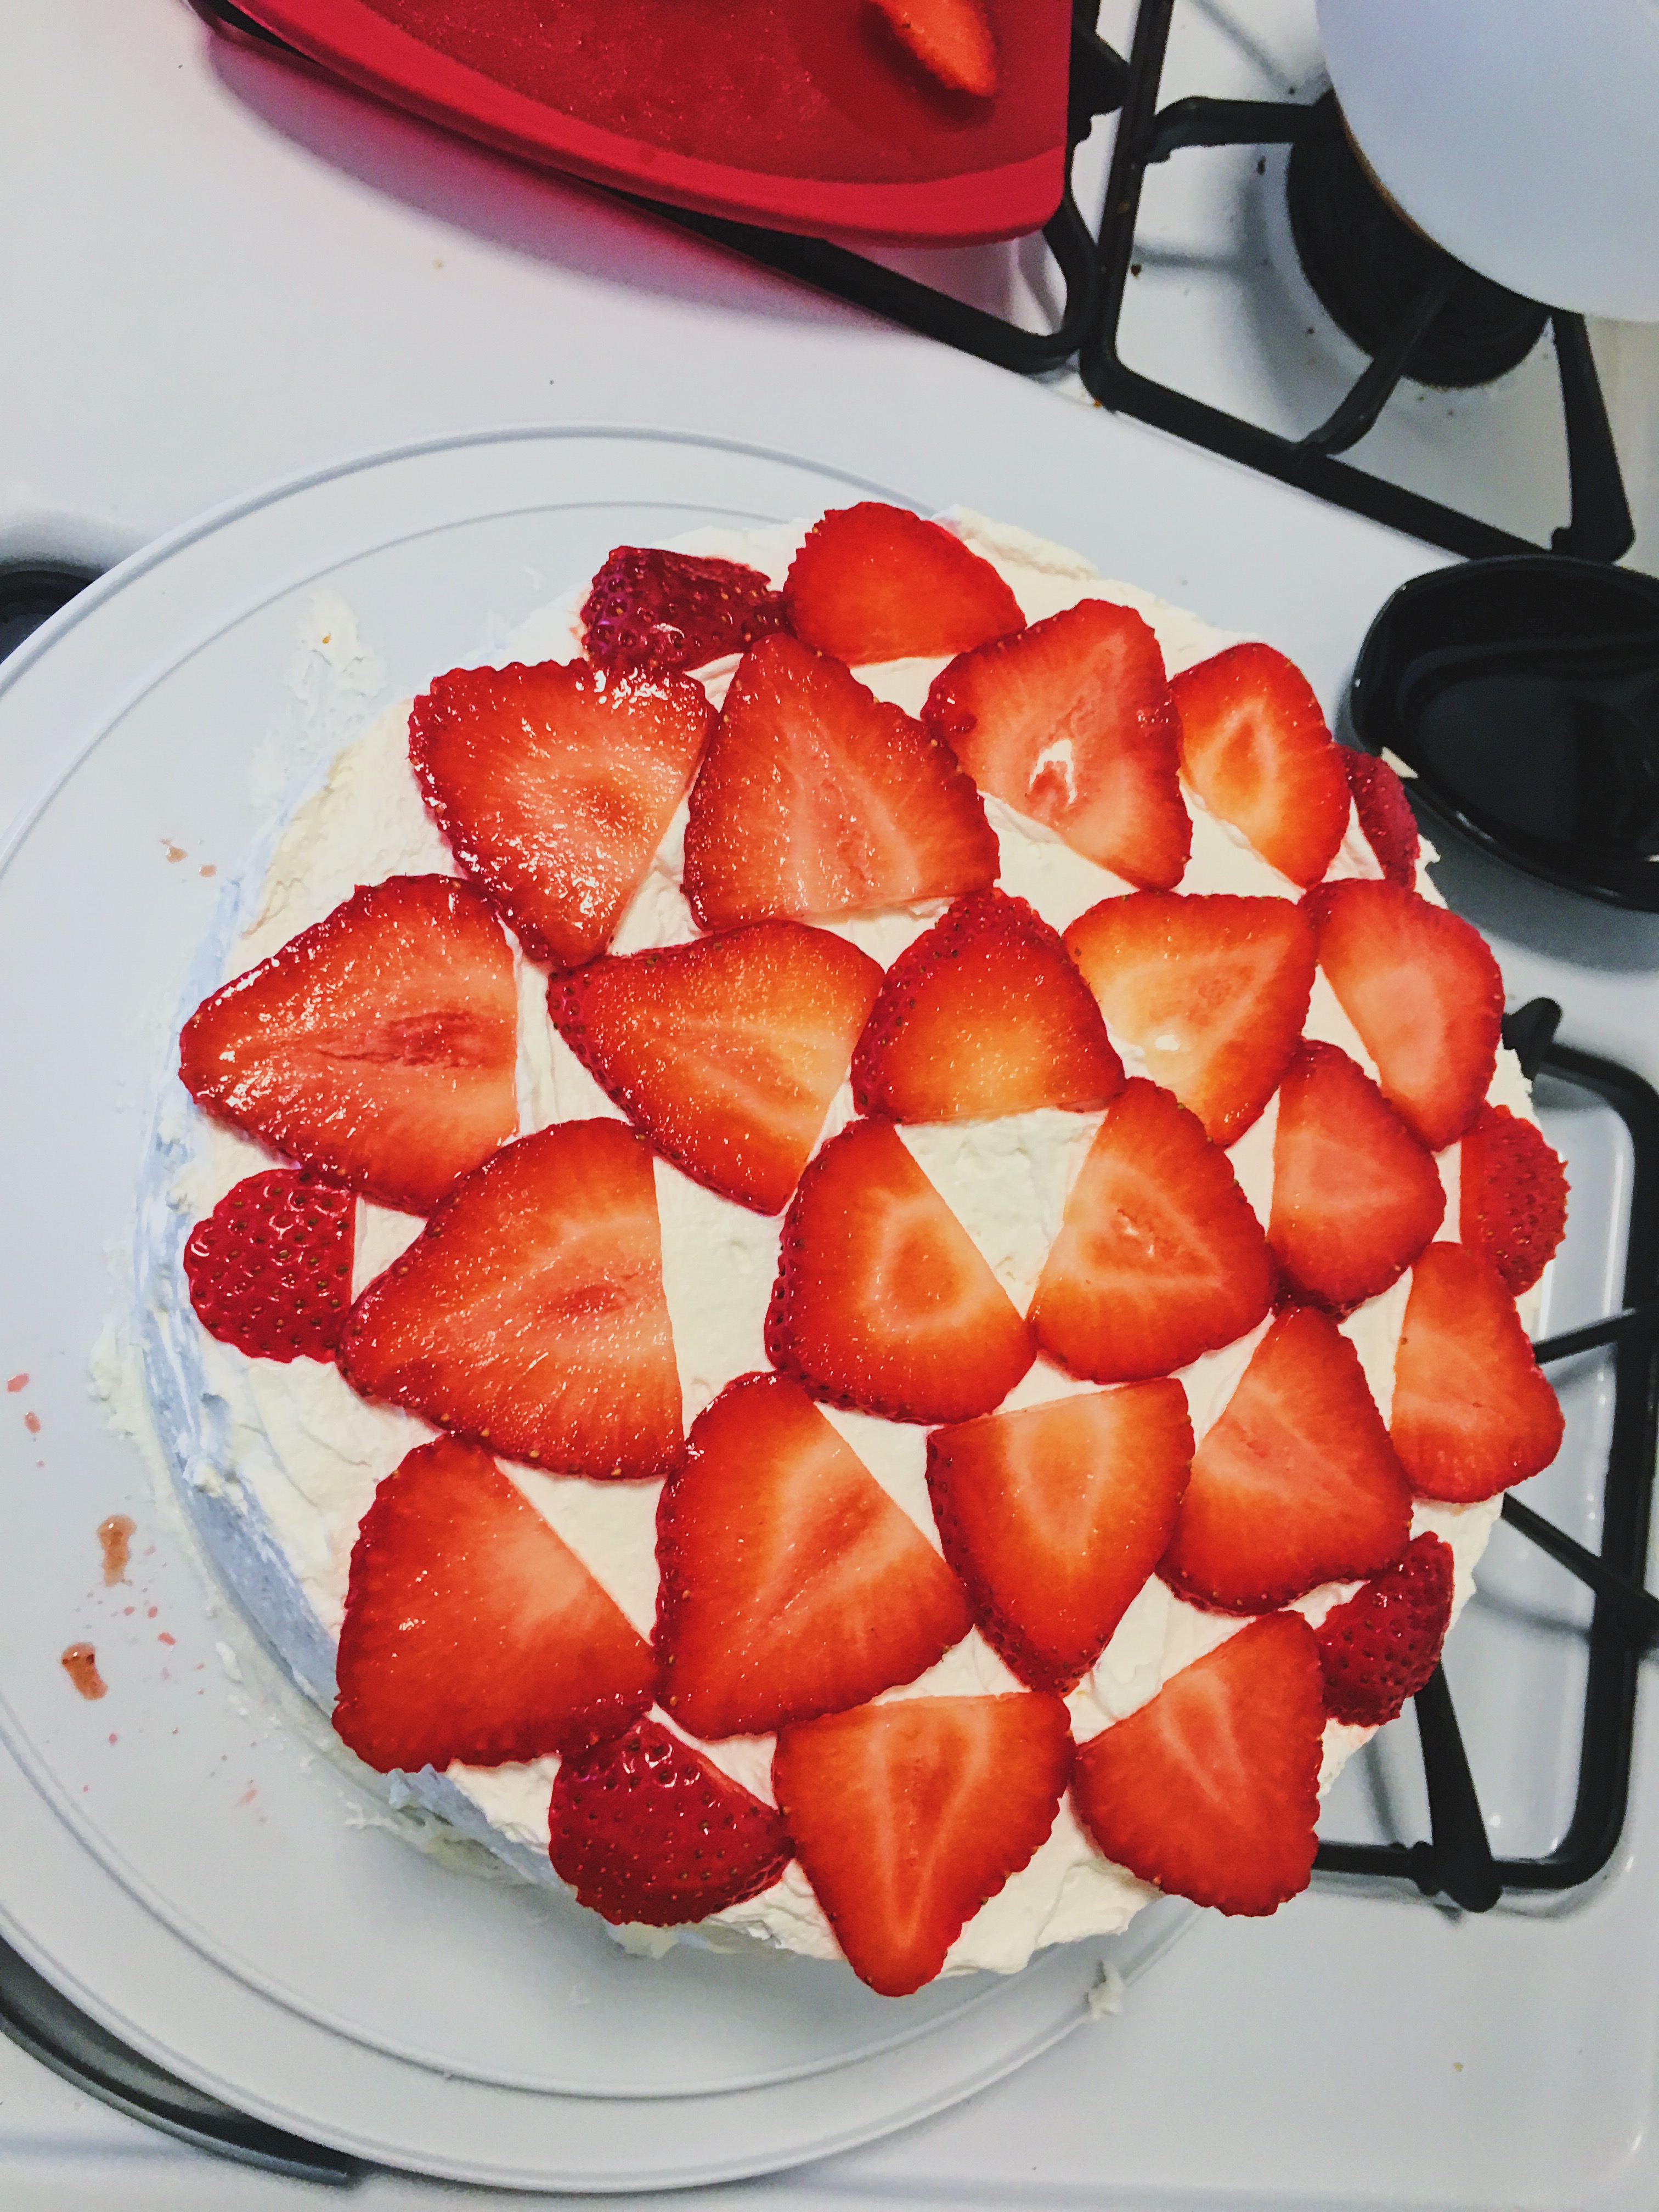
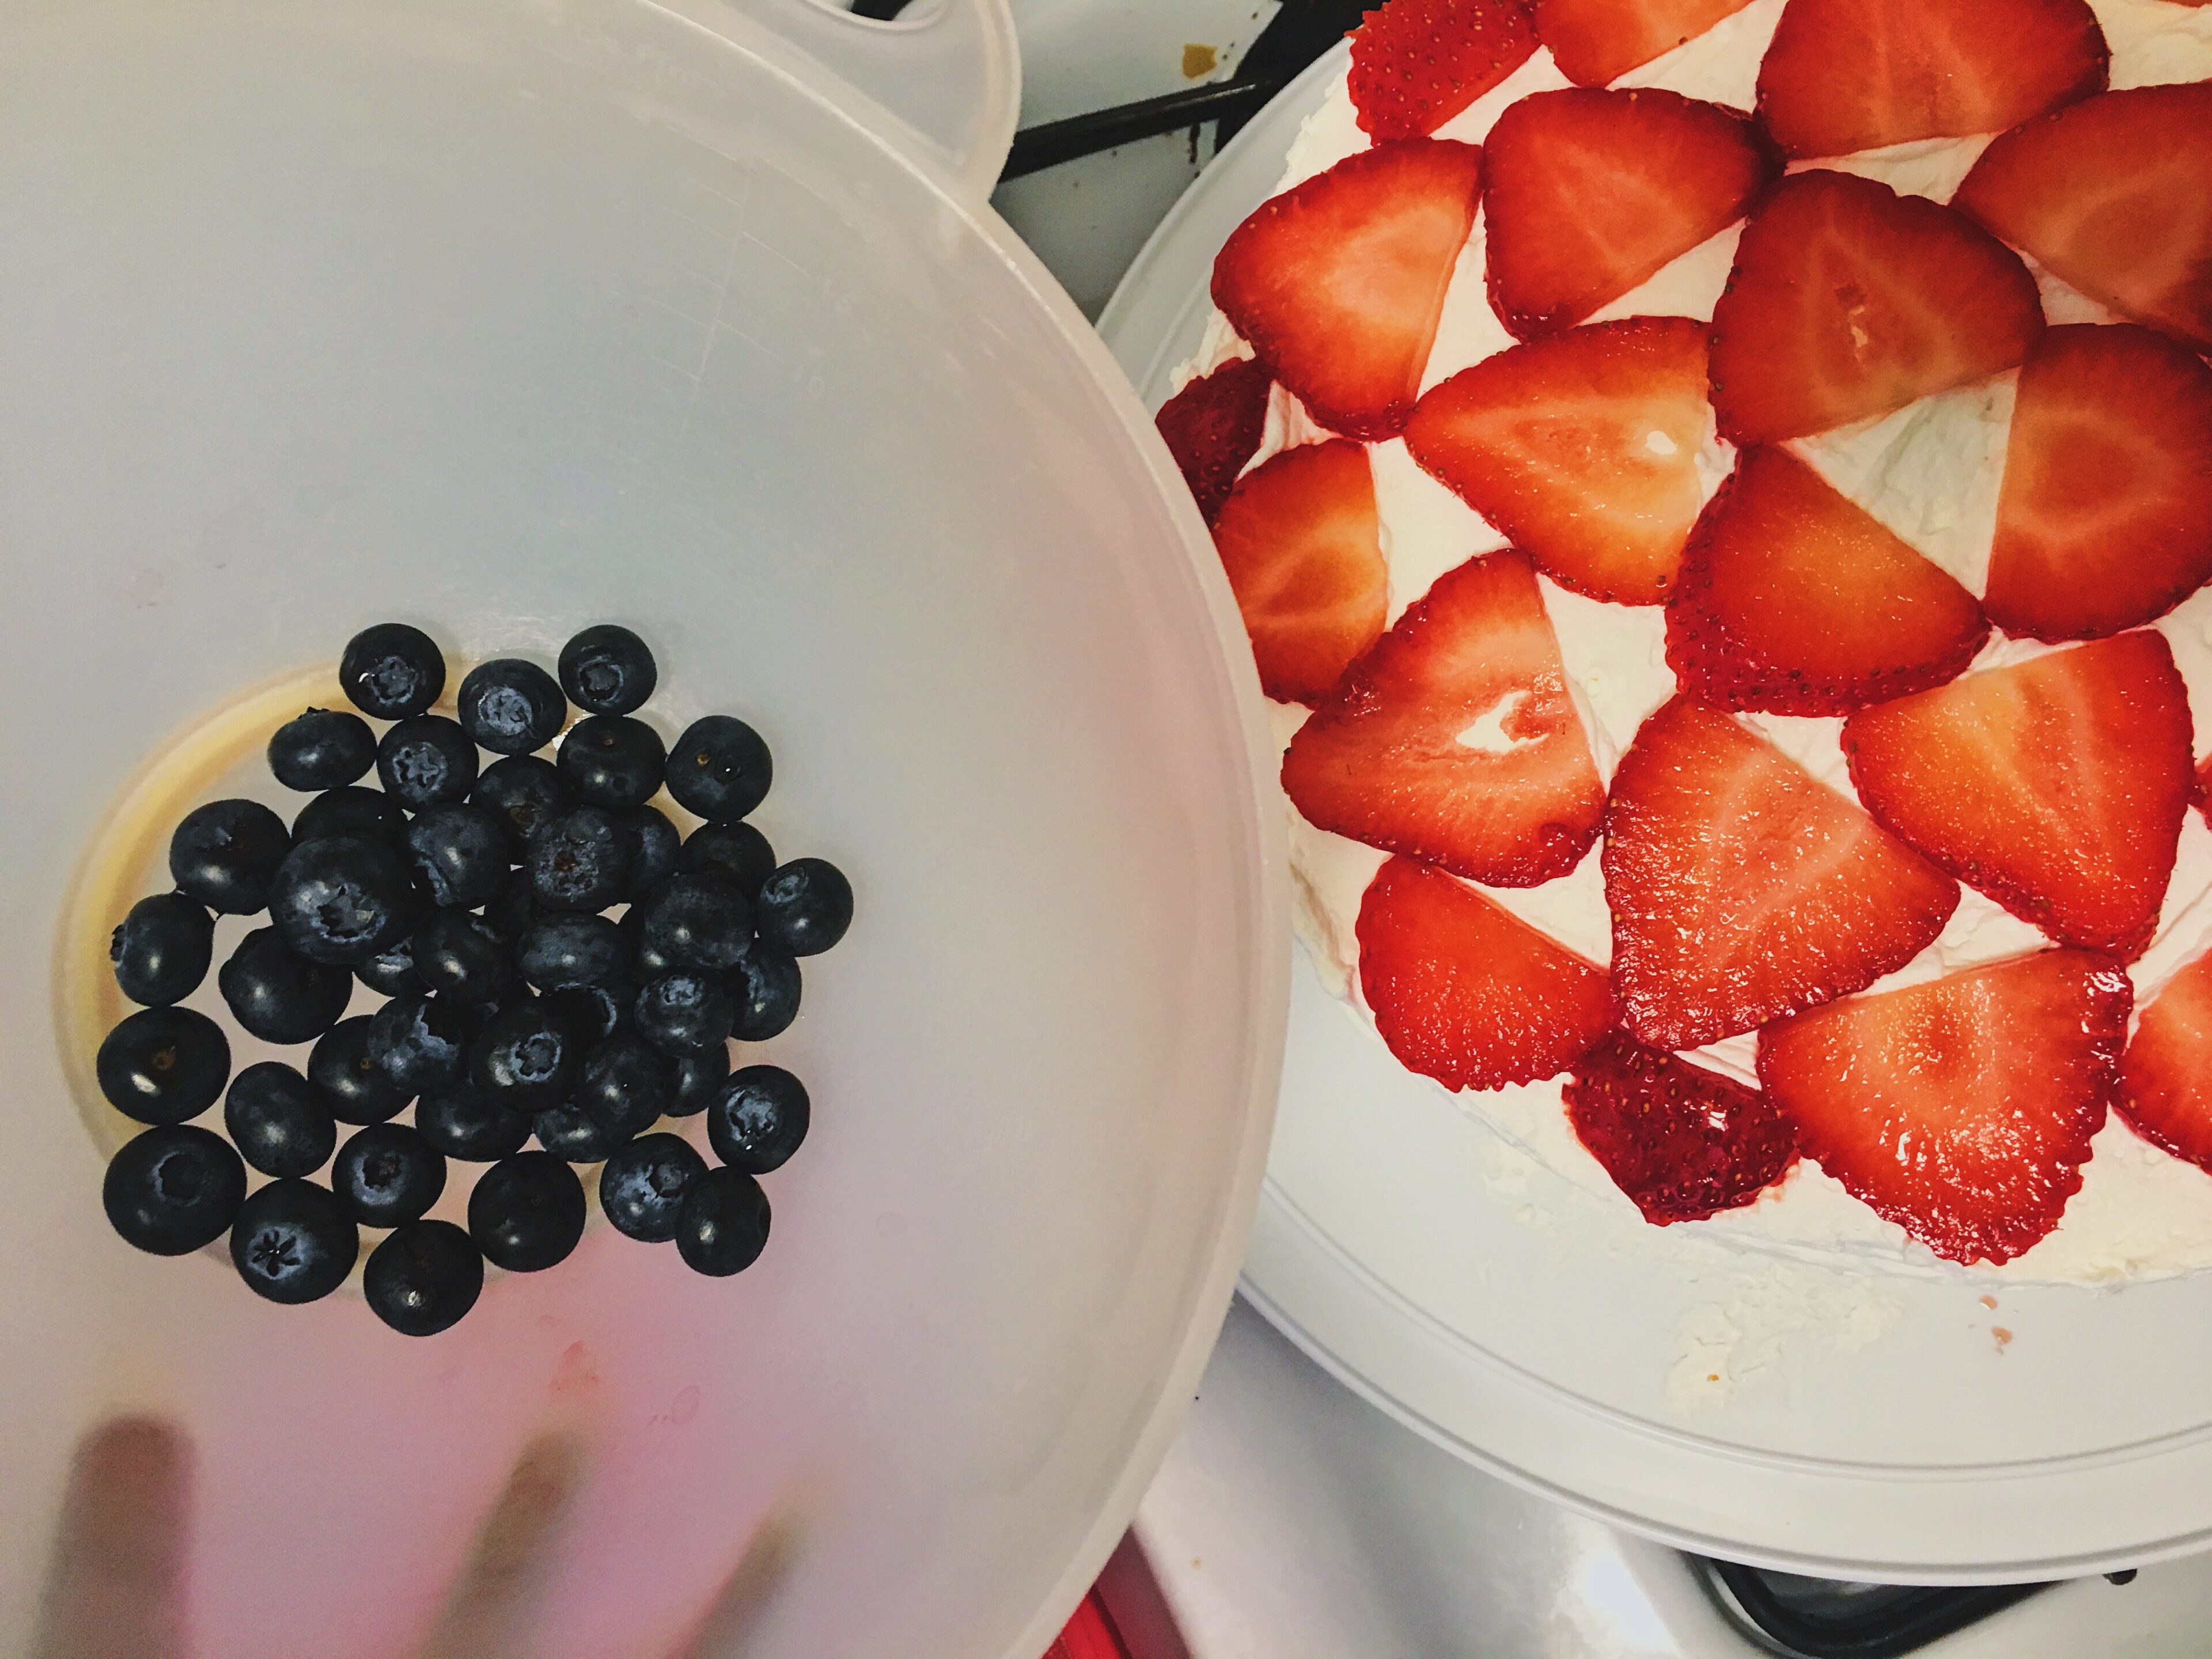
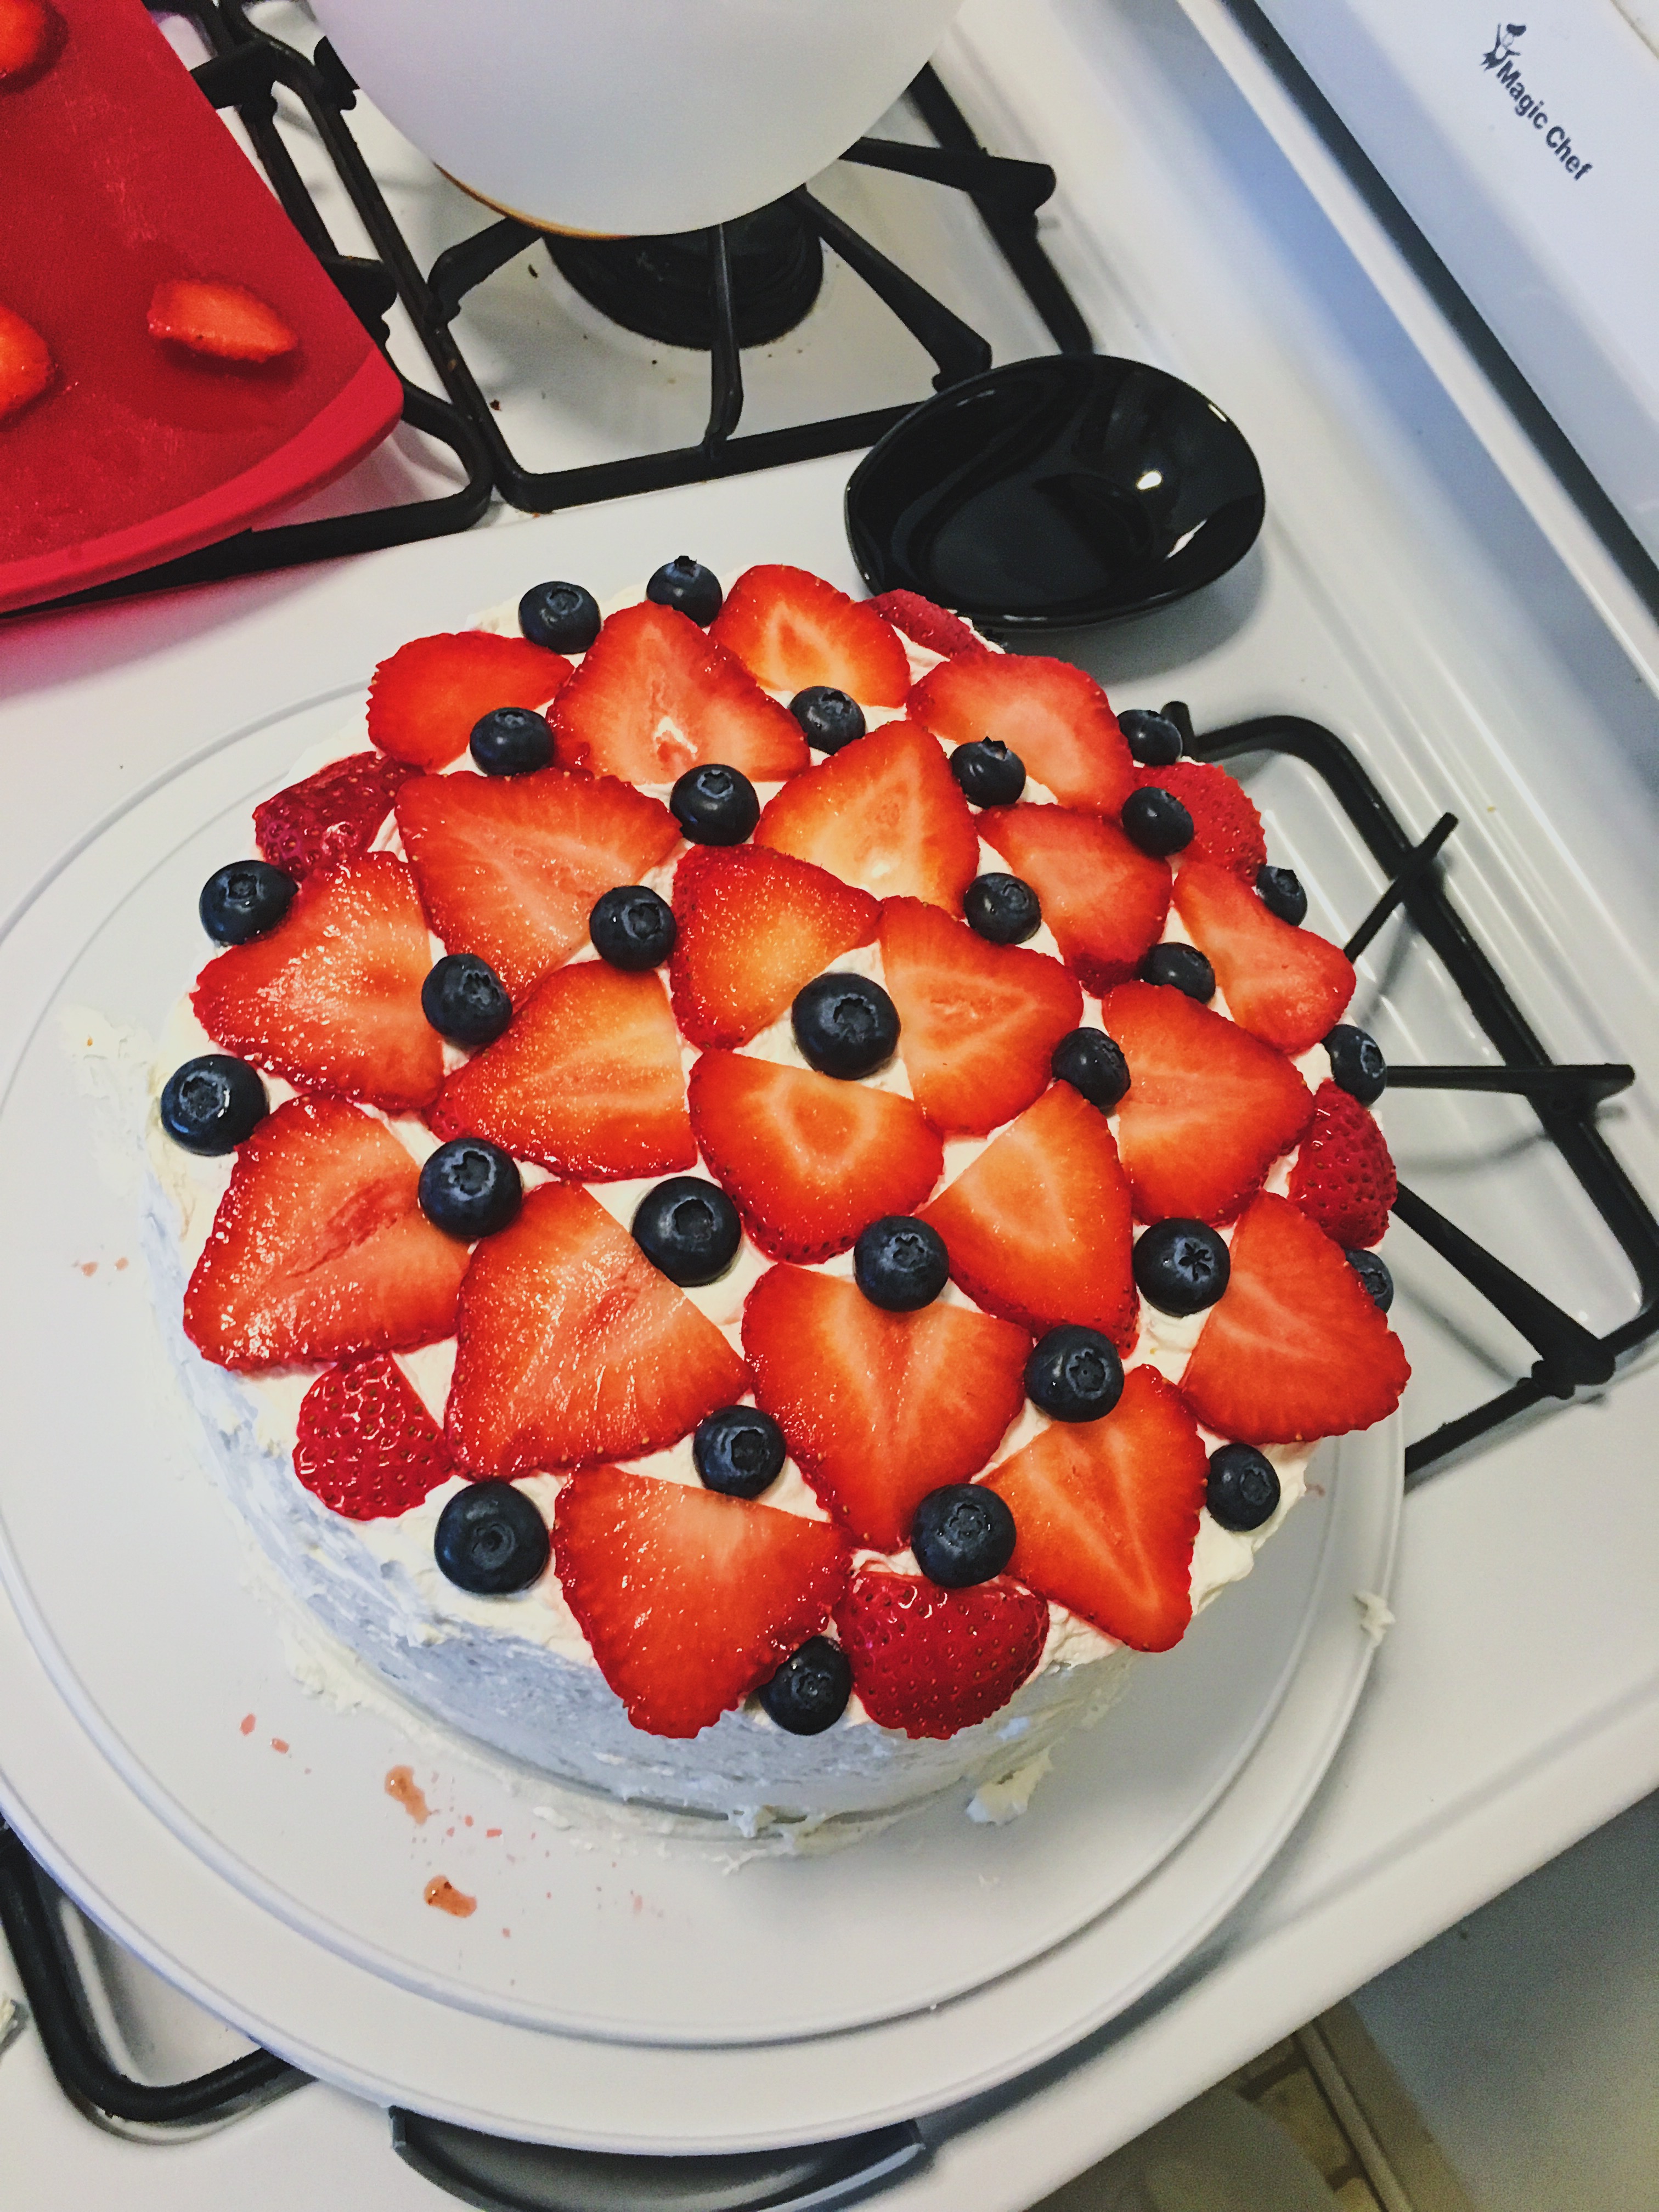
11. Once the cake is fully covered in Cool Whip, you can place the thinly sliced strawberries on top in a design of your choice.
(Refer to photos for inspiration) Add blueberries anywhere you see fit.
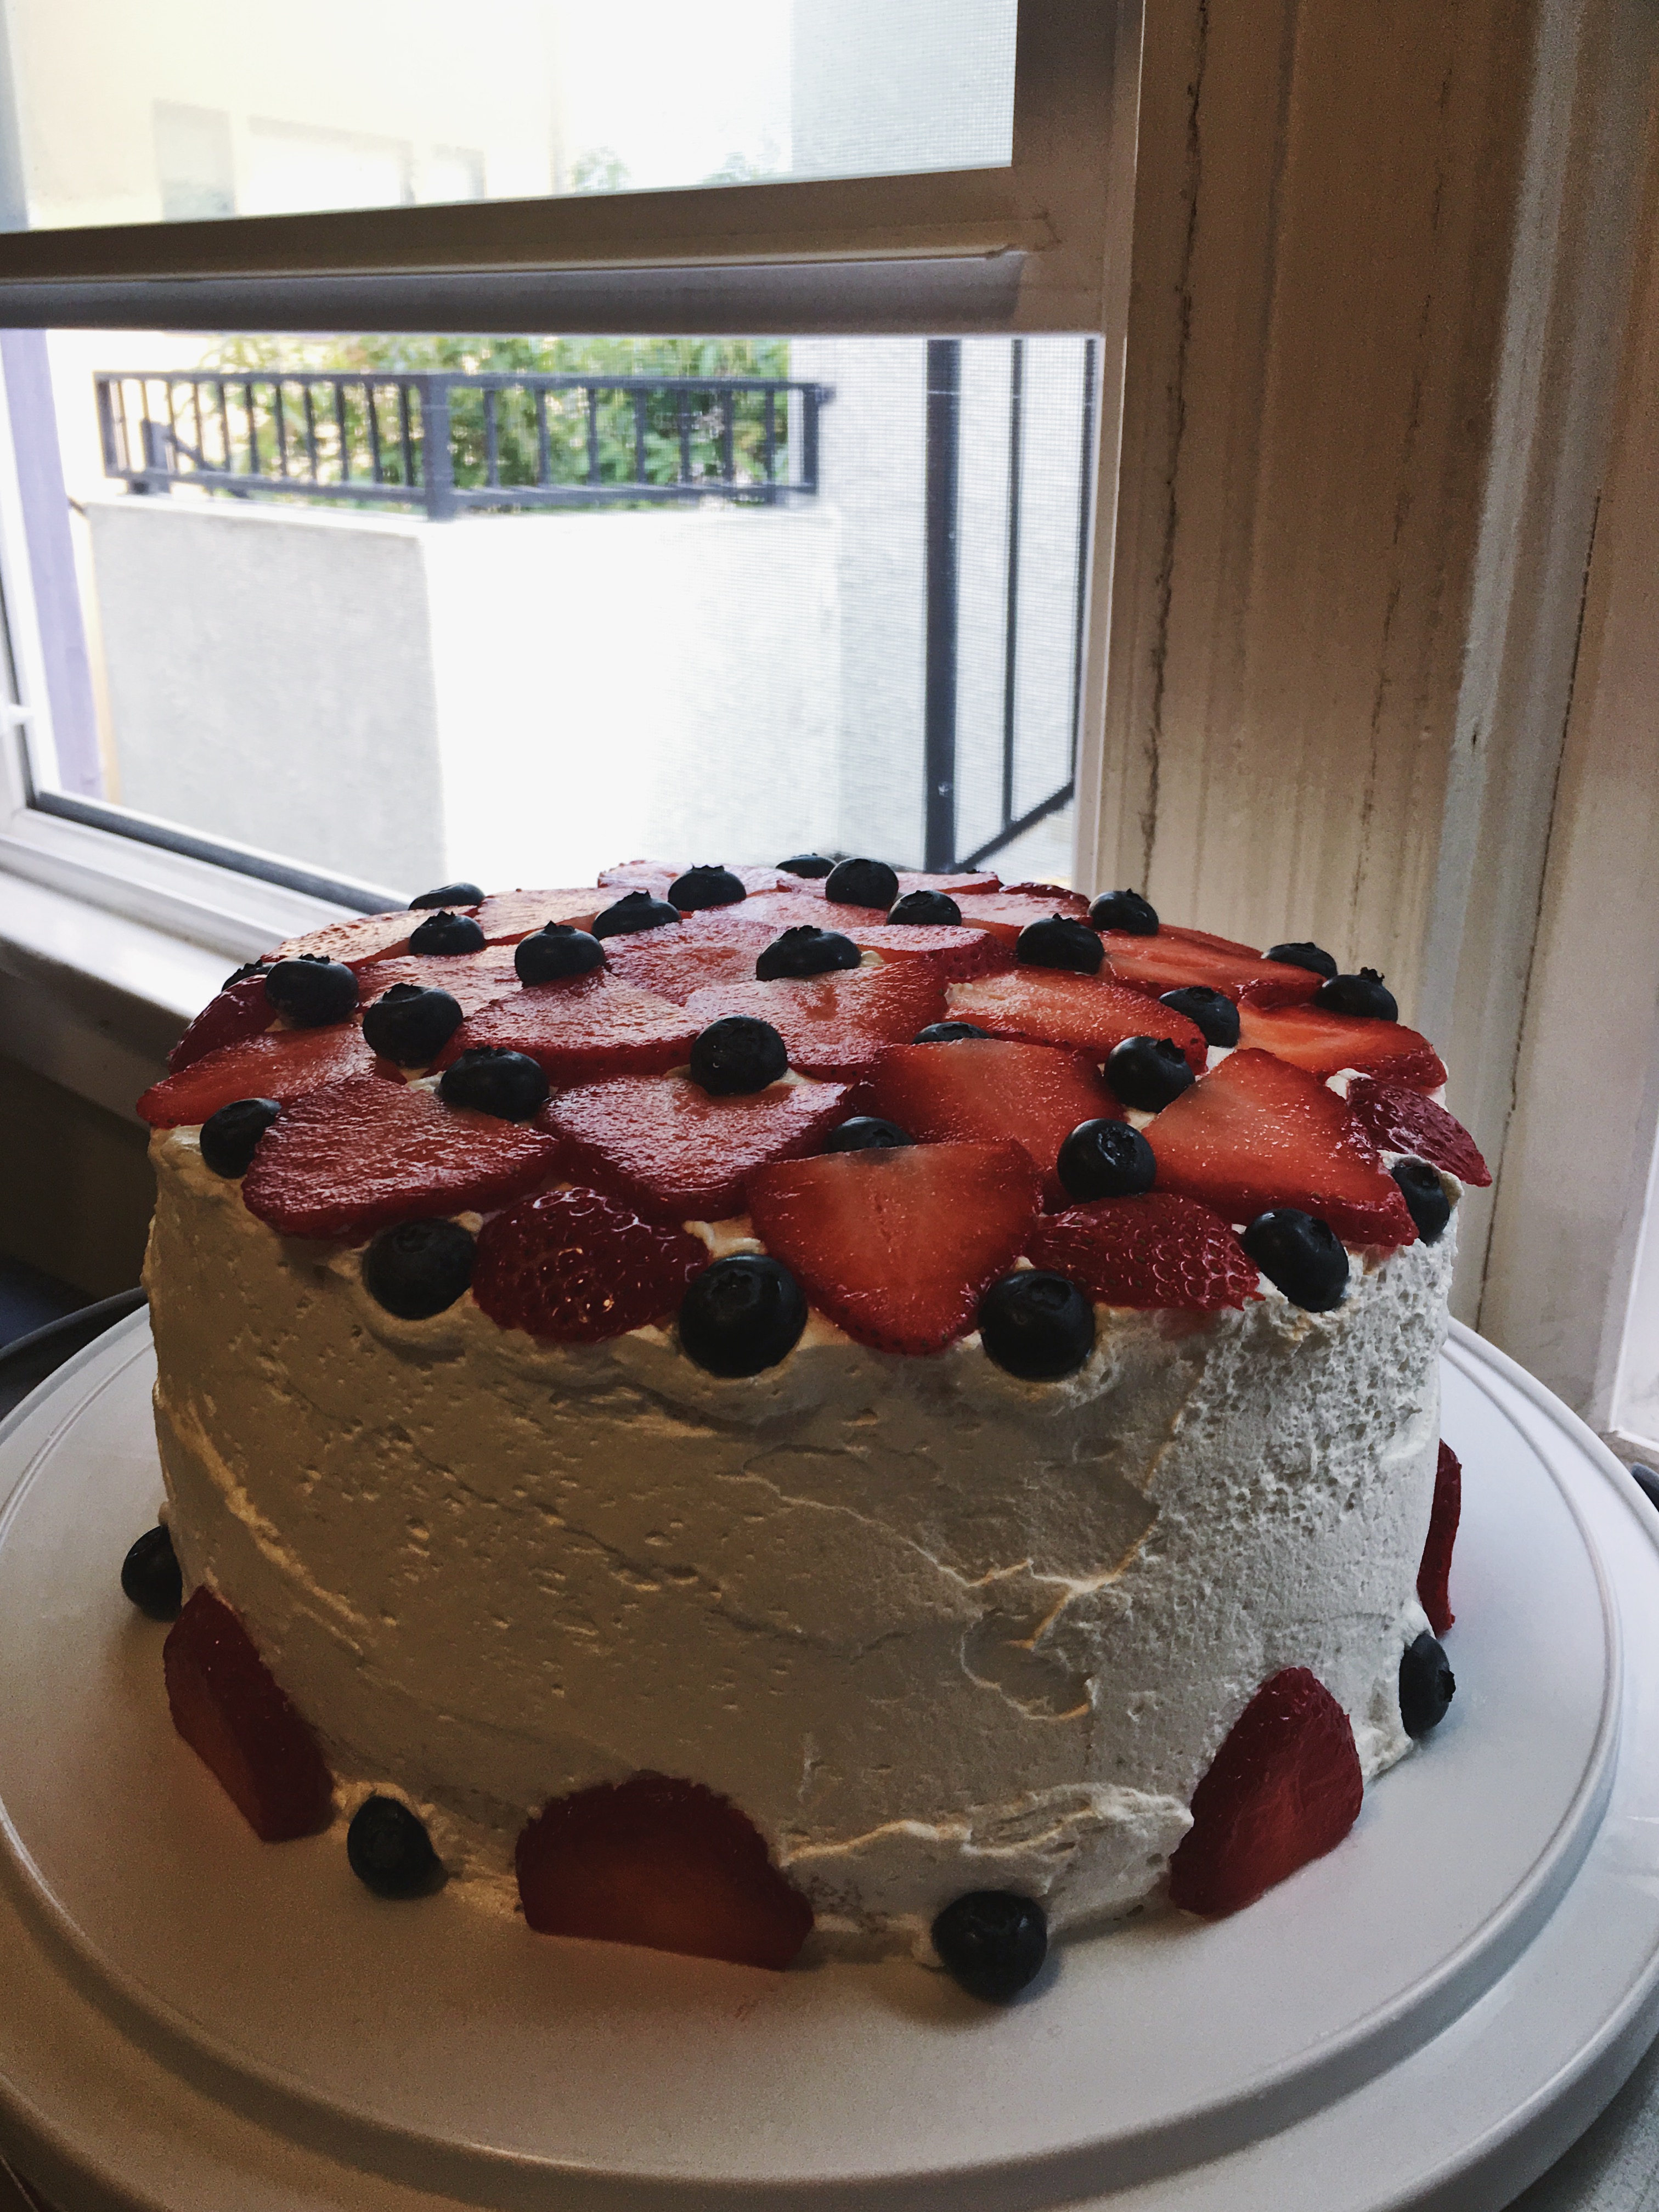
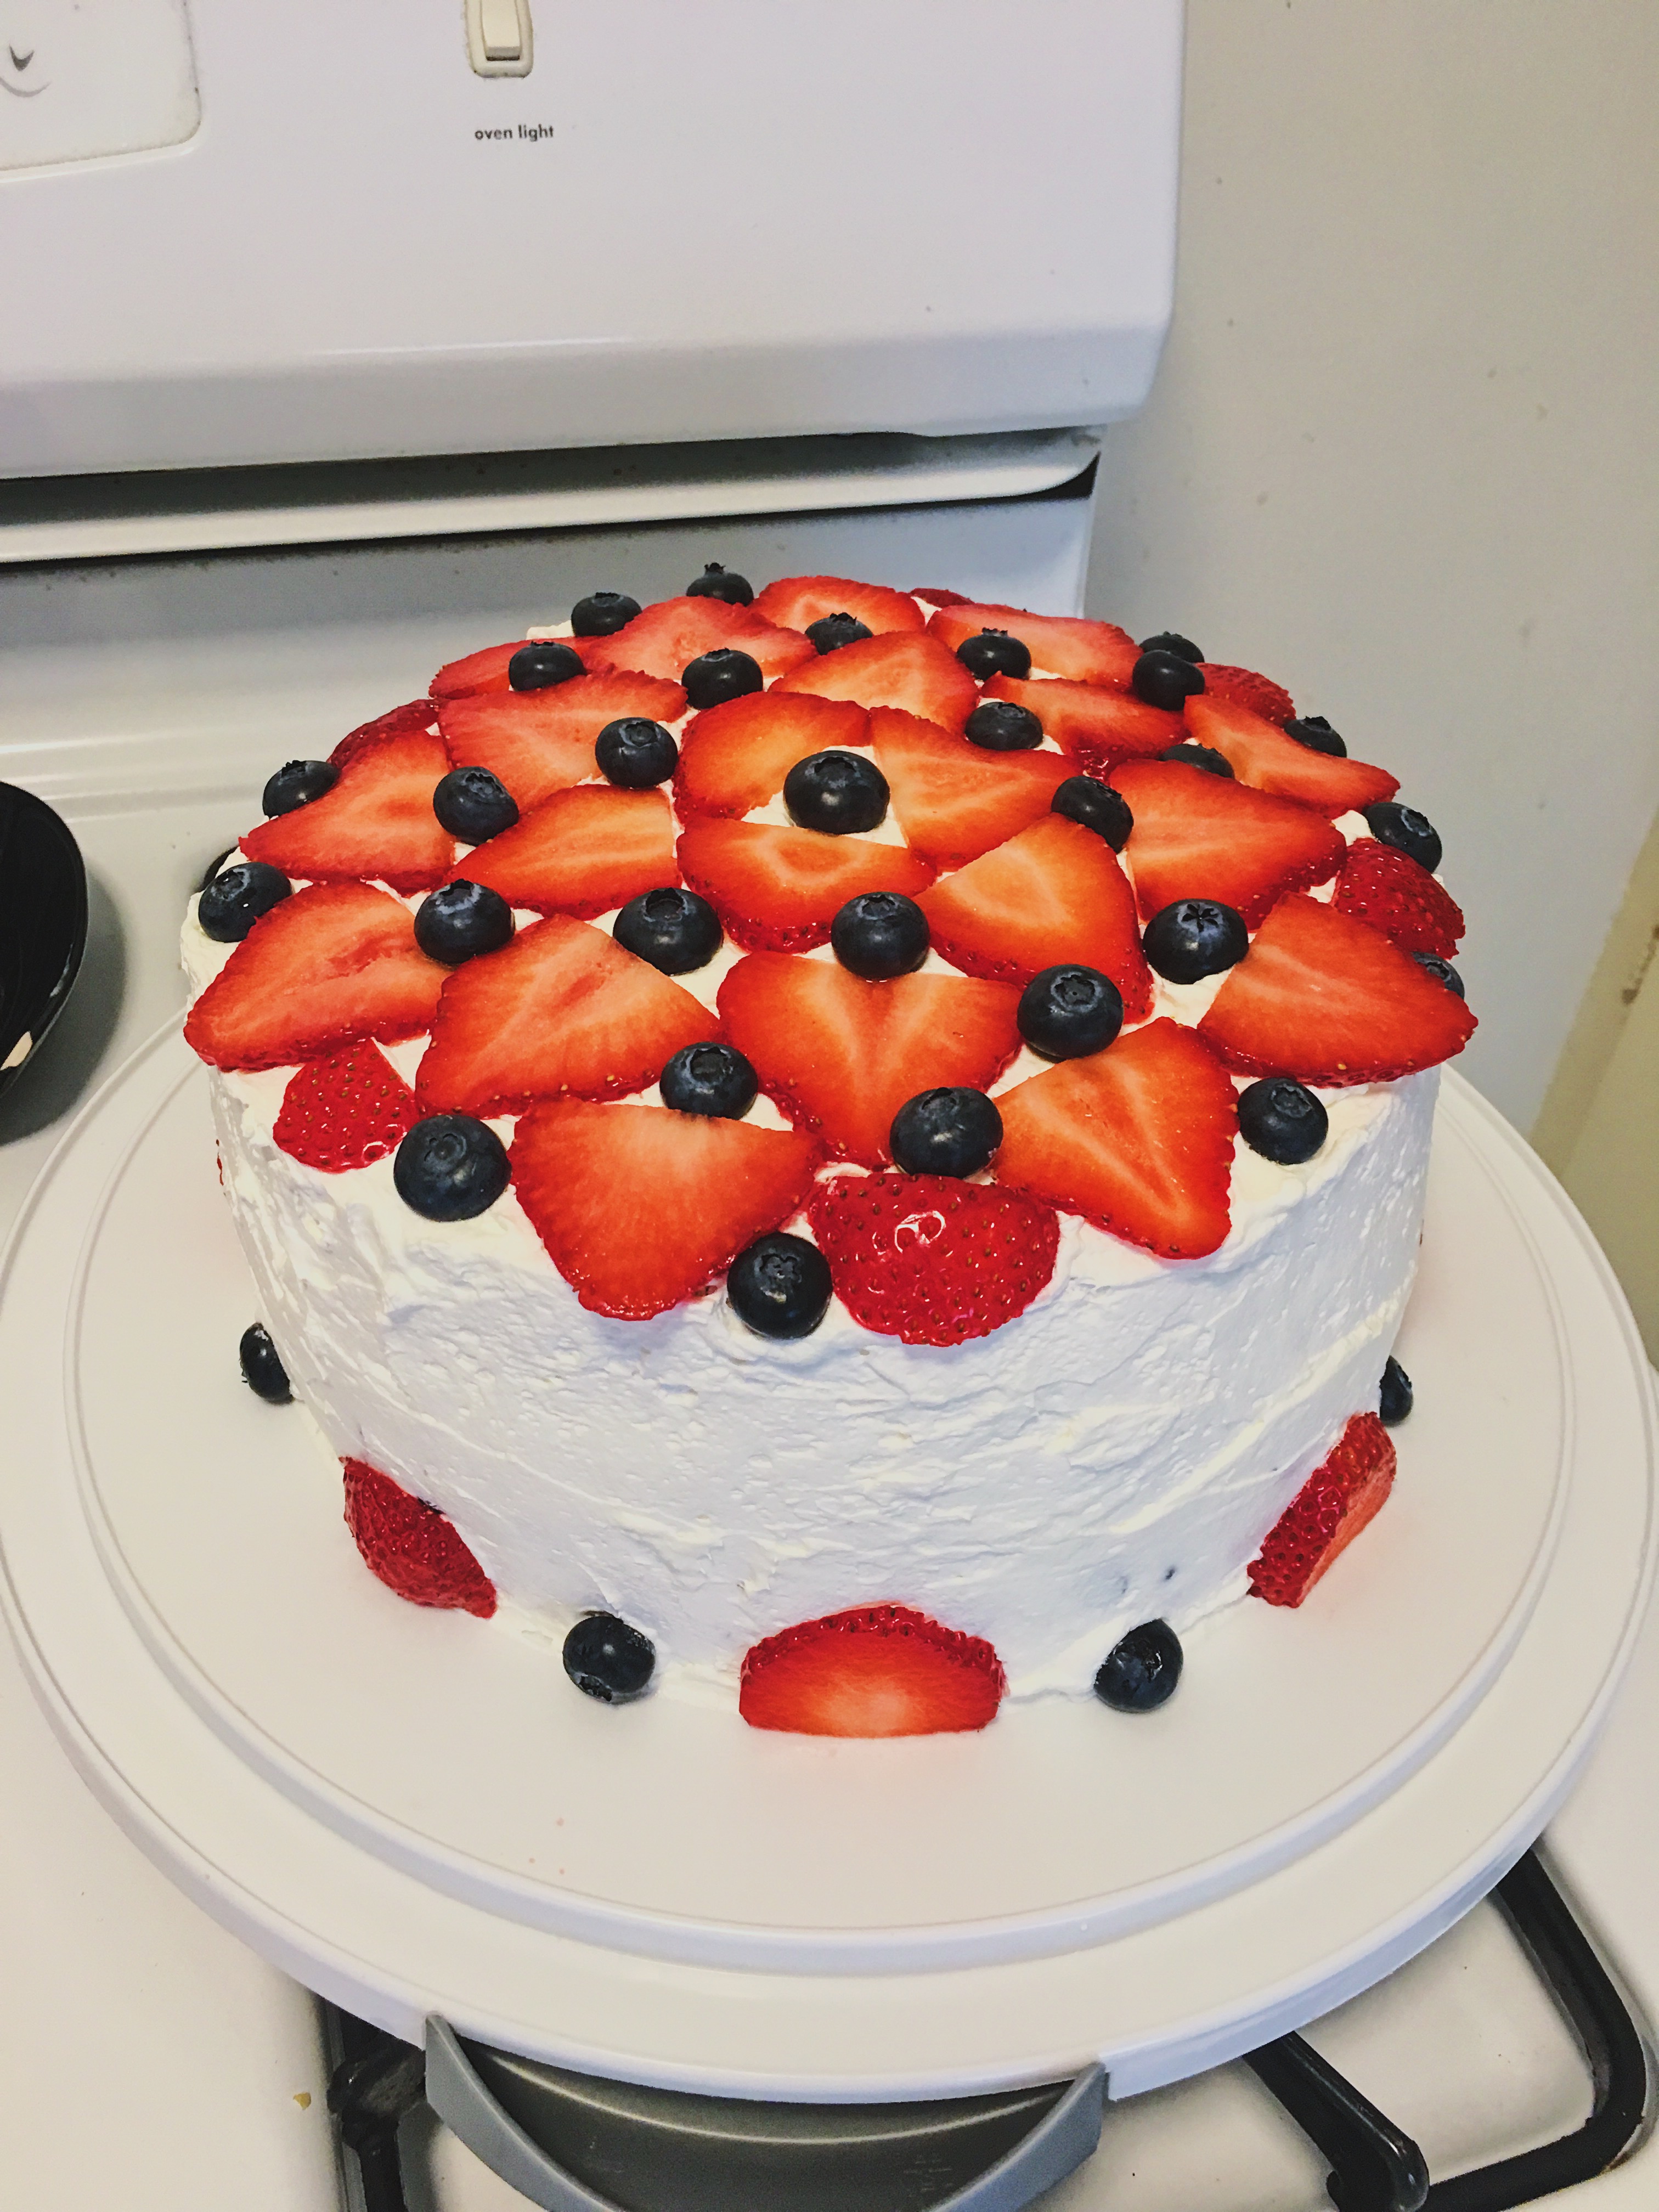
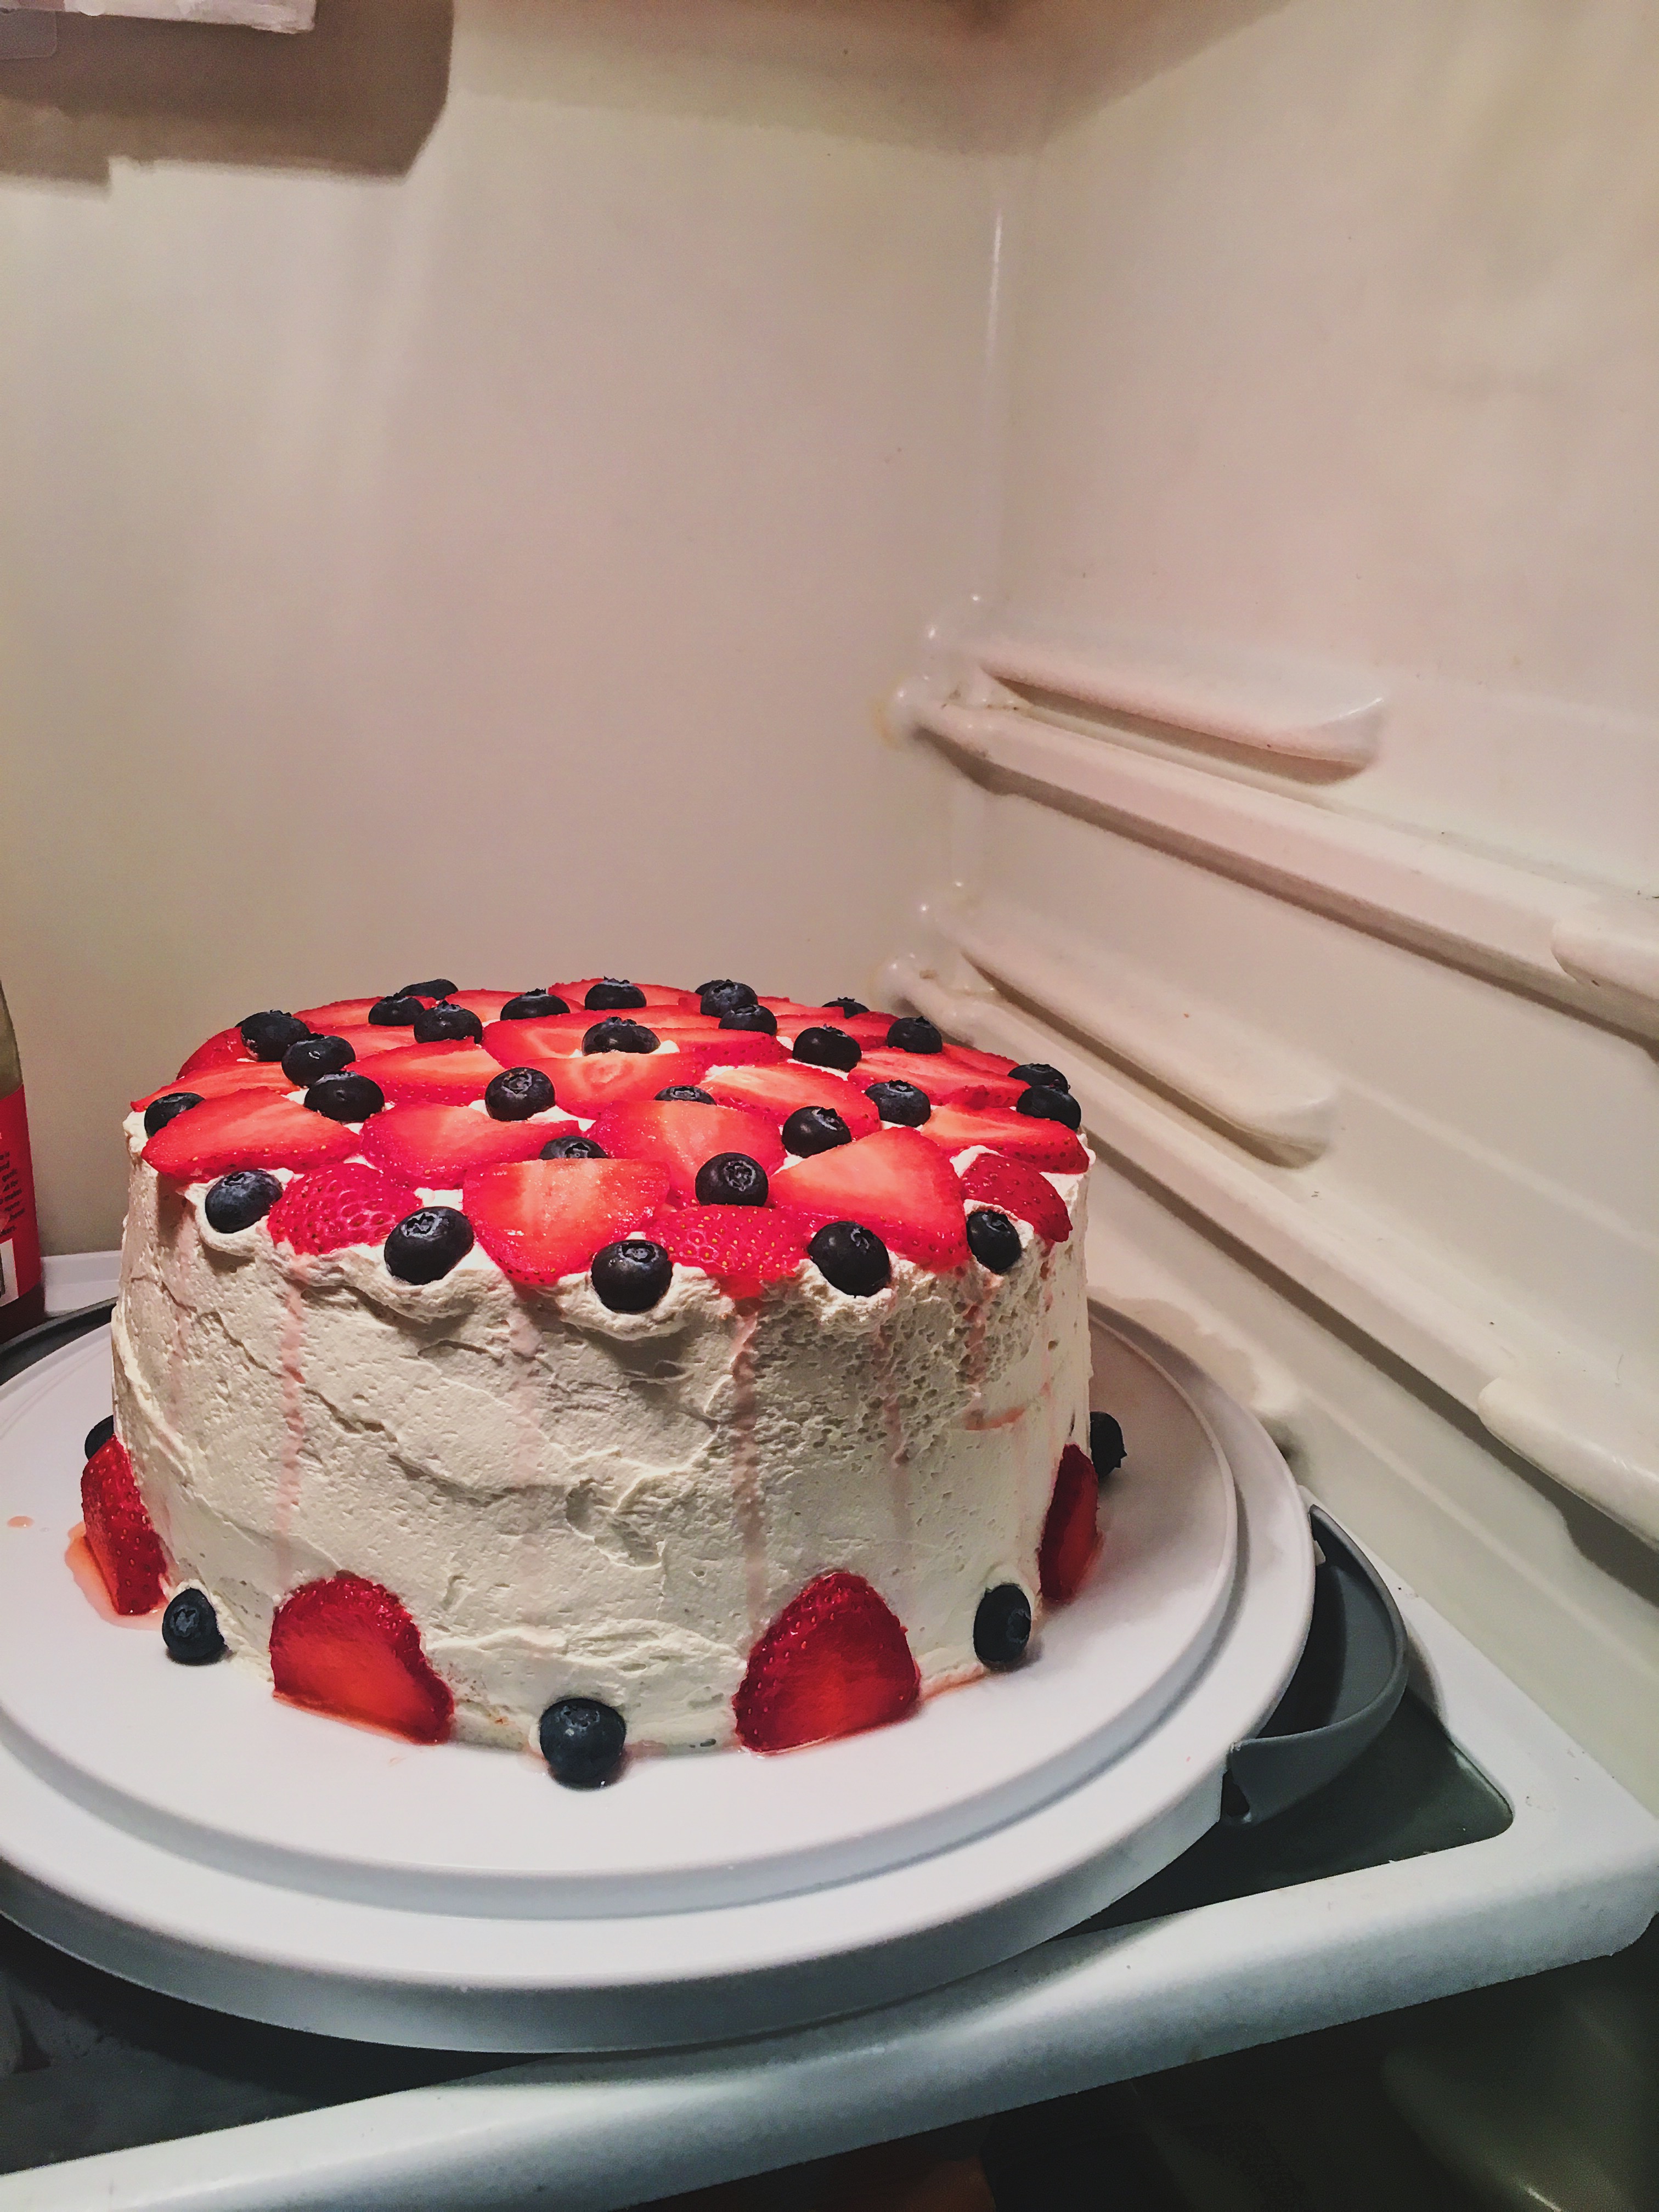
12. (Very Important Step) Refrigerate!
This cake is so much better when it’s COLD! I recommend refrigerating overnight for the best results, but at least 4 hours in the refrigerator before serving.
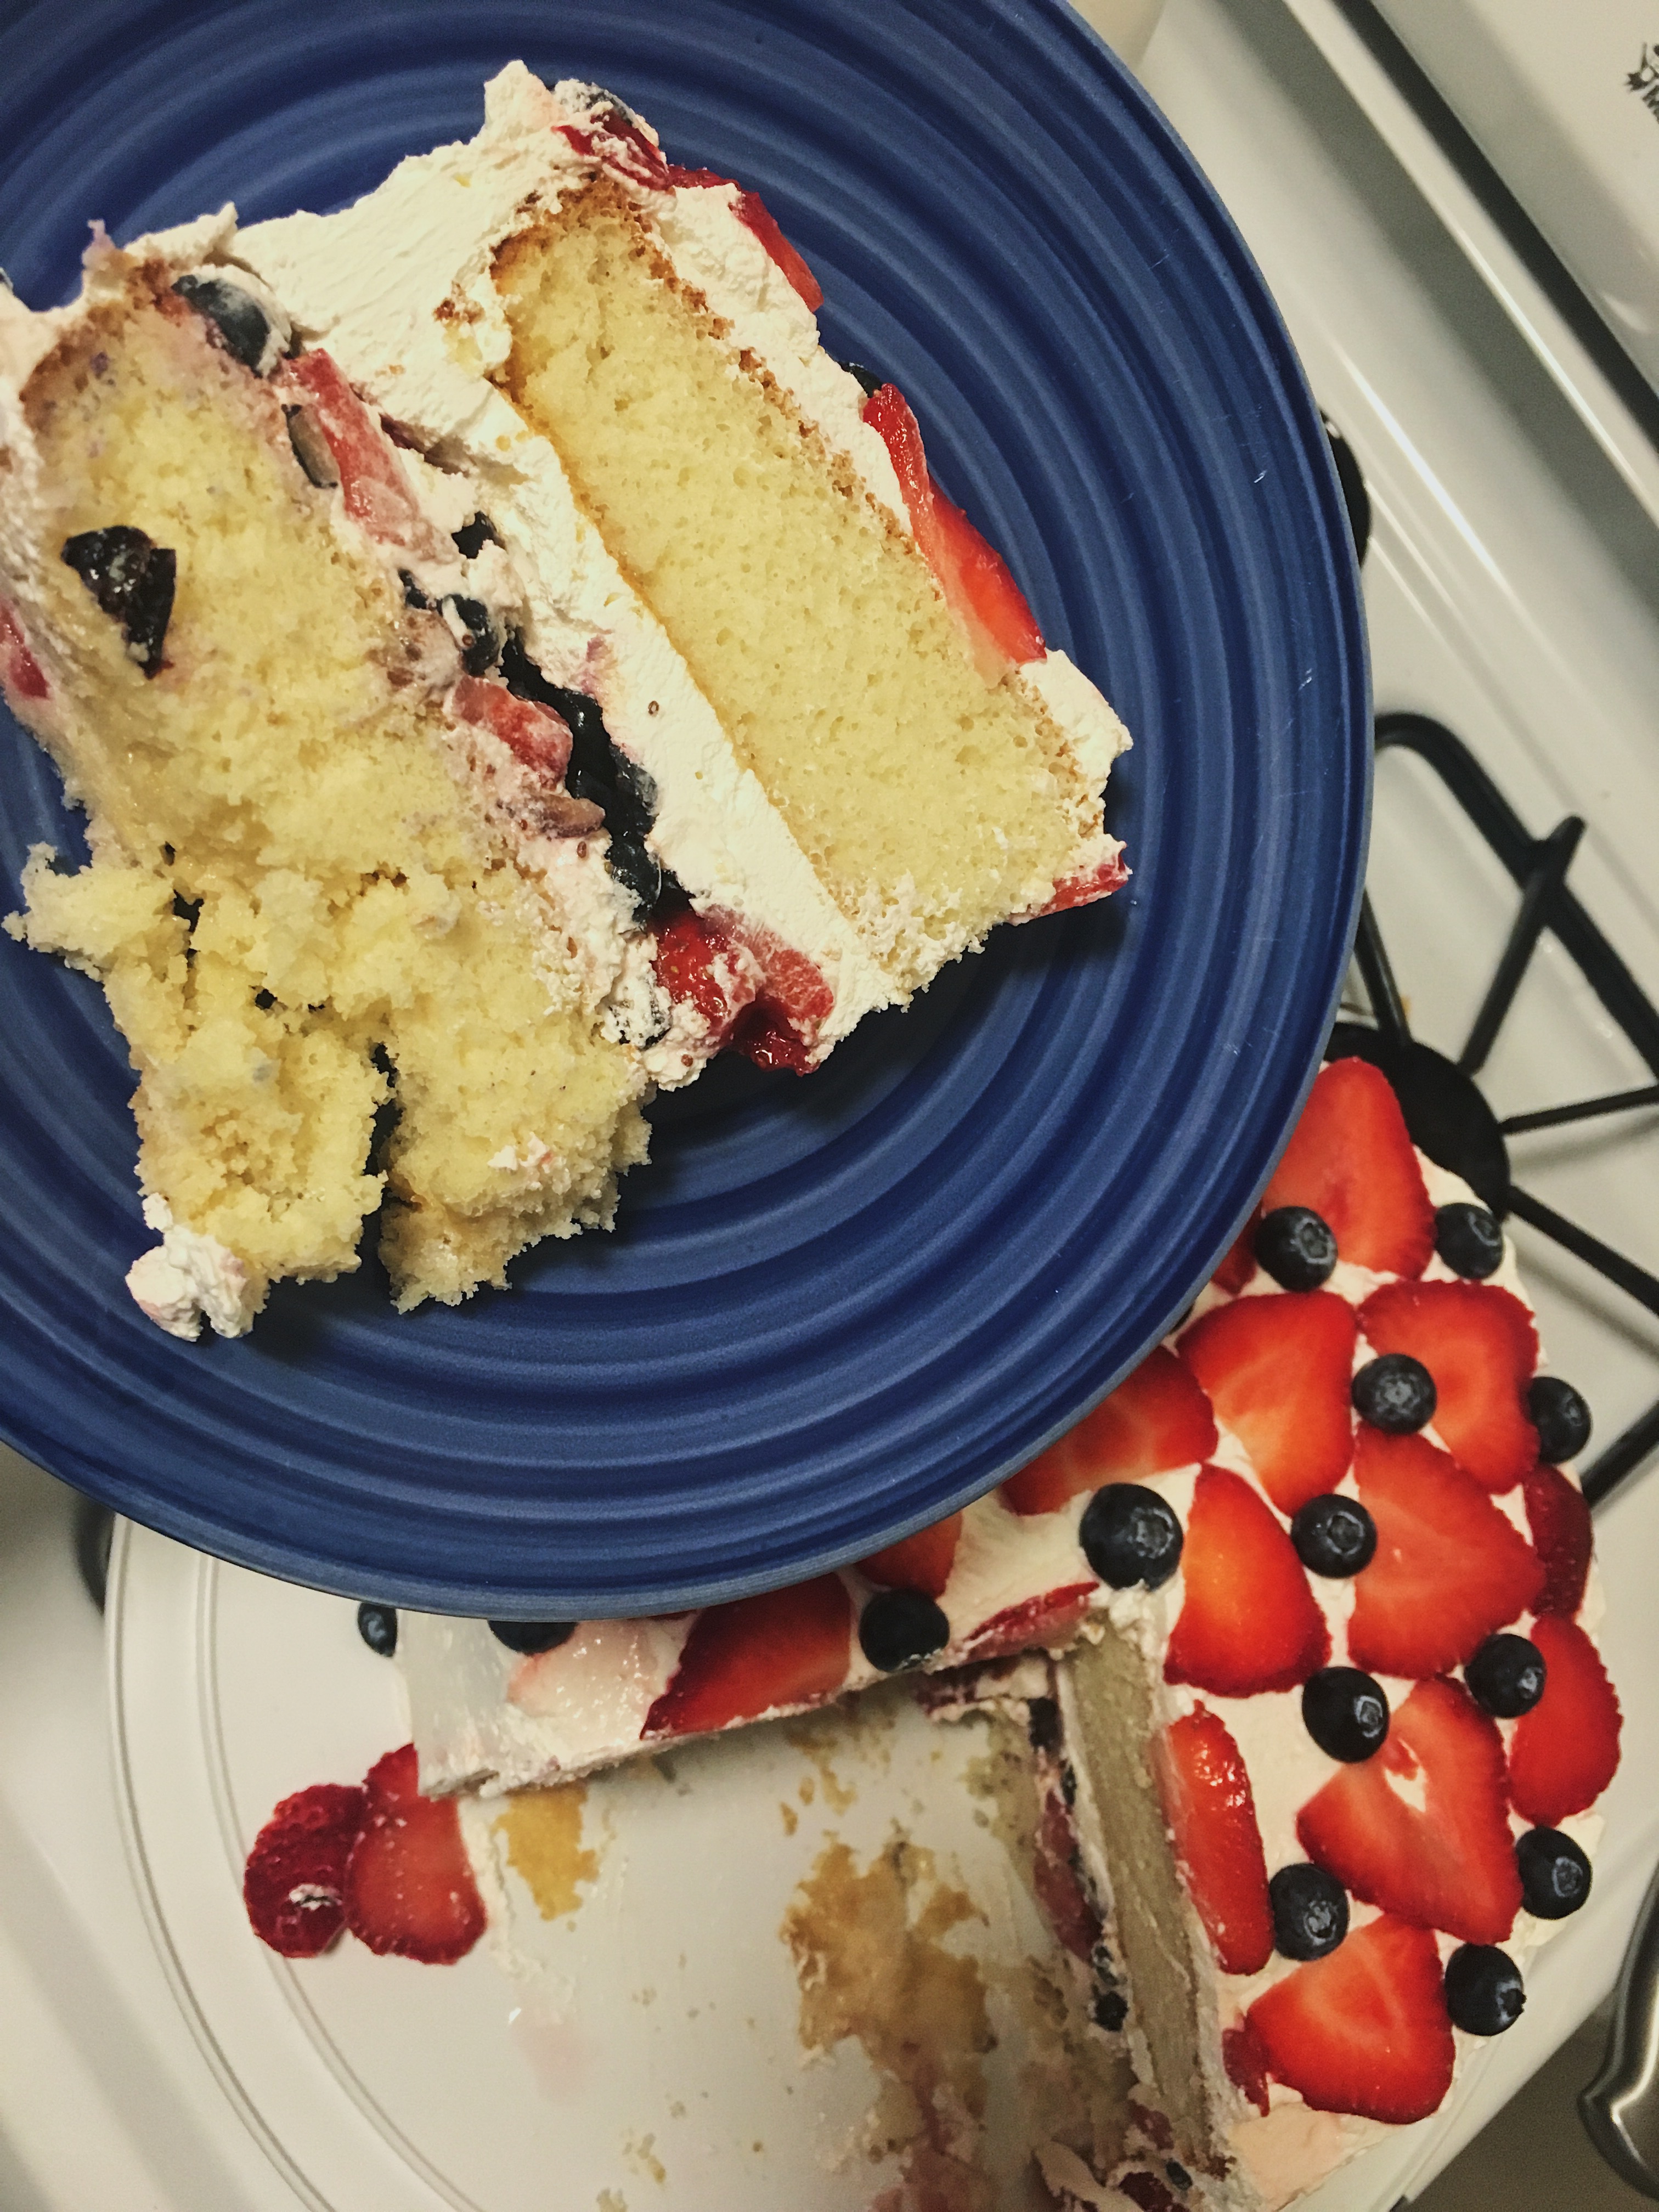
13. Enjoy a slice of this refreshing, moist, fruit filled summer cake!
And don’t forget to share with friends. =)
4th of July Cake Recipe Instructions (No pictures):
1. (Very Important Step) Remove Cool Whip from the freezer.
Allow Cool Whip to fully thaw before using, however keep cool in fridge if need be. Will be too hard to spread onto cake if Cool Whip is still frozen.
2. Follow instructions on the back of the cake mix box, and add 1 teaspoon of vanilla extract.
Mix fully into batter before pouring mixture into greased baking pans.
3. While the cakes are baking, prepare the mixture of blueberries and strawberries that will be the filling for the cake.
(Very Important Step) Before cutting any of the berries, set aside the biggest and prettiest blueberries and strawberries to decorate the top of the cake. Leave the decorative blueberries whole, and cut the strawberries into thin slices. (Refer to images.) For the berry filling, cut the strawberries into small chunks and cut the blueberries in half. Cut roughly 2-2.5 cups worth of the berry mixture, and stir in 1 tablespoon of sugar. Stir the sugar and berries until a berry syrup begins to form in the bowl with the berries. Set in refrigerator for 30 minutes to an hour.
4. (Very Important Step) When the cakes are done baking, remove from oven and set aside to cool COMPLETELY.
Do not attempt to put this cake together until the cakes are completely cooled.
5. Once cakes are cooled, use a butter knife gently around the sides of the cake to help loosen the cake from the sides of the pan.
(Very Important Step) Once loose, place the TOP of the cake face down onto the surface you plan to serve the cake on. Press down on the cake gently to flatten the surface as much as possible before adding the filling on top.
6. Take the first container of Cool Whip and smooth a fairly thick layer onto the cake.
7. Spoon the refrigerated berry mixture slowly on top of the Cool Whip layer.
This may be challenging to keep all the berries piled onto the cake, but if you have enough Cool Whip underneath the berries it will help keep them in place. Refer to photos. (Very Important Step) Make sure all the berry syrup is poured with the berries onto the cake. The berry syrup makes the cake moist and delicious.
8. Once all berries are piled onto the cake, take most of the remaining Cool whip from the first container and spread (as neatly as possible) on top of the berries.
This will be like the glue for the 2nd cake to sit on top of.
9. Place the 2nd cake, top down (like the first cake) on top of the Cool Whip layer and press down slightly to flatten like a sandwich.
You want to make the top of the cake as flat as possible.
10. Take the 2nd container of Cool Whip and begin to spread over the top and onto the sides of the cake.
This may take a little work to keep the berries from falling out, but the key is to just keep adding more Cool Whip to the sides so that the berries can’t fall out. Just keep smoothing the Cool Whip as you go along… be patient it will come out great. =)
11. Once the cake is fully covered in Cool Whip, you can place the thinly sliced strawberries on top in a design of your choice.
(Refer to photos for inspiration.) Add blueberries anywhere you see fit.
12. (Very Important Step) Refrigerate!
This cake is so much better when it’s COLD! I recommend refrigerating overnight for the best results, but at least 4 hours in the refrigerator before serving.
14. Enjoy a slice of this refreshing, moist, fruit filled summer cake!
And don’t forget to share with friends. =)